How To Propagate Roses In 12 Steps
This post may contain affiliate links. If you make a purchase through links on our site, we may earn a commission.
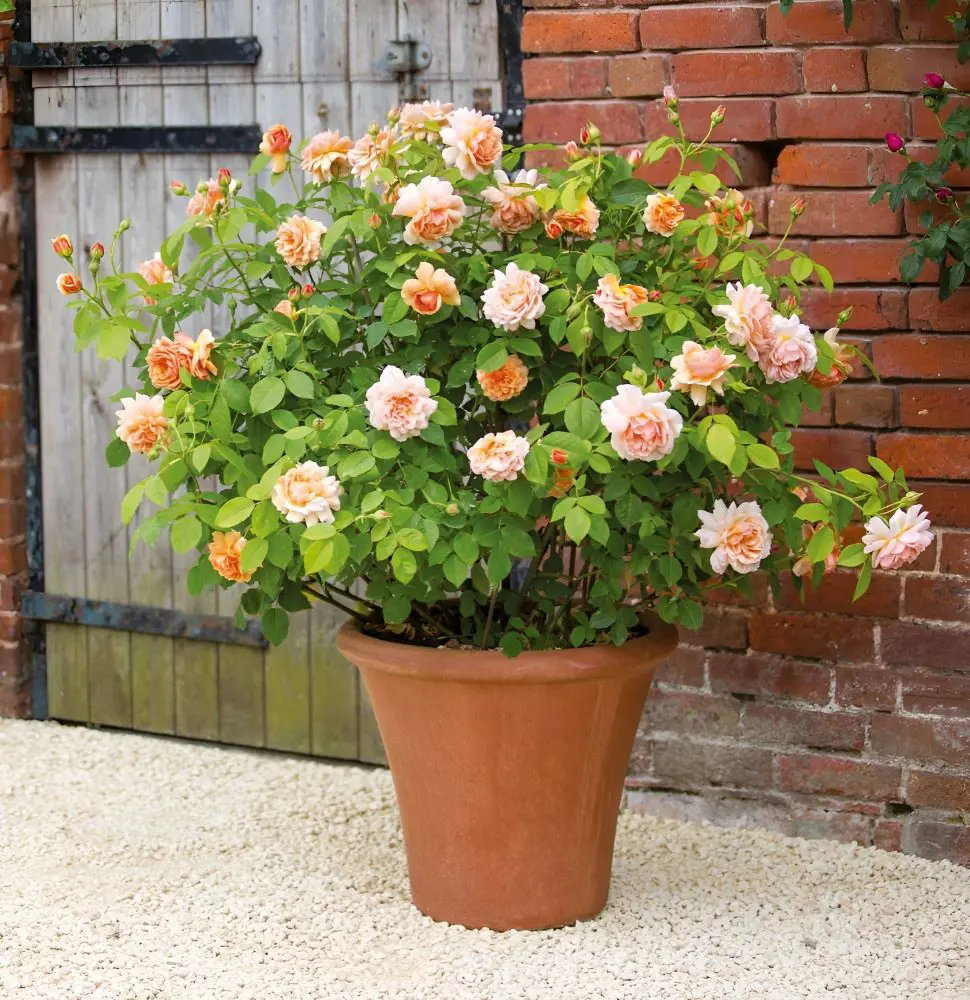
Propagating roses might sound fancy, but it's a way to grow new rose plants from existing ones. It's like making baby roses. If you have a beautiful rose bush and want more just like it, you can do this through a process called propagation.
Here's a simple guide in 12 steps on how to do it. Don't worry—it's not as complicated as it sounds, and with a bit of patience, you'll soon have your bunch of different roses to enjoy with.
1. Select Healthy Stems
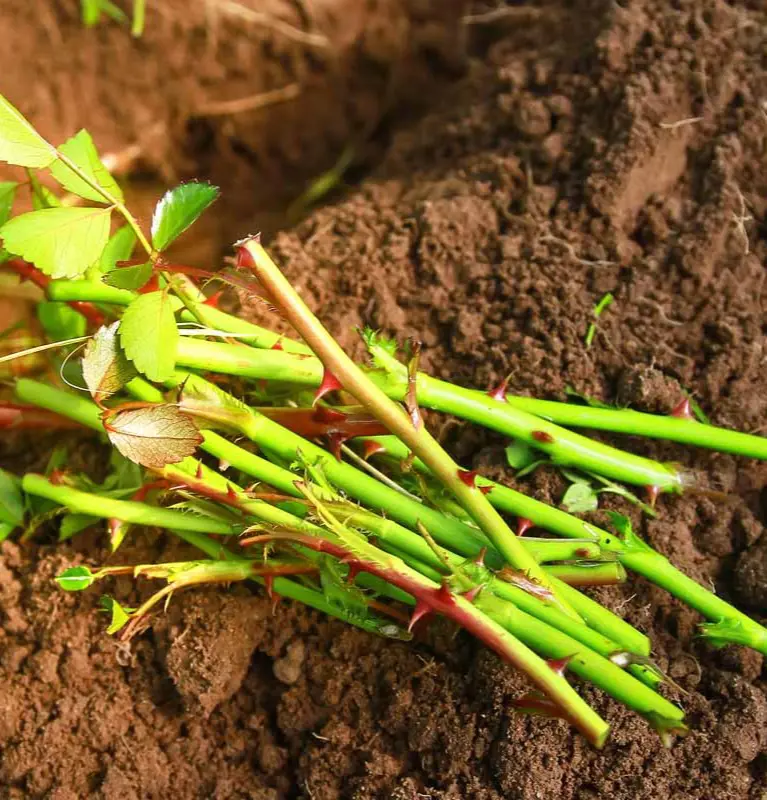
Choosing healthy stems for rose propagation is like laying the foundation for a strong and beautiful rose bush. It's crucial because healthy stems carry the inherent vigor and desirable traits you want to replicate in your new roses.
Here is what to consider while selecting the stem:
- Firm and Strong stem
- Avoid old, woody stems
- Stems with healthy, bright green leaves
- Aim for stems about the thickness of a pencil.
2. Prepare Cutting Tools
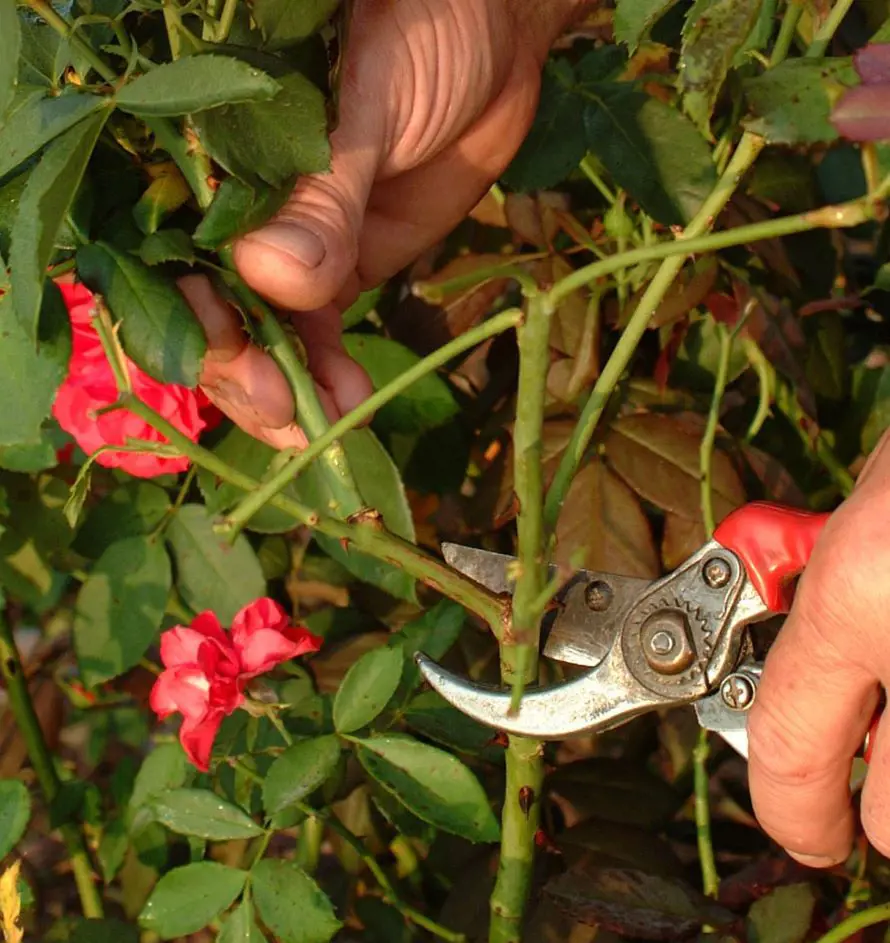
Preparing cutting tools is crucial for successful rose propagation because it minimizes the risk of introducing harmful bacteria and diseases that can hinder or even prevent root growth.
Sharp, sterilized tools make clean cuts on the rose stem, minimizing tissue damage and providing a smooth surface for callus formation, the initial stage of root development. Here are some cutting tools:
- Sharp pruners or shears
- A clean, sharp knife
- Cutting mat
- Gloves
3. Remove Leaves
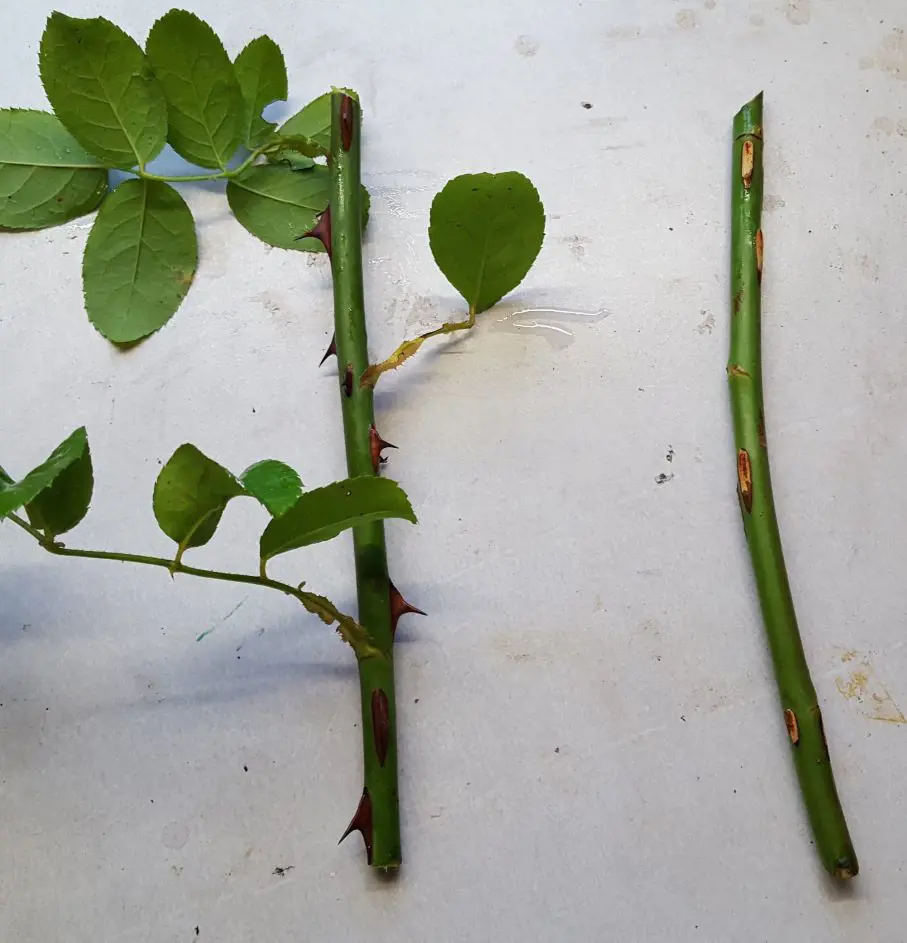
In rose propagation by stem cuttings, removing leaves is where you trim off most of the leaves from the cutting, typically leaving only the top two sets. The cutting loses less water, which is crucial for its survival during the rooting stage.
It also improves air circulation around the stem, reducing the chances of fungal infections. With fewer leaves competing for resources, the cutting can concentrate its energy on producing roots, which is essential for its long-term success.
4. Prepare the Pot or Container
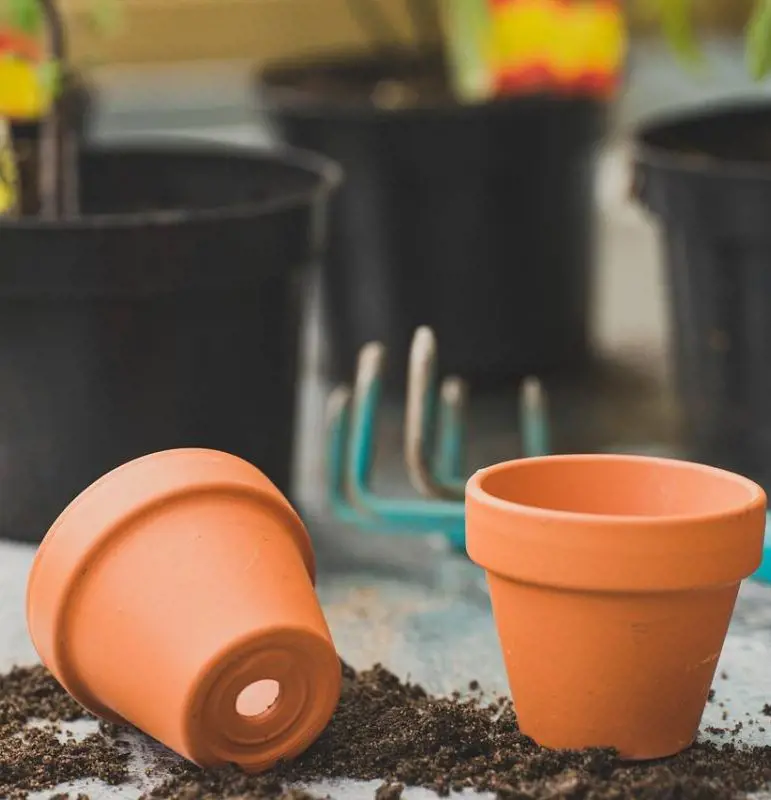
While preparing the pot for these garden flowers, select a pot slightly larger than the root system of your cuttings. For most cuttings, a 4-6-inch pot is sufficient, but if you are planting multiple cuttings, choose a larger container with proper drainage.
Clay or terracotta pots offer good drainage and aeration, but plastic pots are lighter and retain moisture better. Use a well-draining potting mix specifically for roses, cacti, or succulents, but it should be moist and not soggy.
5. Make a Hole and Insert the Cutting
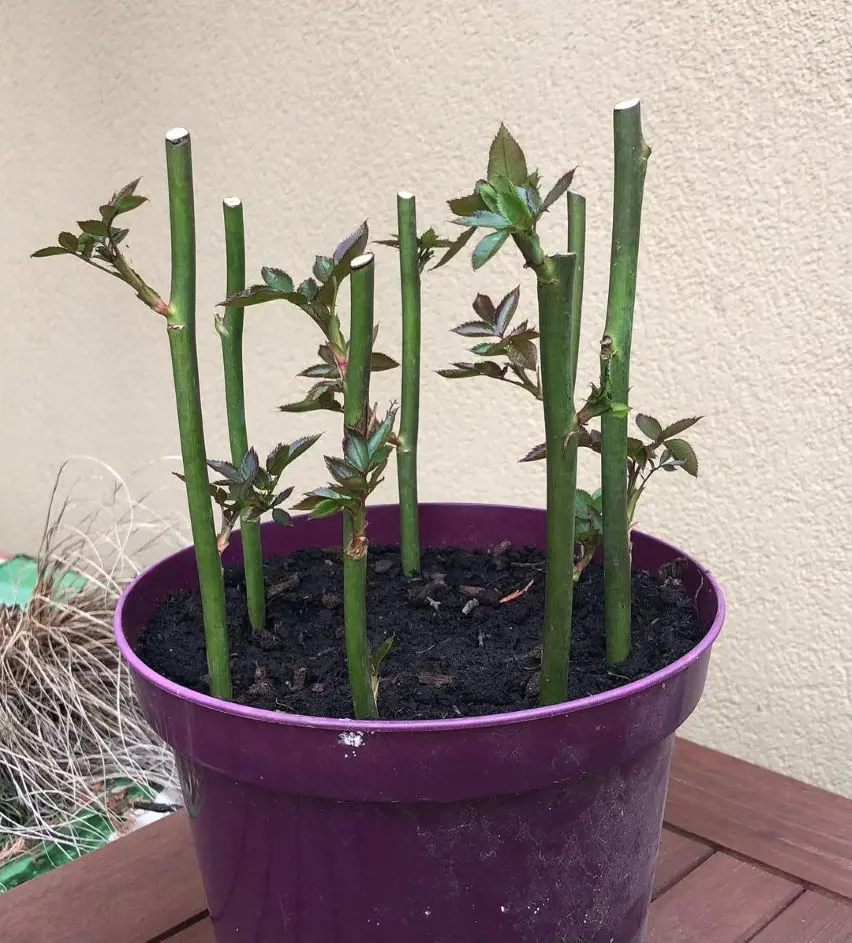
For this step, use a pencil or dibble to poke a hole in the potting mix, deep enough to accommodate about two-thirds of the cutting's length. Aim for a hole about 3–4 inches deep.
Dip the bottom inch or so of the cutting into rooting hormone powder. After that, gently insert the cutting into the hole, ensuring the bottom two nodes (leafy bumps) are buried in the mix. For a better result,
- Place the pot in a bright, indirect-light location.
- Keep the soil consistently moist but not waterlogged.
6. Water the Cutting
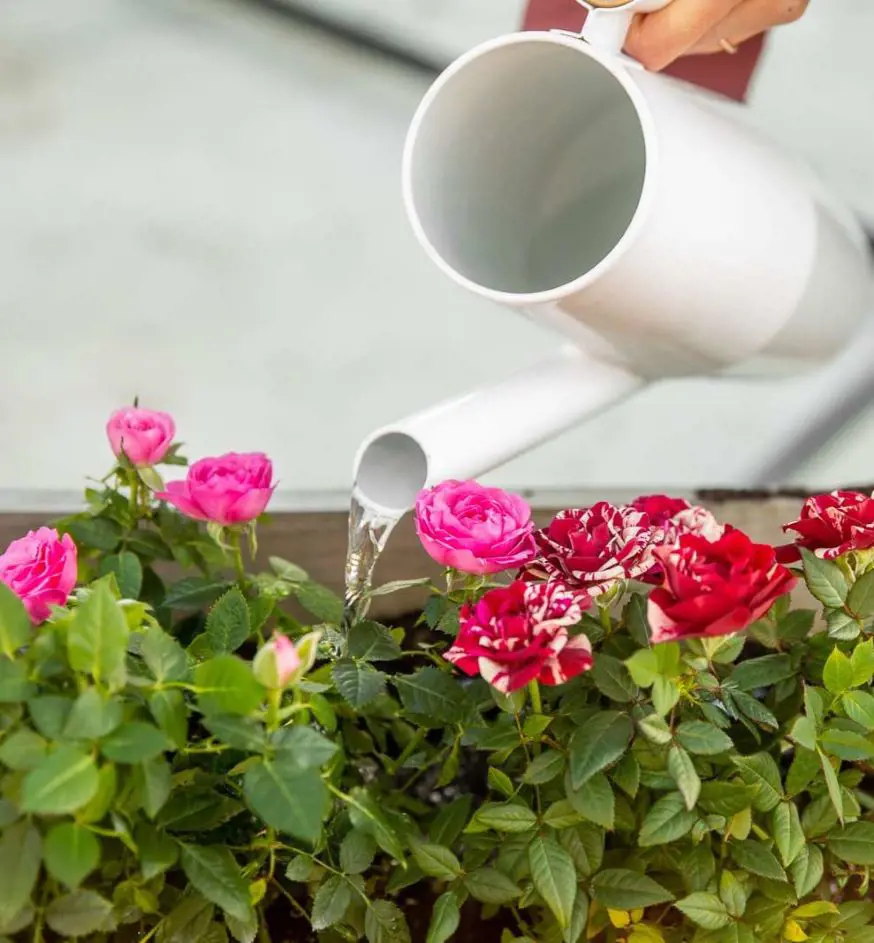
When watering your rose cuttings, strike a delicate balance between moisture and air and aim for consistently moist soil, not soggy soil. Give the soil a thorough soaking until it reaches the roots, then let it dry slightly before watering again.
To check the soil, stick your finger into the soil up to the second knuckle; if it feels dry, add water, and if it's still damp, hold off.
7. Cover the Pot
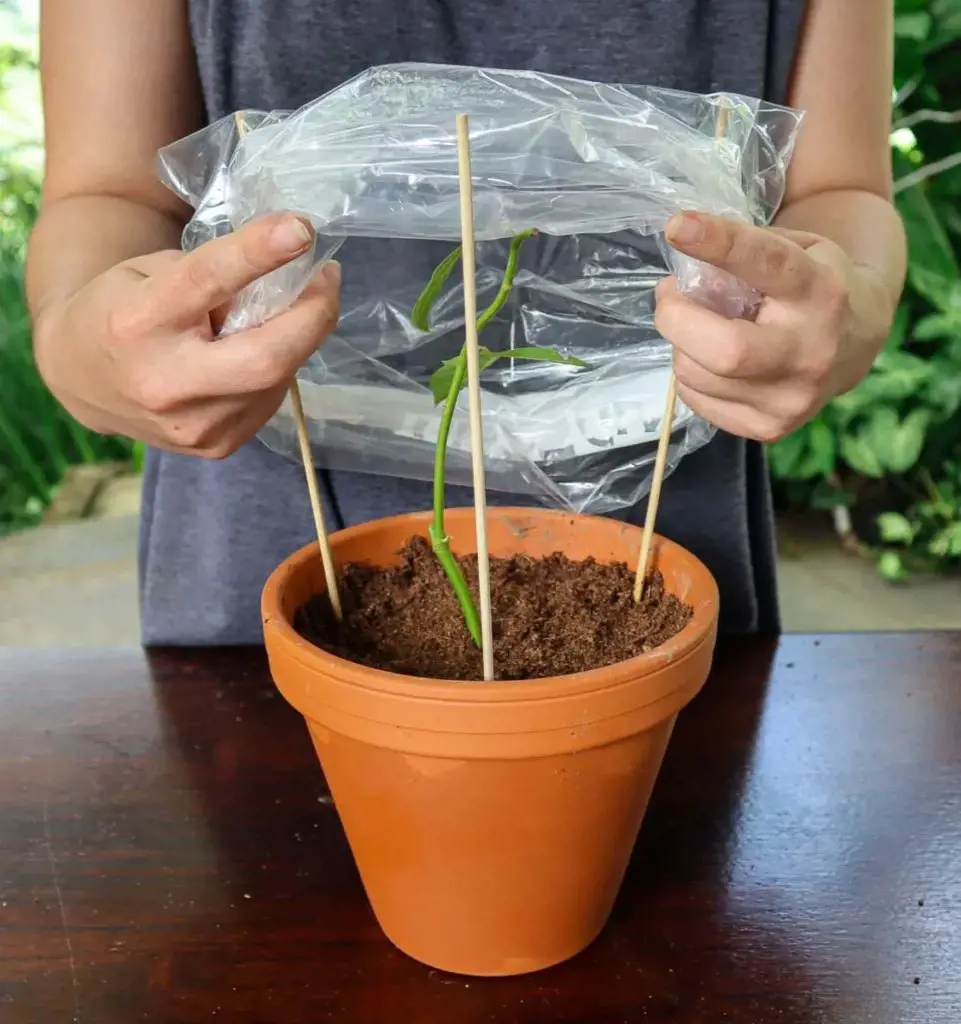
Cover the Pot plays a crucial role in rose propagation by fostering a mini-greenhouse environment ideal for rooting and growth. This prevents desiccation, a major threat to the success of propagation.
Also, the cover traps heat released by the sun or bottom heat source, creating a warm microclimate that encourages root development. Overall, Cover the Pot acts as a controlled environment, optimizing the conditions for root formation and boosting the success rate of rose propagation.
8. Provide Indirect Light
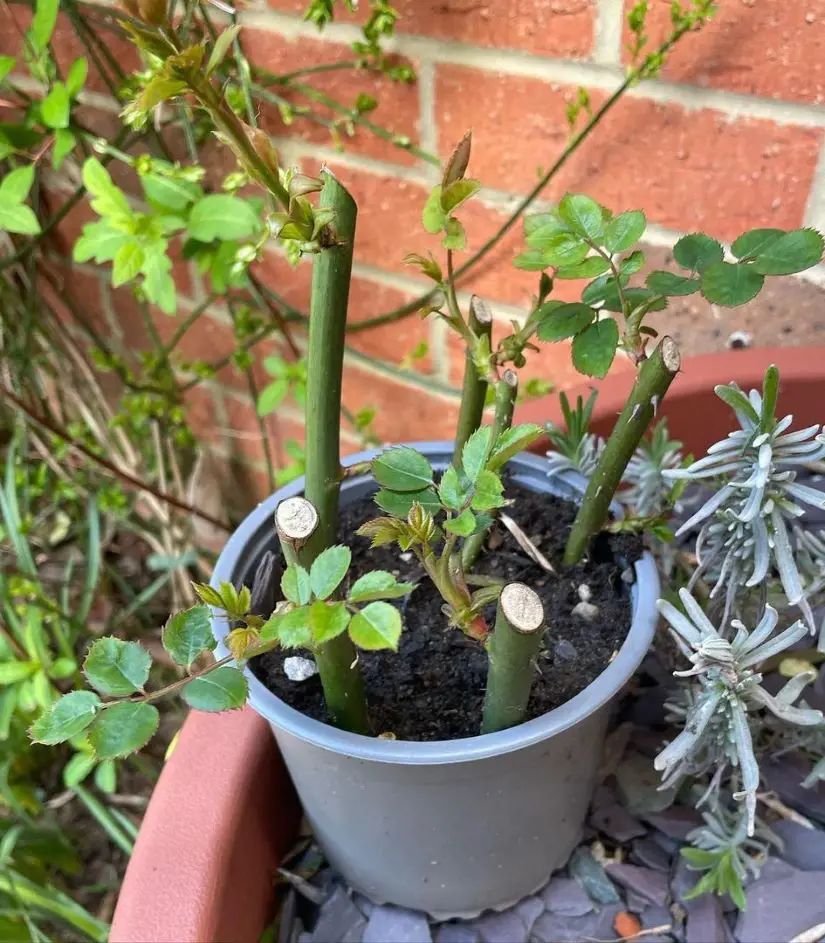
Direct sunlight can be too harsh for young rose plants and can cause the leaves to scorch or wilt. Indirect light, on the other hand, provides enough light for photosynthesis to occur, but it is not so intense that it will damage the plants.
Here are some of the benefits of providing indirect light for rose propagation:
- It helps to prevent the leaves from drying out.
- It helps to regulate the temperature, which is important for root growth.
- It helps to prevent the stems from becoming leggy.
9. Monitor Moisture
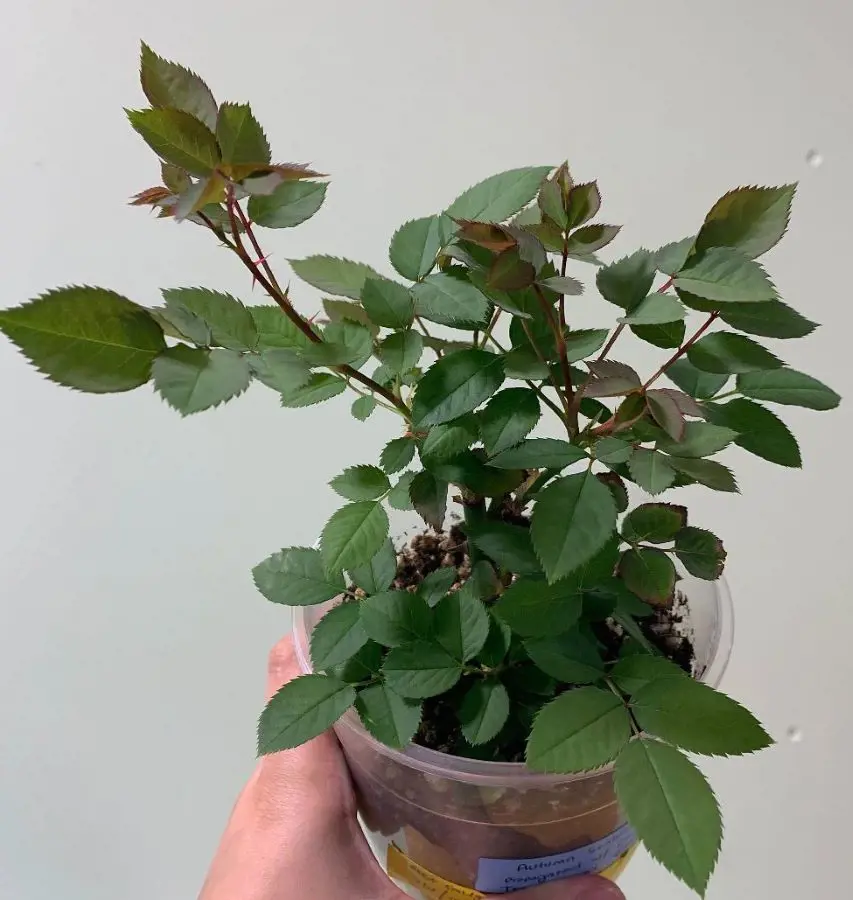
Monitoring moisture is crucial during rose propagation because it directly impacts root development and overall success. Proper moisture levels encourage healthy callus formation, the initial stage of root growth, and prevent the stem cutting from drying out or succumbing to rot.
Too little moisture stunts root development, while too much can lead to fungal infections and stem decay. Regularly check the moisture content of your propagation medium, like perlite or potting mix, and adjust the watering.
10. Wait for Roots to Develop
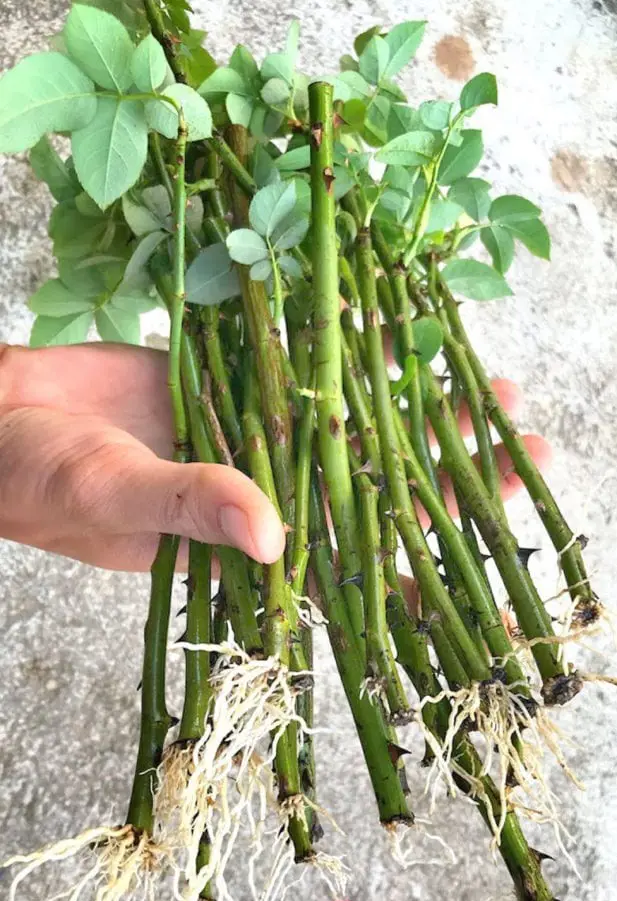
The timing of root development in rose cuttings depends on several factors, but generally, it takes 6–8 weeks for those precious roots to sprout. This timeframe can be influenced by the type of cutting (softwood, semi-hardwood), temperature, and growing conditions.
Be patient, as it may take several more months for your little rose to become a fully established plant. Keep an eye on the base of the cutting for any tiny bumps or white hairs, which are the first signs of root life.
11. Transplanting
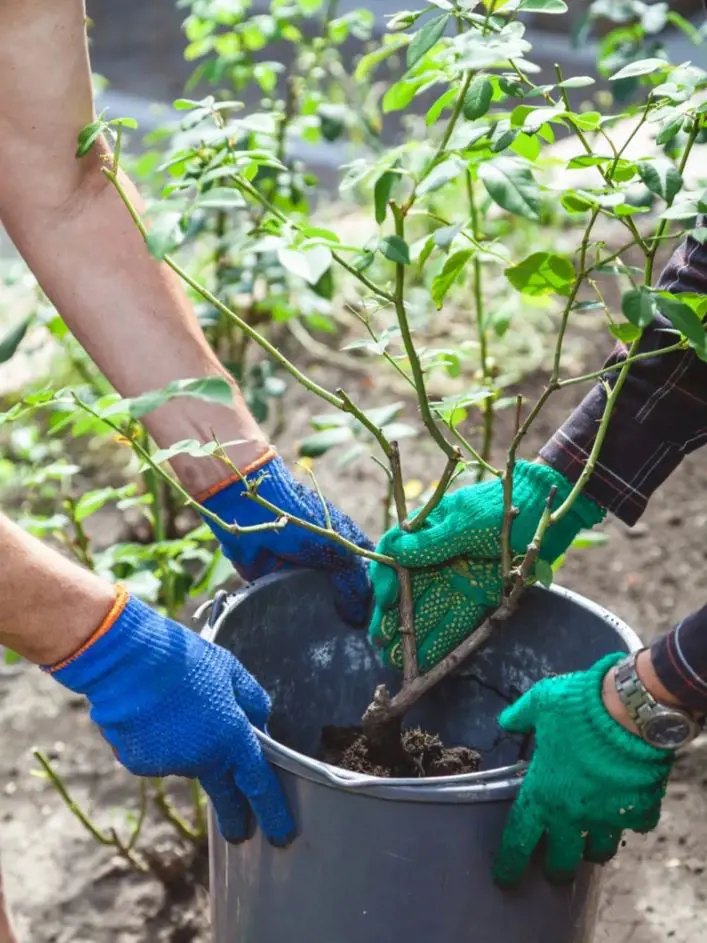
Once the cutting has developed a healthy root system, it's time to transplant it into a larger pot or garden. Choose a location for transplanting that receives adequate sunlight and has well-draining soil. Roses generally prefer at least 6 hours of sunlight a day.
Gently loosen the soil around the cutting and lift it out, taking care not to damage the delicate roots. Hold the plant by the base of the stem, not the leaves.
12. Care for the New Plant
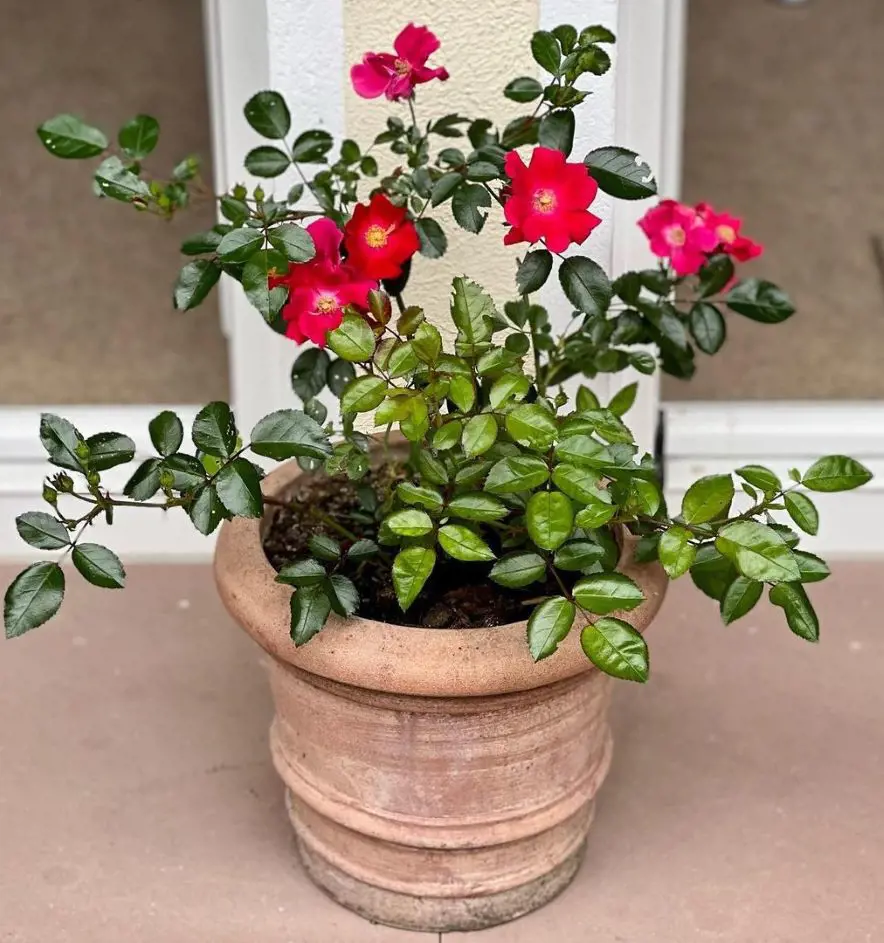
After transplanting the rose stem into its new home, it's essential to provide diligent care to ensure its healthy growth and development. Start by watering the plant thoroughly, making sure the soil is consistently moist but not waterlogged.
Fertilize the plant according to the specific needs of your rose variety, typically in early spring as new growth begins. Keep an eye out for pests and diseases, treating any issues promptly to ensure the continued health of your rose.
Recent posts
How To Propagate
How To Propagate
How To Propagate Cactus In 9 Ways
Propagation involves creating new plants from existing ones. In nature, this often happens through seed formation after flowers are pollinated. However, due to the shrinking natural habitats of cactus, it’s essential to propagate and care for t...
How To Propagate
Basil Propagation Methods: Flowers, Seeds or Cuttings
In the realm of culinary delights and garden magic, basil stands as a beloved herb, prized for its aromatic leaves and versatility in the kitchen. Yet, unlocking the secrets of basil propagation opens up a whole new realm of possibilities. From the d...
How To Propagate
How To Propagate Monstera Deliciosa
Monstera plants are popular indoor plants, making homes and offices cheerful and stylish. They're not just easy to grow but also thrive in any indoor setting. But if you're wondering how to make more Monstera plants, it might seem tricky. Start...
How To Propagate
How To Propagate Spider Plant
The Spider Plant is a resilient indoor plant appreciated for its arching leaves and spider-like offshoots. It's an ideal choice for plant enthusiasts due to its easy care. Propagating these plants is also simple and can be done in various ways, such ...
How To Propagate
How To Propagate String Of Pearls
Propagating String of Pearls is a fascinating and fulfilling process that allows you to create new plants from an existing one. This plant is a cute succulent from South Africa, known scientifically as Senecio Rowleyanus. It has long, hanging stems w...
How To Propagate
How To Propagate Aloe Vera
If you are in a quest to enlarge the supply of aloe vera plants or share their beauty with your loved ones, then learning how to propagate aloe vera is the right way. It doesn't matter if you are a beginner or an expert, as these ten tips will help y...
