How To Propagate Monstera Deliciosa
By Mlbrun Team
On May 16, 2024

This post may contain affiliate links. If you make a purchase through links on our site, we may earn a commission.
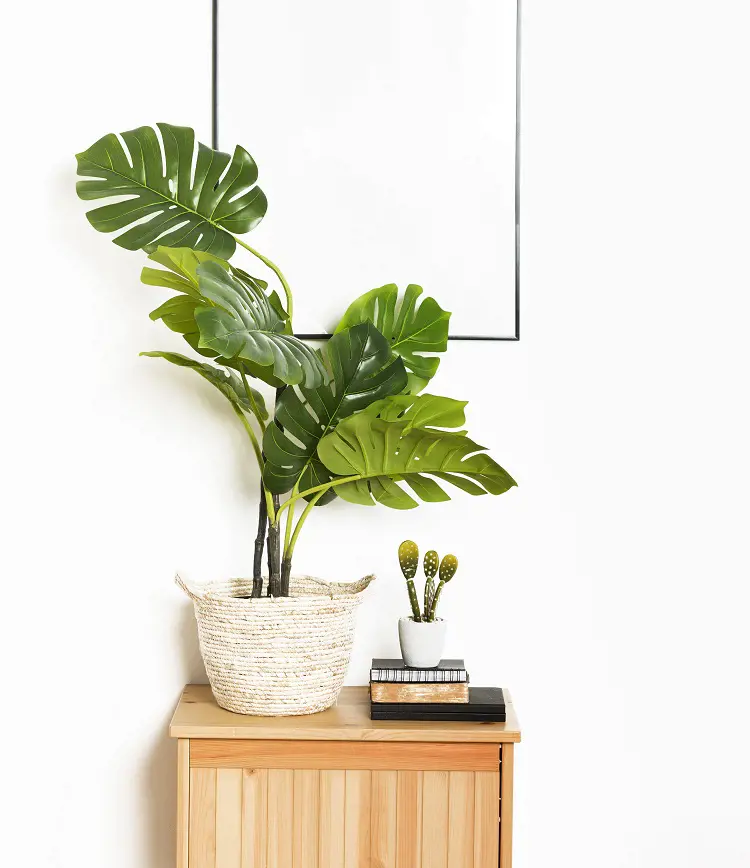
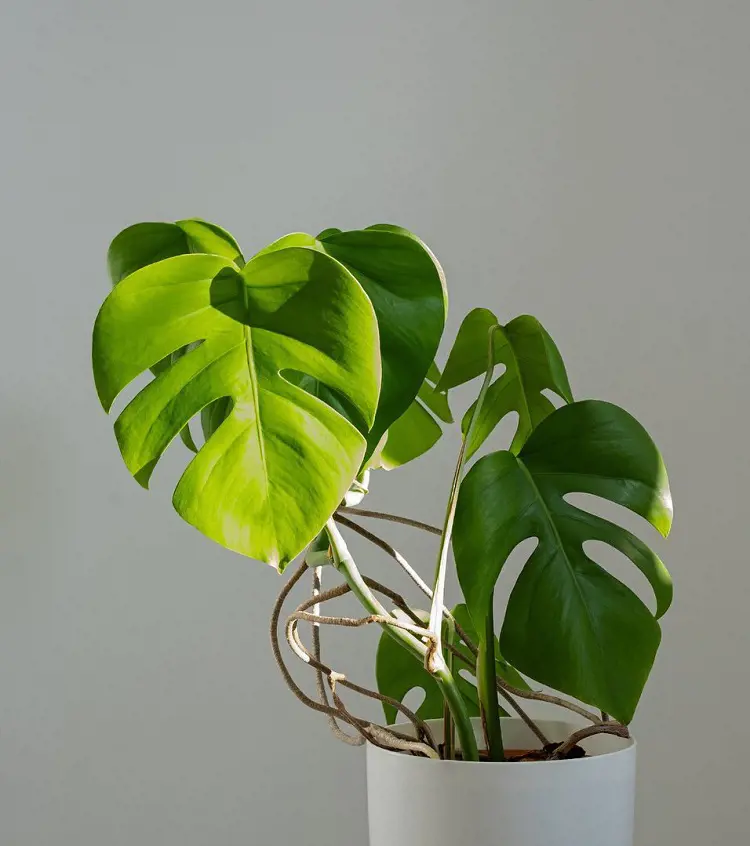
Monstera plants are popular indoor plants, making homes and offices cheerful and stylish. They're not just easy to grow but also thrive in any indoor setting.
But if you're wondering how to make more Monstera plants, it might seem tricky. Starting with a healthy Monstera is key.
1. Choose A Healthy Parent Plant
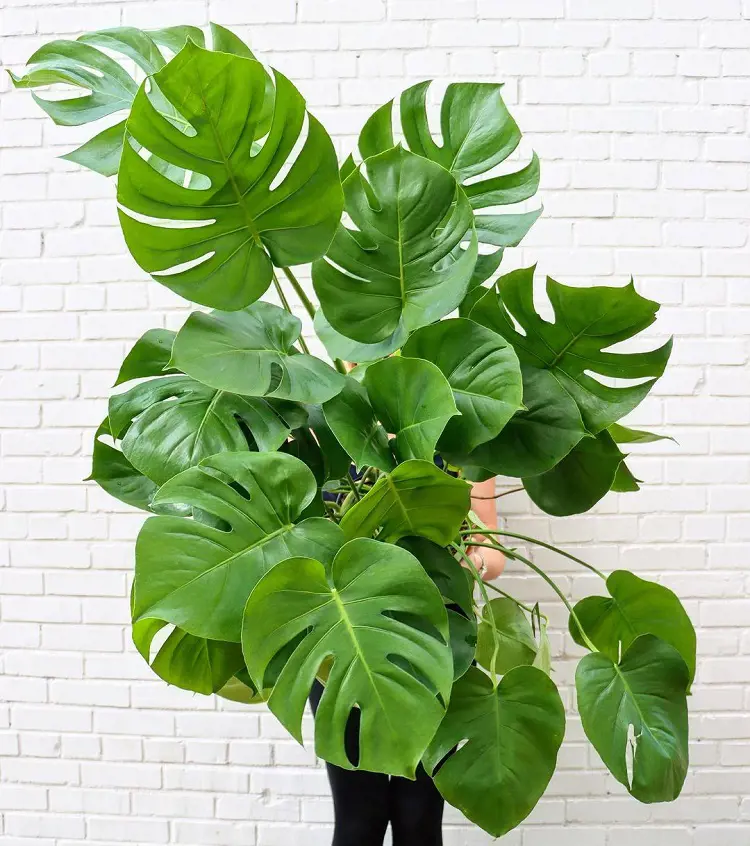
Choosing a healthy parent plant for propagating Monstera is like giving the new plant a strong and healthy start. Healthy parent plants provide cuttings with lots of energy and fewer chances of diseases or pests. These cuttings have better odds of growing roots and becoming healthy plants themselves.
Think of it like starting with a good recipe, the healthier the ingredients (or parent plant), the better the outcome. Healthy plants also grow faster, and when you take cuttings from them, the new plants get a head start in adapting to their new homes. So, starting with a healthy parent plant increases the chances of success and a thriving new Monstera.
2. Select A Node
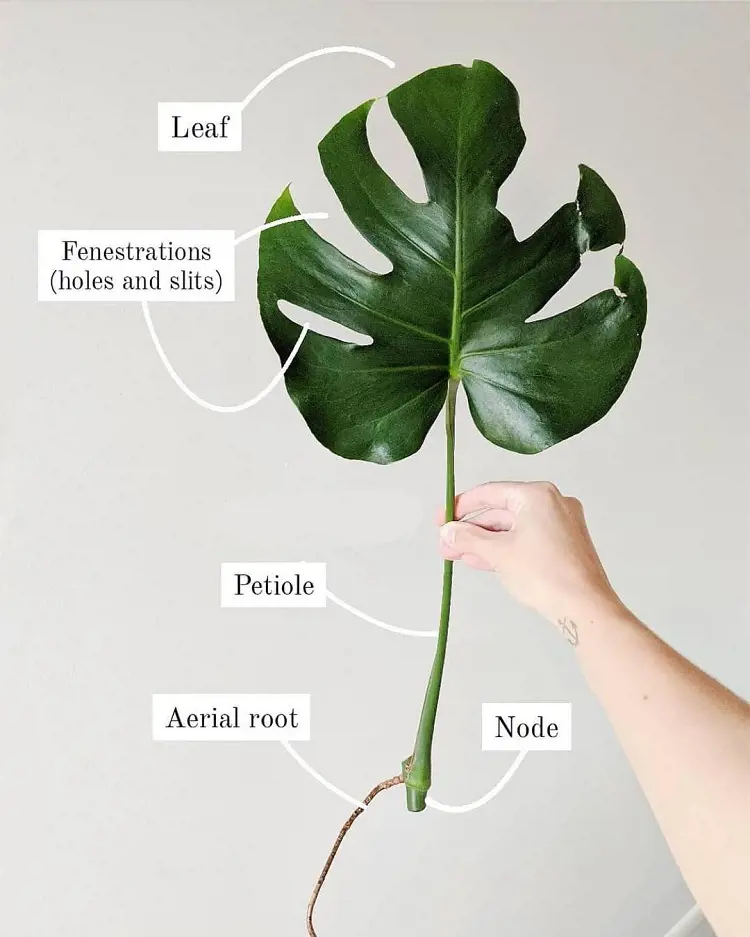
Selecting a node when propagating a Monstera plant is essential because nodes are like magical growth points. Nodes contain the necessary cells for roots and new stems to develop. When you cut below a node, you're ensuring that your cutting has the potential to sprout roots and grow into a new plant.
It's like giving the plant a fresh start. The node is where leaves and aerial roots emerge, serving as a natural source of energy for the cutting. Without a node, the cutting lacks the critical structure and genetic information needed for successful propagation. So, by selecting a node, you're essentially setting the stage for the creation of a healthy and thriving new Monstera plant.
3. Prepare Your Tools
Essential tools for propagating Monstera include:
- Pruning Shears or Knife: To make clean cuts when taking a Monstera cutting just below a node. Sharp tools minimize damage and promote successful propagation.
- Scissors: For trimming excess leaves and stems from the cutting. This ensures that the cutting directs energy toward root development.
- Small Pots or Containers: To plant the Monstera cutting in a suitable growing medium, providing space for root development.
- Plastic Wrap or Plastic Bag: To cover the pot or cutting, creating a humid environment that promotes optimal conditions for root growth.
- Rubber Bands or String: To secure the plastic wrap or bag around the pot or cutting, maintaining the desired humidity for successful propagation.
4. Take A Cutting
Taking a Monstera cutting is a pivotal step in propagation, involving the use of pruning shears or a knife. The cut should be made 6-12 inches below a node, a crucial point on the plant where leaves and aerial roots emerge. This specific length ensures the cutting has enough stored energy for sustained growth and establishes a robust foundation for root development.
The node contains essential cells that trigger the formation of roots, allowing the cutting to transition into an independent, healthy plant. By making a clean cut below the node, you provide the cutting with optimal conditions to thrive, encouraging a vigorous start for its journey toward becoming a mature and flourishing Monstera plant.
5. Remove Excess Leaves

Trim excess leaves and stems from the cutting, retaining only one or two leaves. This process serves a vital purpose by conserving energy for the establishment of roots. By reducing the foliage, the cutting directs its energy towards root development, ensuring that the plant allocates resources efficiently.
This strategic pruning minimizes stress on the cutting, allowing it to focus on building a strong root system, which is essential for its successful transition into a new, independent plant. As a result, the propagated Monstera cutting can channel its energy effectively, promoting healthy root growth and increasing the likelihood of a thriving and resilient new plant.
6. Apply Rooting Hormone (Optional)
Applying the rooting hormone during Monstera propagation is an optional but beneficial step. Rooting hormone contains growth-promoting substances that encourage faster root development. By dipping the cut end of the Monstera into rooting hormone, you enhance the chances of successful propagation.
The hormone provides a boost to the cutting, stimulating the formation of roots and increasing its ability to establish itself in the growing medium. It acts as a helpful tool in maximizing the success rate of Monstera propagation, providing the cutting with additional support as it transitions from a cut segment to a self-sustaining, rooted plant.
7. Prepare The Potting Medium
Fill small containers with either water or a rooting medium such as sphagnum moss. This choice depends on your preferred method of propagation. Water provides a simple and effective medium for root initiation, while sphagnum moss offers a more structured environment with moisture-retaining properties.
The selected medium serves as the foundation for the cutting's early stages of root development. It provides essential support, hydration, and nutrients to facilitate the growth of healthy roots. Ensuring the potting medium is well-prepared is key to creating a conducive environment that promotes successful root establishment for the Monstera cutting during the propagation journey.
8. Plant The Cutting
Planting the Monstera cutting involves submerging the node(s) into the prepared potting medium, ensuring the cutting is securely positioned. If opting for water propagation, maintain a water level approximately an inch or two above the node. This immersion encourages the development of roots from the node, utilizing the chosen medium to provide stability and support to the cutting.
By carefully establishing the cutting in the potting medium, whether water or another rooting medium, you optimize the conditions for successful root growth and the subsequent flourishing of your propagated Monstera plant.
9. Cover With Plastic
Covering the planted Monstera cutting with plastic wrap creates a humid microenvironment around the pot or cutting, fostering optimal conditions for root development. The plastic wrap or bag acts as a protective barrier, preventing excessive moisture loss and maintaining a consistently humid atmosphere.
This is particularly beneficial for encouraging the cutting to focus its energy on root growth rather than transpiration. The elevated humidity within the enclosure stimulates the development of roots from the node, enhancing the chances of successful propagation. Regularly monitoring and adjusting the cover ensures a stable and conducive environment, supporting the cutting's transition into a self-sustaining, rooted Monstera plant.
10. Place In Indirect Light
Indirect light provides a gentle and diffused illumination that is ideal for the young plant's early growth stages. Unlike direct sunlight, which can be harsh and potentially harm the delicate cutting, indirect light offers a balanced and nurturing environment.
This placement strategy supports photosynthesis, allowing the plant to generate energy without the risk of sunburn. It's essential to shield the young Monstera from intense sunlight during this vulnerable period, ensuring a gradual and healthy transition from a cutting to a well-established, thriving plant.
11. Maintain Humidity
Maintaining humidity is crucial for the successful propagation of the Monstera cutting, especially when using a plastic cover. Regularly monitor the humidity levels around the cutting to create an environment conducive to root development. The plastic cover helps retain moisture, but excessive humidity can lead to mold growth.
Therefore, it's essential to open the cover periodically to introduce fresh air and prevent mold. This practice ensures a balance between maintaining the necessary humidity for the cutting's growth and preventing the development of harmful mold. By carefully managing humidity levels, you create optimal conditions that support the cuttings.
12. Transplanting
![]()
Once the cutting has developed sufficient roots, usually a few inches long, it's ready for relocation. Transplant it into a larger pot filled with standard potting mix, ensuring ample space for continued growth. This step is vital for accommodating the emerging root system and supporting the plant's transition to a more established phase of development.
Patience is key, as successful propagation can take weeks to months. Considering multiple cuttings increases the likelihood of success, providing more opportunities for the growth of healthy and thriving Monstera plants. Through careful transplanting and ongoing care, you foster these low-maintenance plant journeys from propagation to becoming a flourishing, independent member of your plant collection.
Recent posts
How To Propagate
How To Propagate
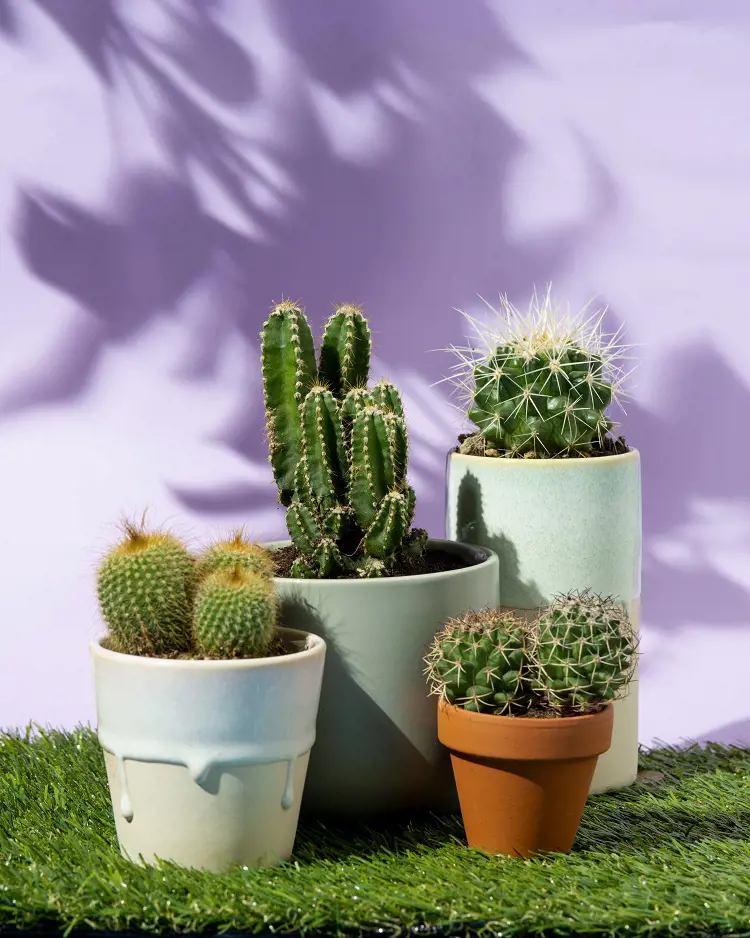
How To Propagate Cactus In 9 Ways
Propagation involves creating new plants from existing ones. In nature, this often happens through seed formation after flowers are pollinated. However, due to the shrinking natural habitats of cactus, it’s essential to propagate and care for t...
How To Propagate
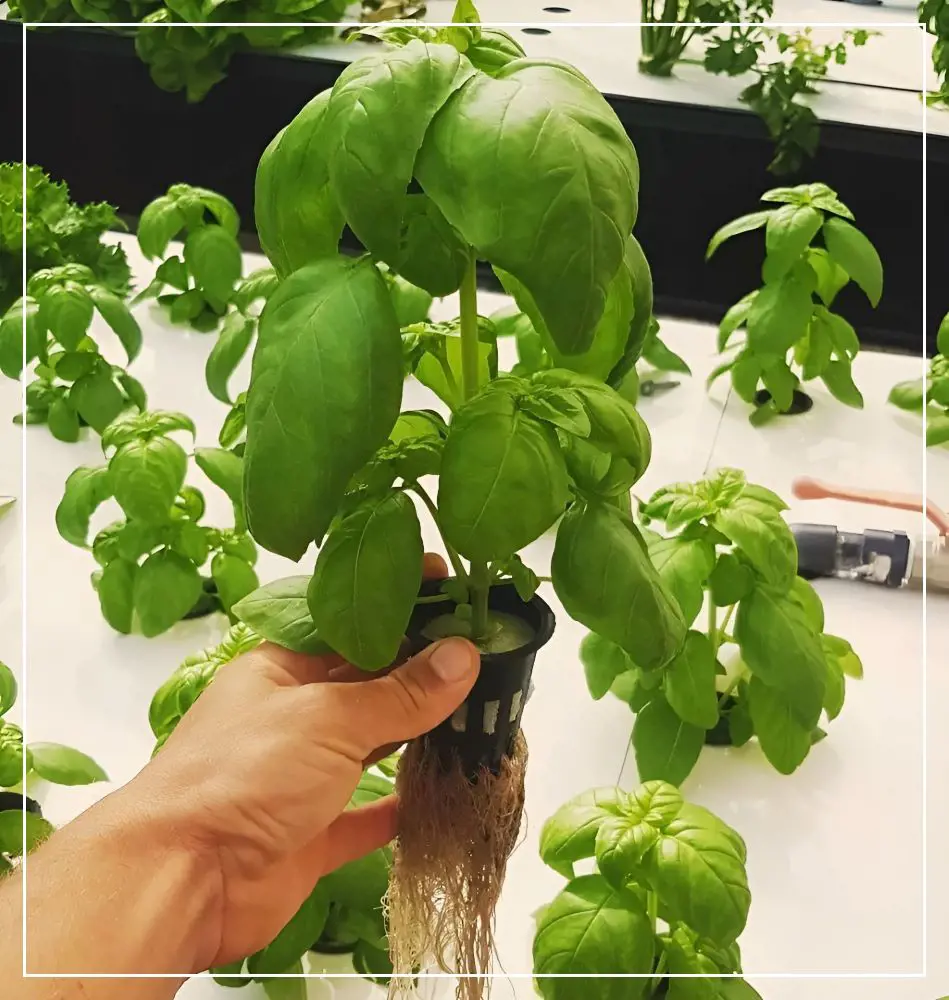
Basil Propagation Methods: Flowers, Seeds or Cuttings
In the realm of culinary delights and garden magic, basil stands as a beloved herb, prized for its aromatic leaves and versatility in the kitchen. Yet, unlocking the secrets of basil propagation opens up a whole new realm of possibilities. From the d...
How To Propagate
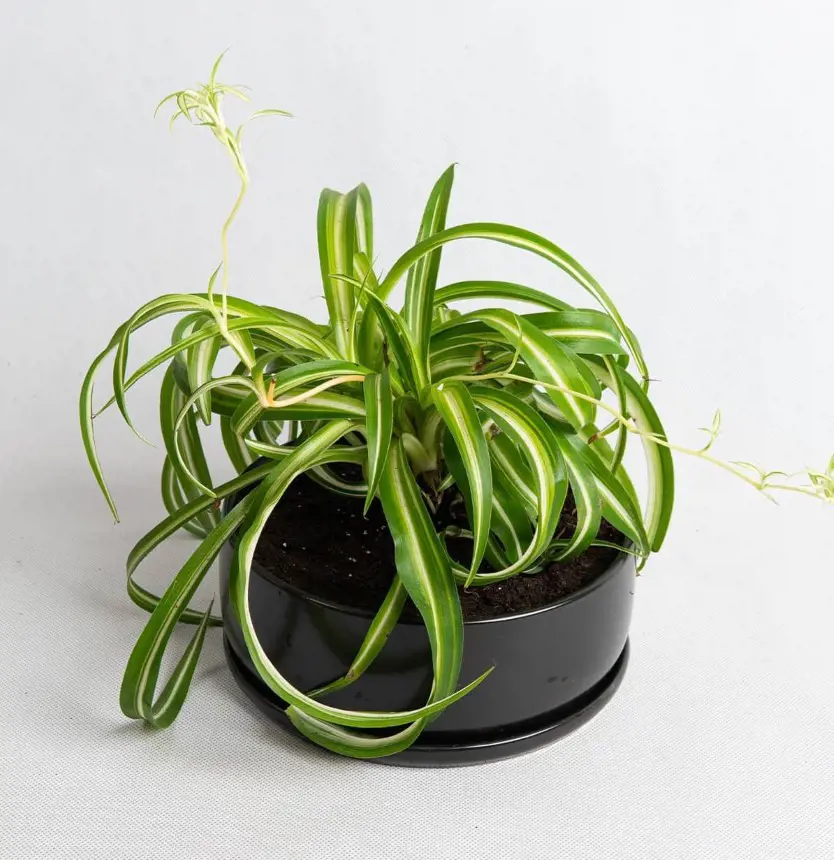
How To Propagate Spider Plant
The Spider Plant is a resilient indoor plant appreciated for its arching leaves and spider-like offshoots. It's an ideal choice for plant enthusiasts due to its easy care. Propagating these plants is also simple and can be done in various ways, such ...
How To Propagate
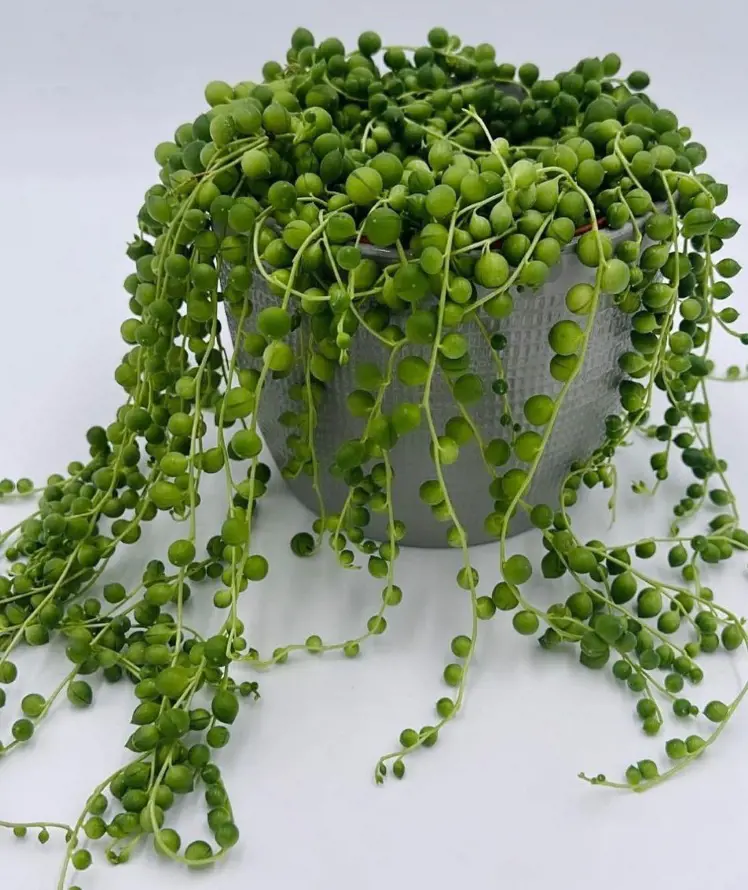
How To Propagate String Of Pearls
Propagating String of Pearls is a fascinating and fulfilling process that allows you to create new plants from an existing one. This plant is a cute succulent from South Africa, known scientifically as Senecio Rowleyanus. It has long, hanging stems w...
How To Propagate
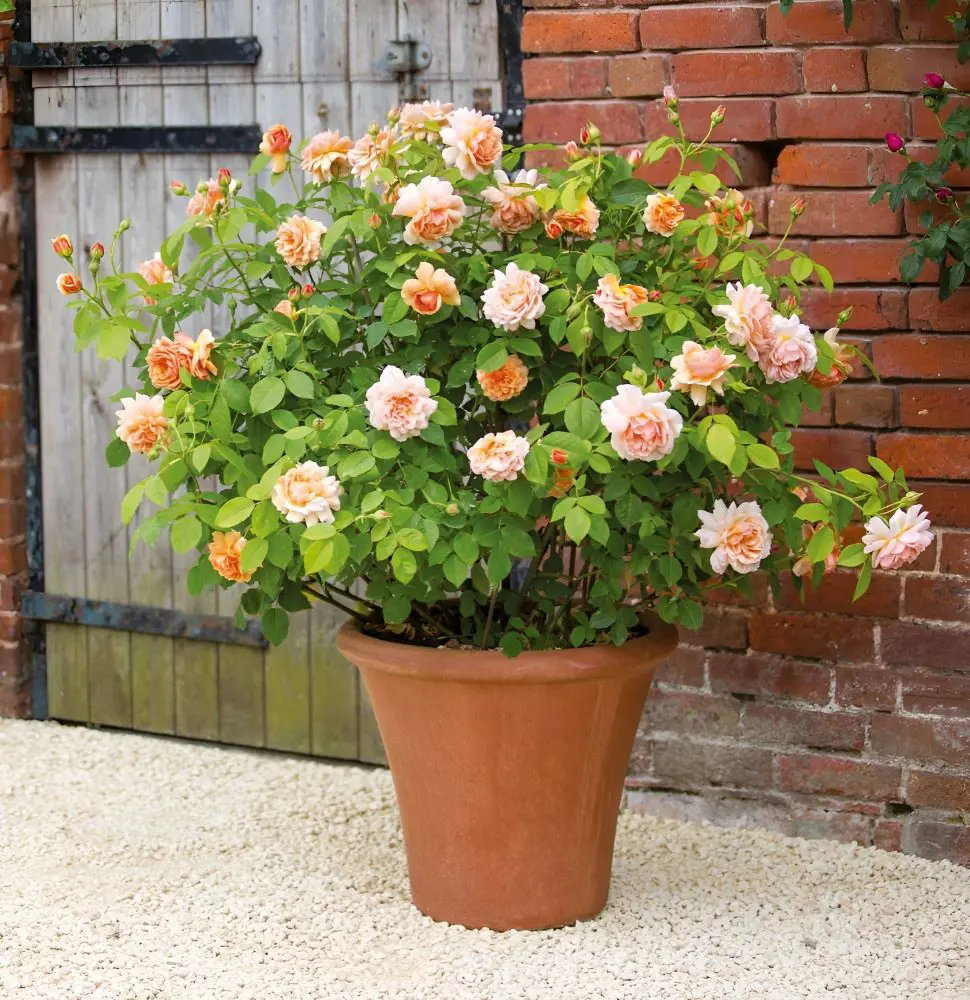
How To Propagate Roses In 12 Steps
Propagating roses might sound fancy, but it's a way to grow new rose plants from existing ones. It's like making baby roses. If you have a beautiful rose bush and want more just like it, you can do this through a process called propagation. Here's a ...
How To Propagate
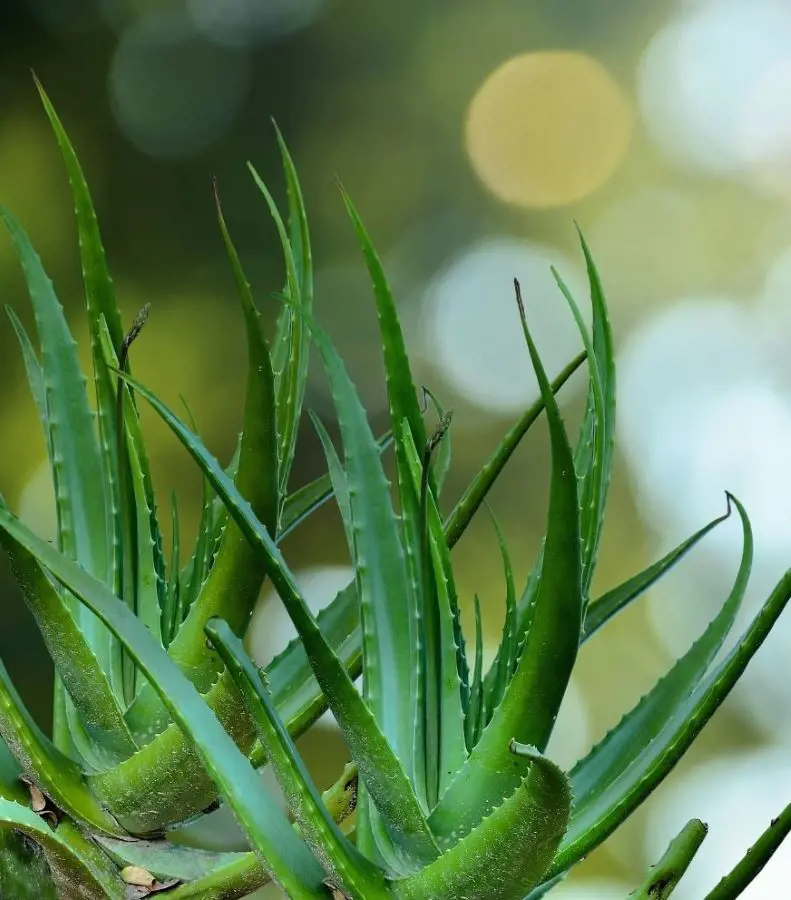
How To Propagate Aloe Vera
If you are in a quest to enlarge the supply of aloe vera plants or share their beauty with your loved ones, then learning how to propagate aloe vera is the right way. It doesn't matter if you are a beginner or an expert, as these ten tips will help y...

