How To Propagate String Of Pearls
By Mlbrun Team
On Apr 19, 2024

This post may contain affiliate links. If you make a purchase through links on our site, we may earn a commission.
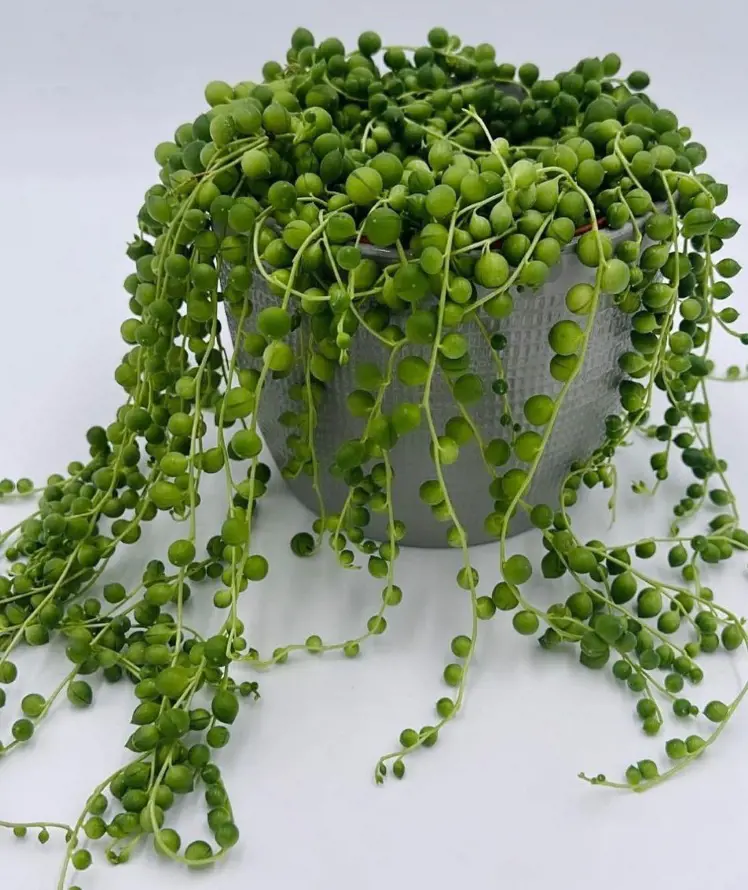
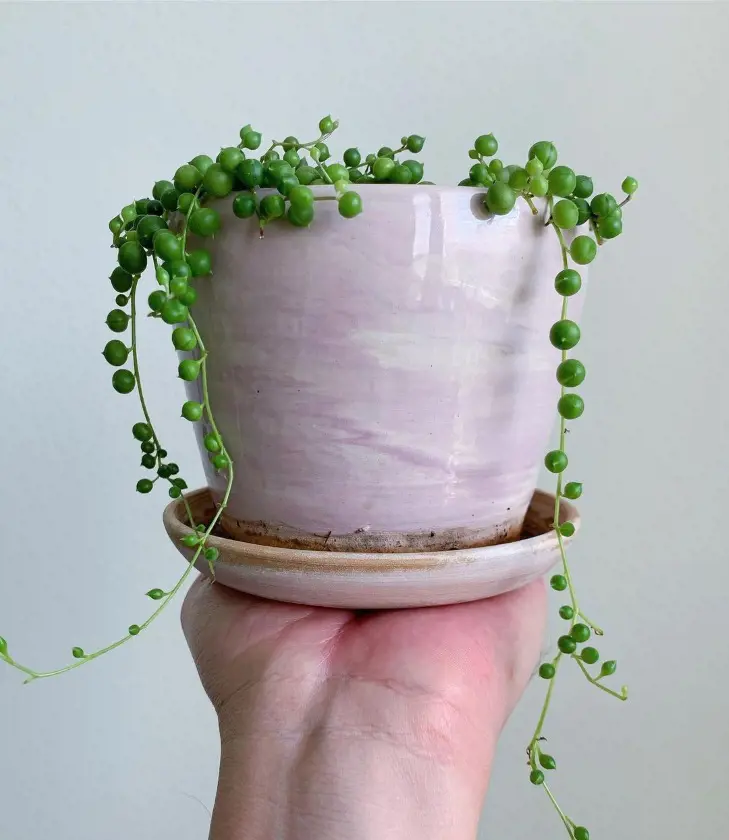
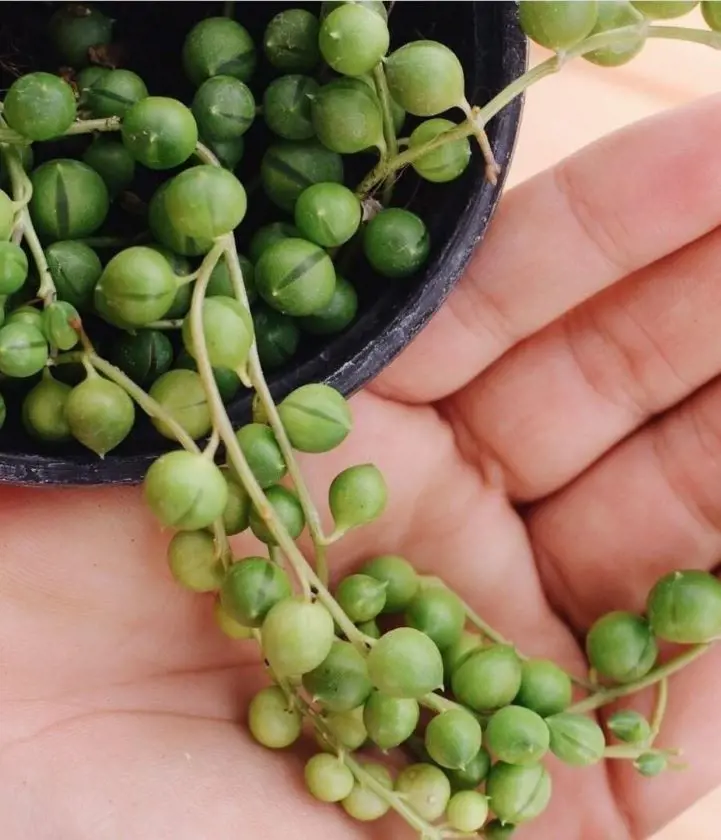
Propagating String of Pearls is a fascinating and fulfilling process that allows you to create new plants from an existing one. This plant is a cute succulent from South Africa, known scientifically as Senecio Rowleyanus. It has long, hanging stems with small, round leaves that look like pearls.
This special succulent, a low-maintenance plant, conserves water in its leaves and is adored for its distinctive appearance and effortless care. When making more string of pearls plants, there's a cool trick to follow. Just observe these steps, and soon you will have lots of these lovely vines making your home look super green and elegant!
1. Select Healthy Parent Plant
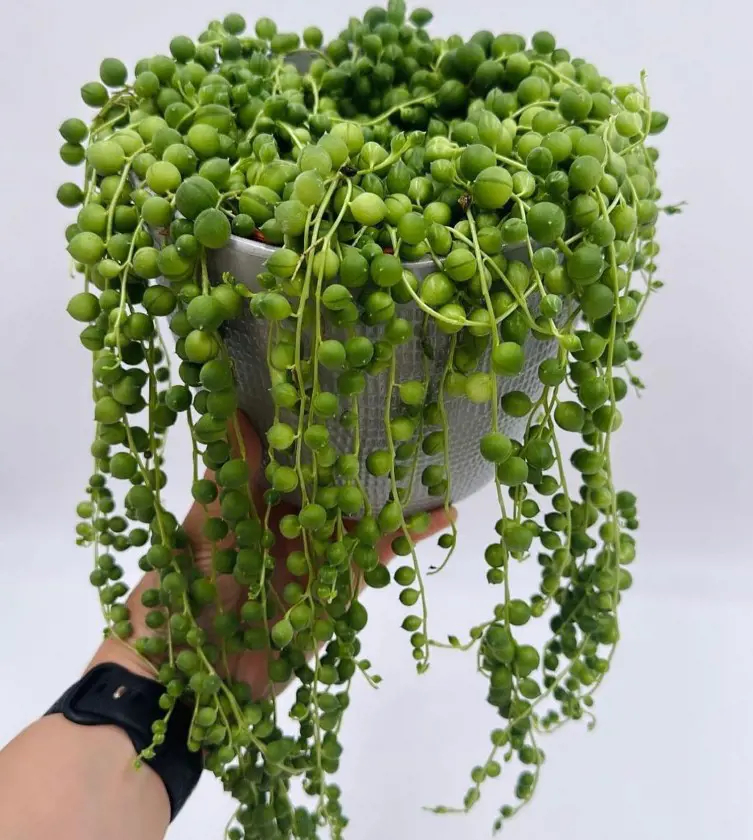
When selecting a healthy parent plant for your string of pearls, opt for a mature one with long, hanging stems. Look for a vibrant green color in the leaves, free from yellowing or browning to identify a healthy plant. Additionally, examine the stems for firmness and avoid those that are soft or mushy.
Healthy roots should be free from any visible pests or diseases, such as spots or webbing. Choosing a plant with evenly spaced leaves along the stems is indicative of balanced growth. A robust, thriving string of pearls is more likely to propagate successfully and yield a strong, new generation of plants.
2. Prepare Cutting Tools
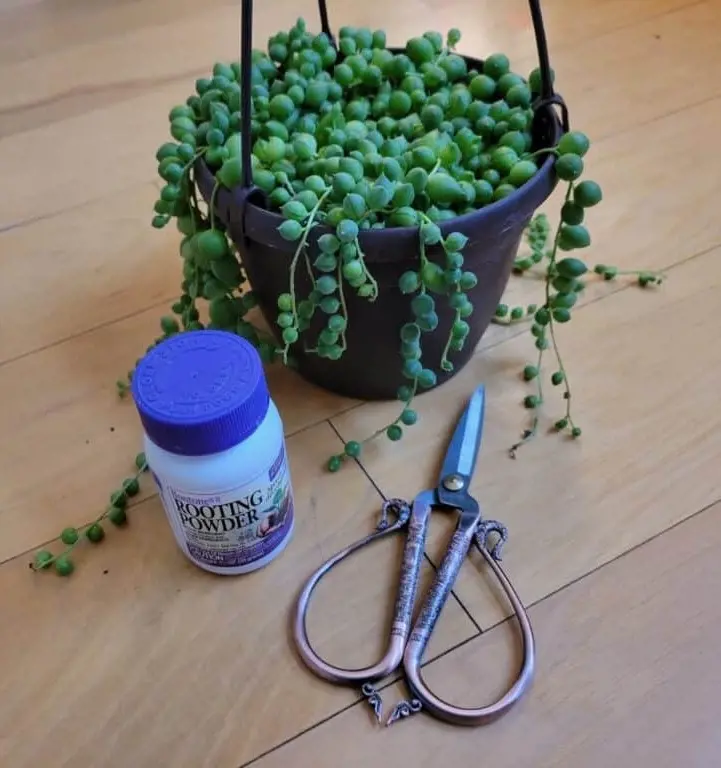
Utilize clean and sharp scissors or pruning shears to prepare the cutting tools for taking cuttings from the plant. These tools should be free from any dirt and debris. When using scissors, make sure the blades are sharp to make clean cuts. For pruning shears, check that the blades are well-maintained and can easily cut through the plant stems.
Then, hold the tool properly, align it with the stem, and make a swift, clean cut. This helps the cutting to heal better. Avoid using dull or dirty tools, as they can damage the plant and impede the propagation process. Keeping the cutting tools in good condition promotes a healthy start for the new plants.
3. Choose Suitable Cuttings
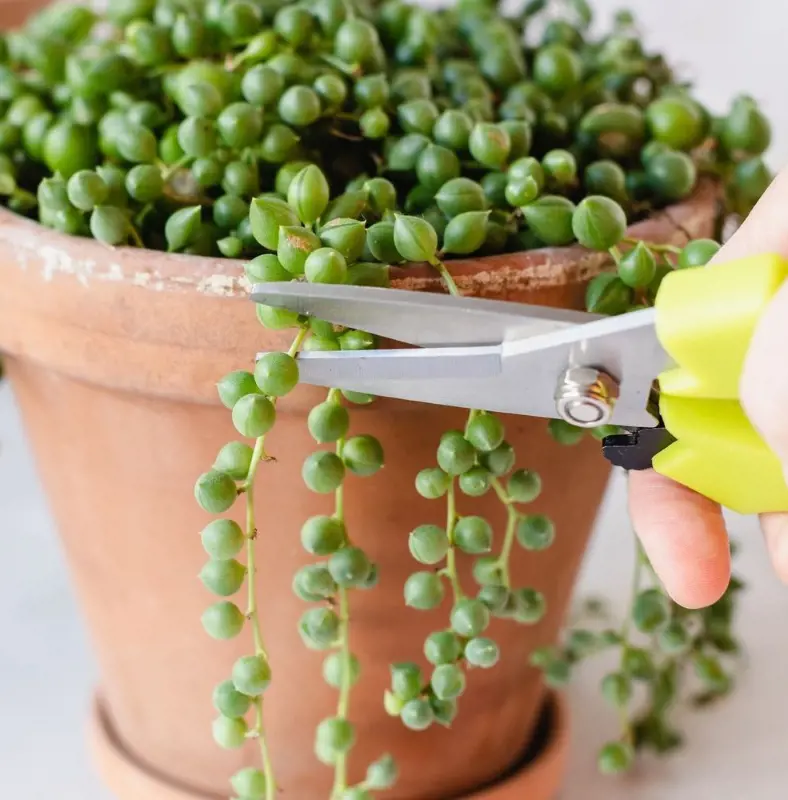
To initiate the preparation of cuttings for your string of pearls, trim about 4 to 6 inches of stem below a pearl node. A node is a tiny bump on the stem where a new leaf can germinate. These nodes are essential for effective propagation as they contain the genetic material needed to develop roots and grow into a new plant.
While cutting your vines, make numerous cuttings. Making multiple cuttings increases your chances of success, as not all cuttings may prosper. By taking several cuttings, you enhance the likelihood that at least some will develop roots and flourish into healthy plants.
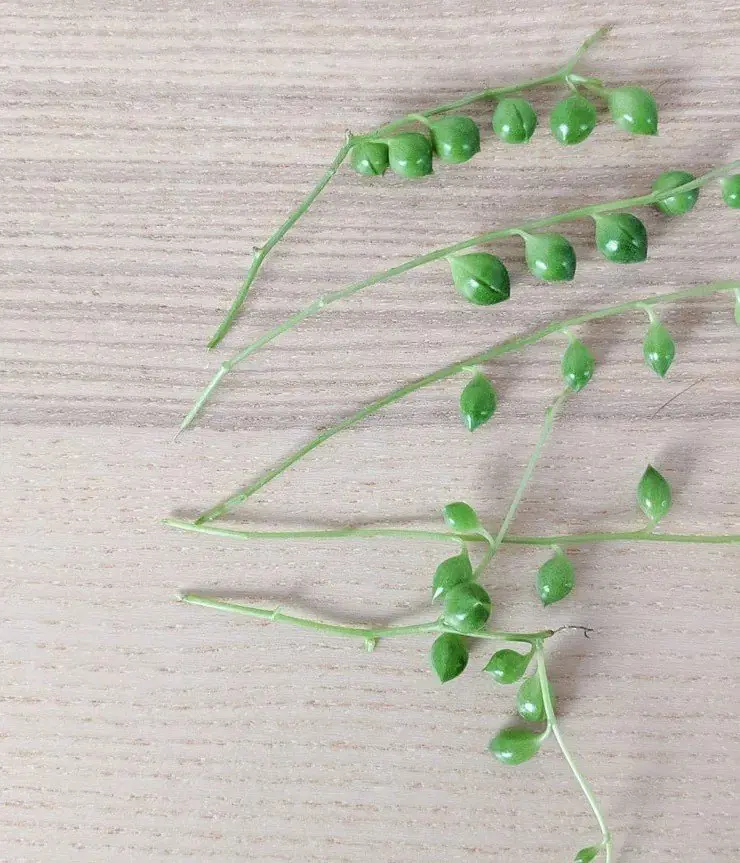
4. Remove Bottom Pearls
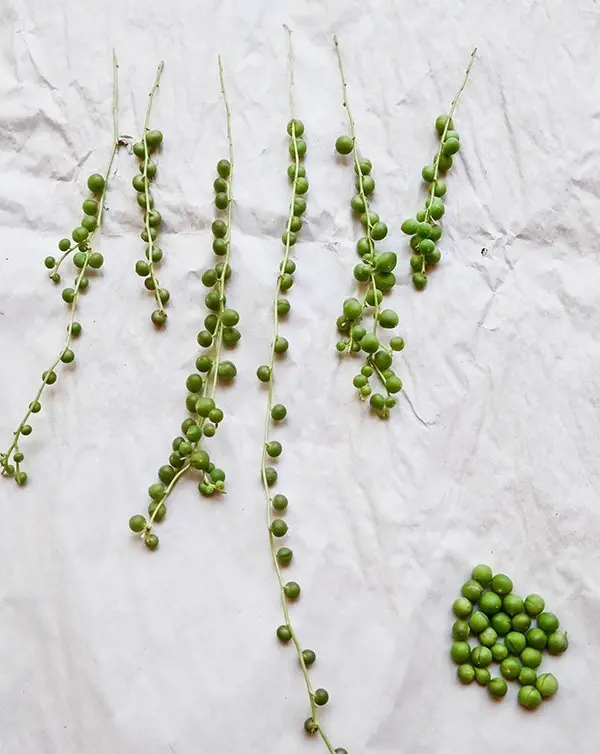
Remove the bottom 1-2 pearls from each cutting by gently separating them, thus exposing the stem. This step is crucial as it aids in preventing rot when the cuttings are placed in water. The removal of these lower leaves eliminates the submerged part, which can contribute to decay if left intact.
By exposing the stem, you create an environment that discourages the growth of harmful microorganisms, ensuring the cutting's overall health during the initial stages of propagation. To remove the lower leaves effectively, gently hold the cutting and delicately detach the pearls, taking care not to damage the stem.
5. Allow Cuttings To Callus
After cutting, let the cuttings rest in a dry and shaded area for approximately 24 hours to allow the cut ends to form a protective layer called a callus. This callus helps prevent excess moisture from entering a cutting, reducing the risk of rot. Also, it safeguards the exposed ends, assuring their resilience and readiness for the next phase of growth.
The dry and shaded environment promotes optimal callus formation. During this resting period, the cuttings undergo a natural healing process, preparing them for the successful development of roots once they are ready to be planted or placed in water for further propagation.
6. Prepare Potting Mix
A recommended mix typically includes a combination of regular potting soil. When choosing the type of soil for your cuttings, consider a blend that incorporates regular potting soil along with perlite and coarse sand. This blend ensures proper aeration, prevents waterlogging, and promotes a healthy climate for root development.
You can also find pre-made succulent or cactus mixes in gardening stores, specifically formulated for the needs of succulent plants like the string of pearls. It's essential to choose a mix that allows excess water to drain quickly, preventing issues such as root rot.
7. Select Suitable Containers
String of pearls requires small pots or containers with drainage holes to prevent waterlogging. Choose a size that is suitable for the cuttings, allowing big space for root development. Going for smaller containers helps regulate water, minimizing the risk of overwatering and maintaining the ideal moisture level for the plant.
Furthermore, the inclusion of drainage holes is essential as they facilitate the drainage of excess water, helping to avoid conditions that may lead to root rot. Containers crafted from materials like plastic or terracotta are especially well-suited for planting these vines.
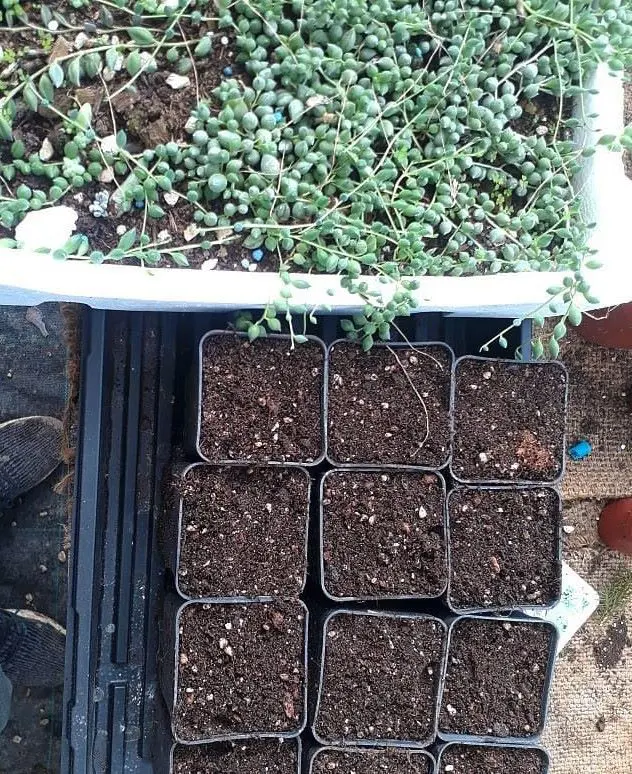
8. Plant Cuttings
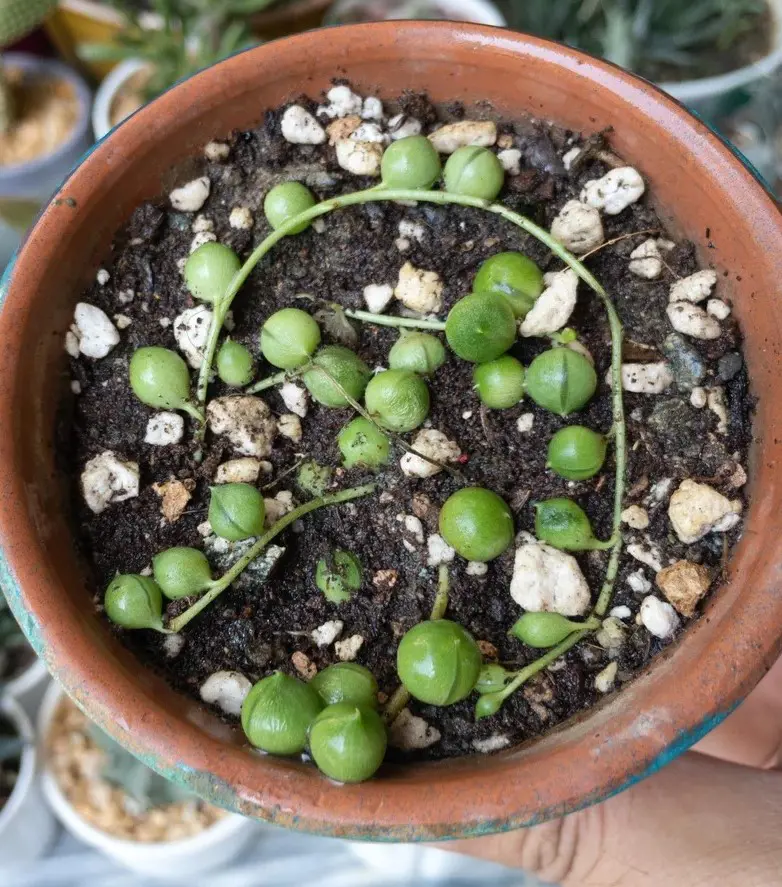
Once you have chosen your container, plant the cuttings of these vines with the previously made potting mix. To do this, make a hole in the mix using your finger or a tool, and gently insert the cut end of each stem into the soil, burying them about 1-2 inches deep. Confirm the cuttings are free from any damages before planting.
The soil should be well-draining to prevent excessive moisture, which can be harmful to the developing roots. Gently press the soil around the cuttings to secure them in place. This planting process is best done during the active growth period, commonly in spring or early summer.
9. Water Carefully
Water your vines right after planting, giving the newly planted cuttings a light watering to prevent overwatering. Allow the soil to dry out between waterings, ensuring it stays consistently moist but not soggy. When watering, apply a light touch to keep the soil consistently damp without leading to waterlogged conditions.
The delicate stems are prone to rotting if overwatered, so it's necessary to monitor the soil's moisture level. By understanding how to water these plants properly, you contribute to their well-being, promoting optimal conditions for growth and preventing potential issues associated with excessive moisture.
10. Provide Indirect Light
These vines need to be placed in a location inside your home where they can receive bright, indirect light. So, choose areas that offer filtered or diffused sunlight, such as near a window with sheer curtains. It's important to avoid exposing them to direct sunlight, especially during the hottest part of the day, to prevent potential damage like sunburn.
Ideal locations include rooms with plentiful natural light but without the intensity of direct sunlight. Also, these can be positioned on a shelf or table, where they can benefit from the gentle light. Providing this type of light environment helps simulate their natural habitat conditions, promoting the health and well-being of your plant.
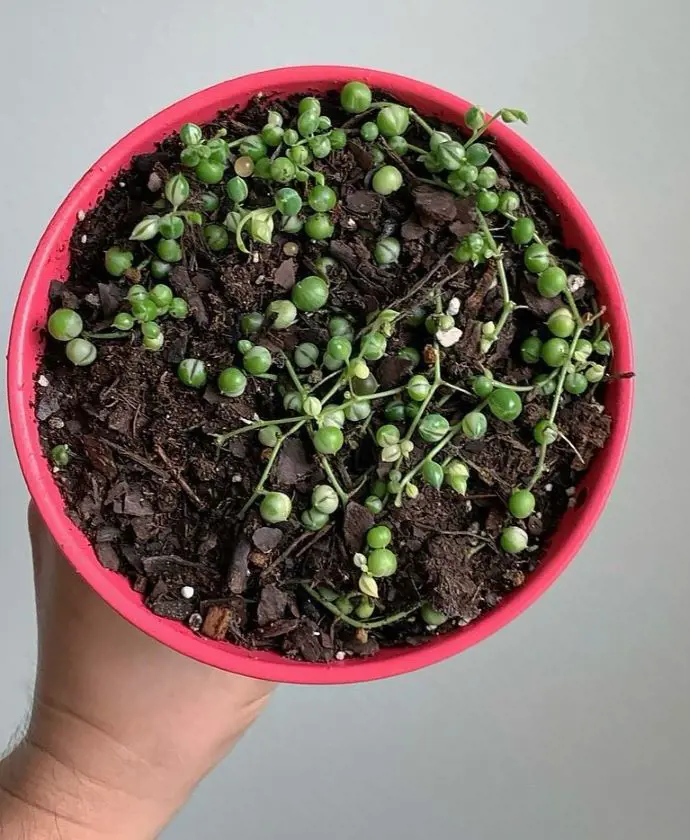
11. Monitor Root Growth
After a few weeks of planting, monitor the root growth of your plant. To assess root development, gently tug on the cuttings and observe if there is resistance. The presence of resistance indicates that roots have started to form in the propagation process. This simple check helps you determine the progress of your plants without disturbing them excessively.
If you feel resistance, it's a positive sign that the cuttings are establishing roots and adapting to their new environment. However, if there is no resistance, continue to provide a stable environment and allow more time for root development before rechecking.
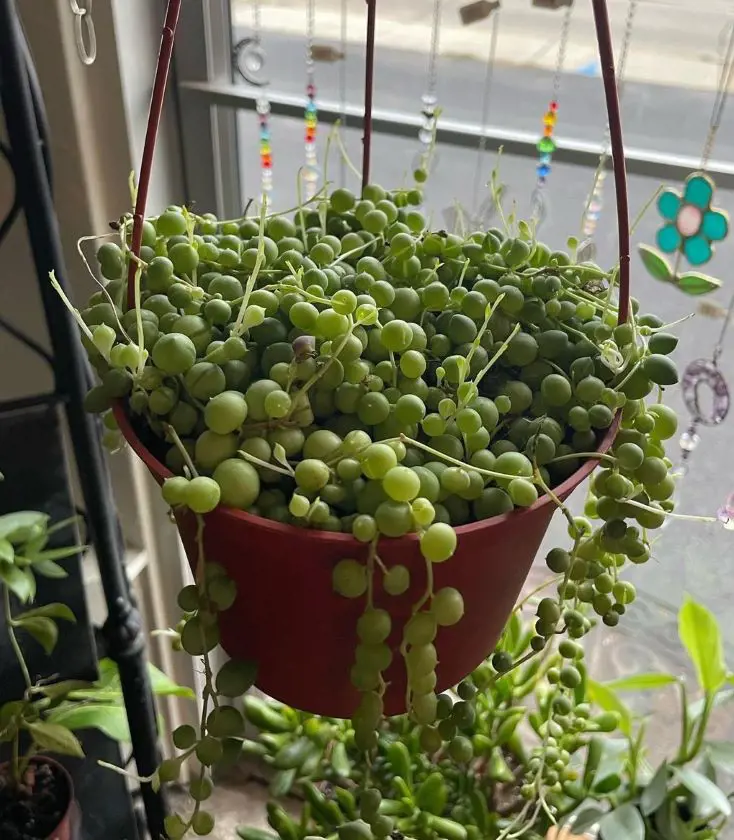
12. Transplant As Needed
![]()
Once the cuttings of your string of pearls have successfully established roots and are exhibiting healthy growth, it's advisable to consider transplanting them. This step involves moving the plants from their initial smaller containers to larger ones or combining multiple plants in a hanging basket.
Combining multiple of these vines in a hanging basket can create a visually appealing arrangement while accommodating the growth of various types. Transplanting further permits your plants more space for continued growth and development. Plus, larger containers allow plants to spread more, promoting a healthier root system.
Recent posts
How To Propagate
How To Propagate
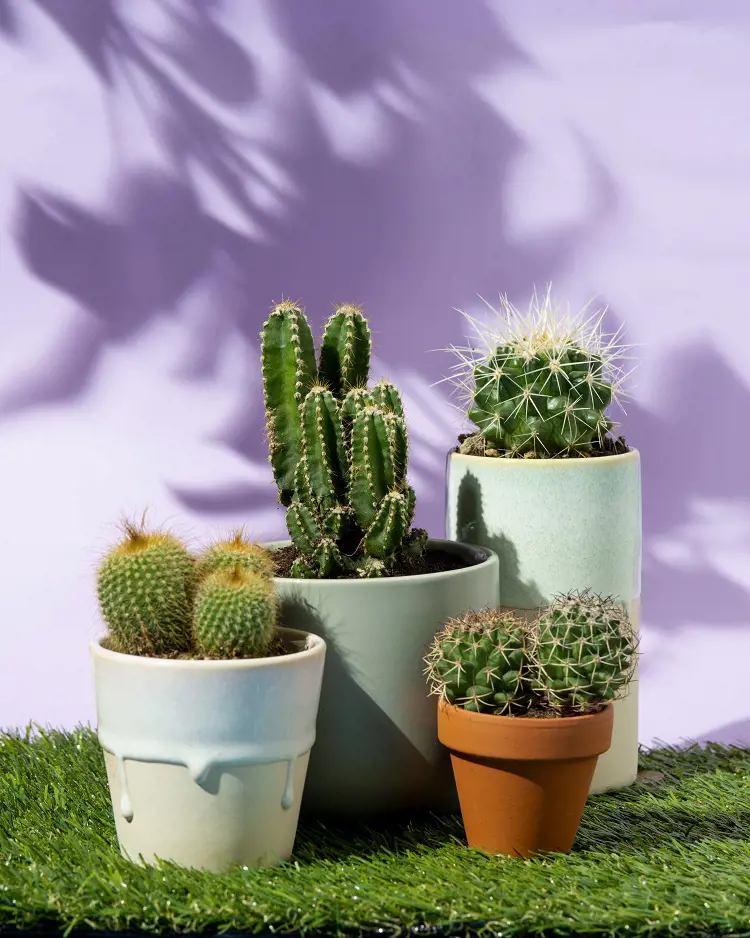
How To Propagate Cactus In 9 Ways
Propagation involves creating new plants from existing ones. In nature, this often happens through seed formation after flowers are pollinated. However, due to the shrinking natural habitats of cactus, it’s essential to propagate and care for t...
How To Propagate
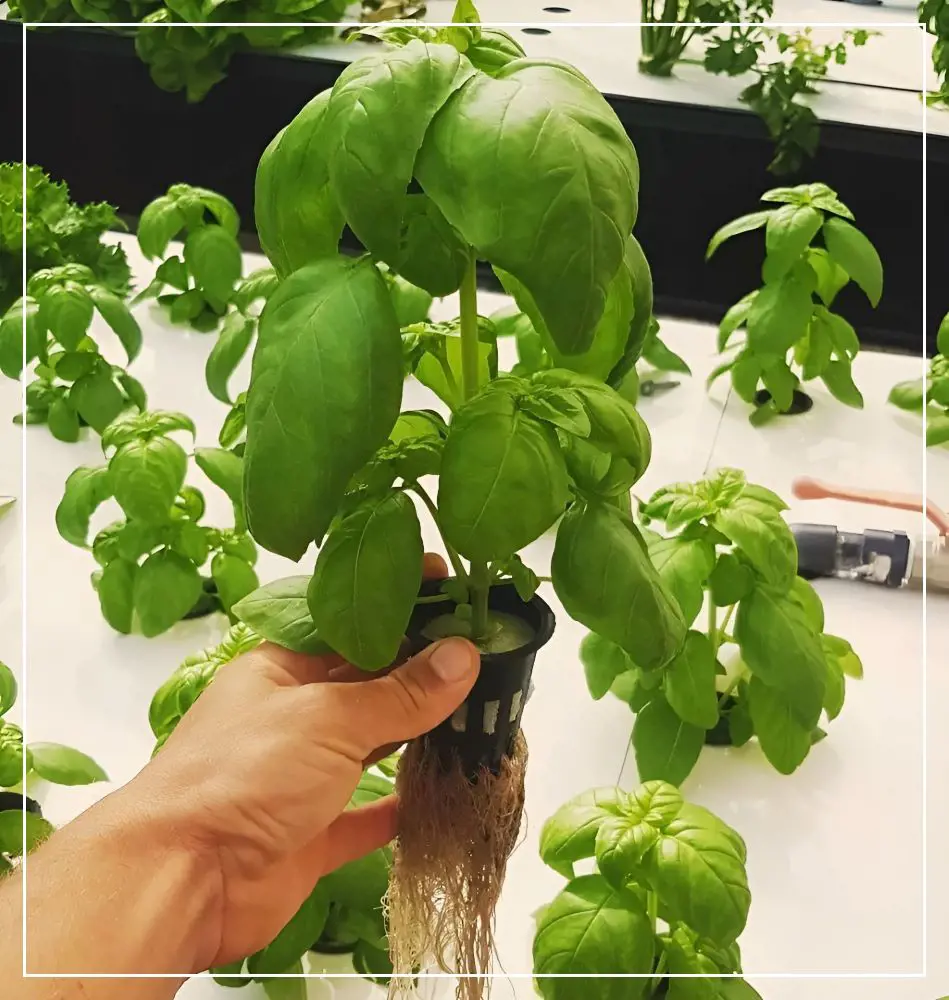
Basil Propagation Methods: Flowers, Seeds or Cuttings
In the realm of culinary delights and garden magic, basil stands as a beloved herb, prized for its aromatic leaves and versatility in the kitchen. Yet, unlocking the secrets of basil propagation opens up a whole new realm of possibilities. From the d...
How To Propagate
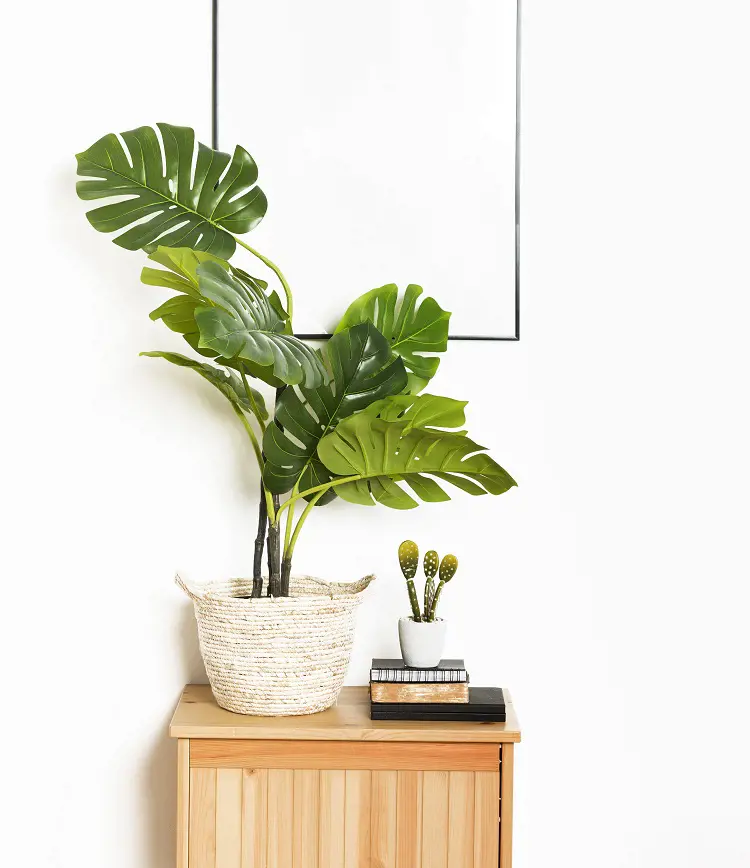
How To Propagate Monstera Deliciosa
Monstera plants are popular indoor plants, making homes and offices cheerful and stylish. They're not just easy to grow but also thrive in any indoor setting. But if you're wondering how to make more Monstera plants, it might seem tricky. Start...
How To Propagate
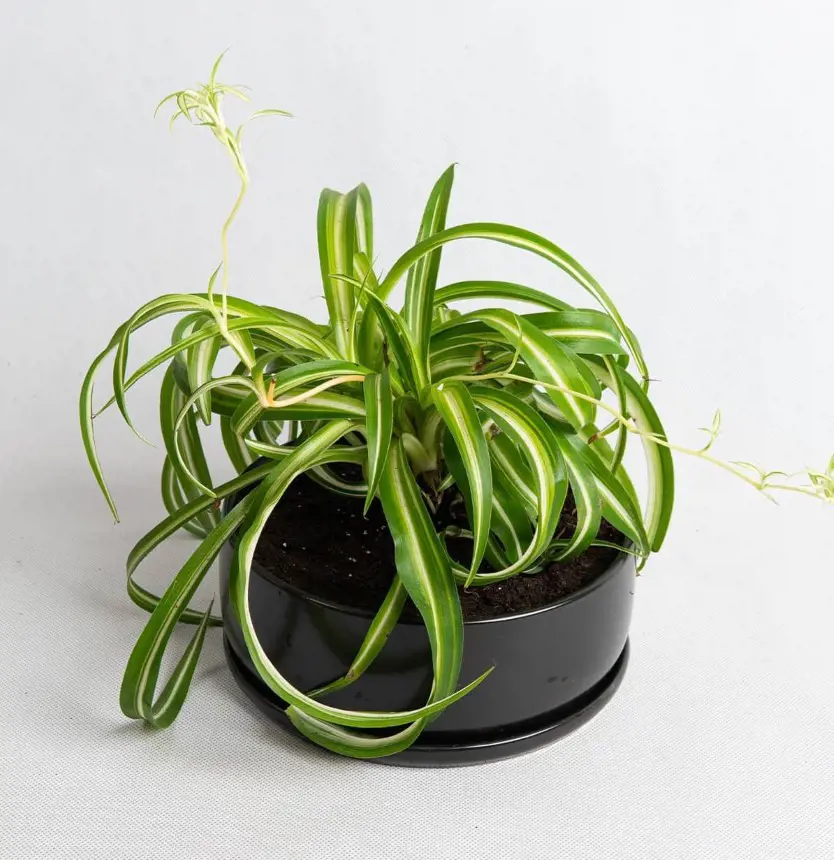
How To Propagate Spider Plant
The Spider Plant is a resilient indoor plant appreciated for its arching leaves and spider-like offshoots. It's an ideal choice for plant enthusiasts due to its easy care. Propagating these plants is also simple and can be done in various ways, such ...
How To Propagate
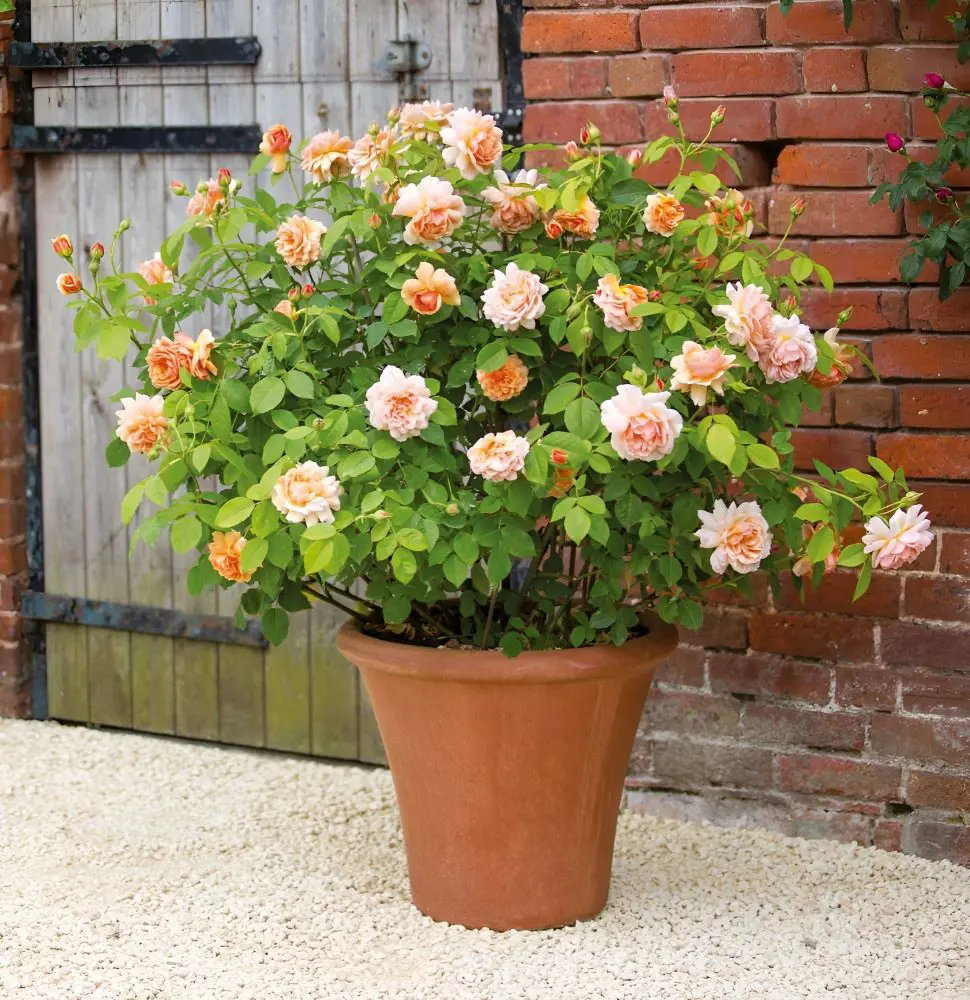
How To Propagate Roses In 12 Steps
Propagating roses might sound fancy, but it's a way to grow new rose plants from existing ones. It's like making baby roses. If you have a beautiful rose bush and want more just like it, you can do this through a process called propagation. Here's a ...
How To Propagate
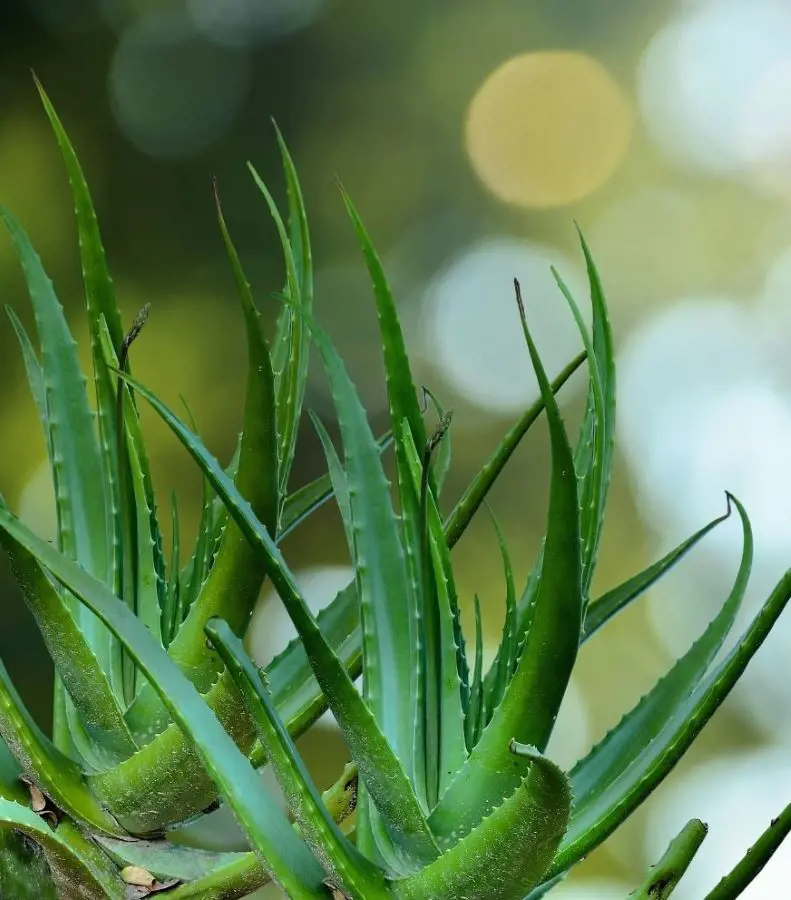
How To Propagate Aloe Vera
If you are in a quest to enlarge the supply of aloe vera plants or share their beauty with your loved ones, then learning how to propagate aloe vera is the right way. It doesn't matter if you are a beginner or an expert, as these ten tips will help y...