Basil Propagation Methods: Flowers, Seeds or Cuttings
By Mlbrun Team
On May 23, 2024

This post may contain affiliate links. If you make a purchase through links on our site, we may earn a commission.
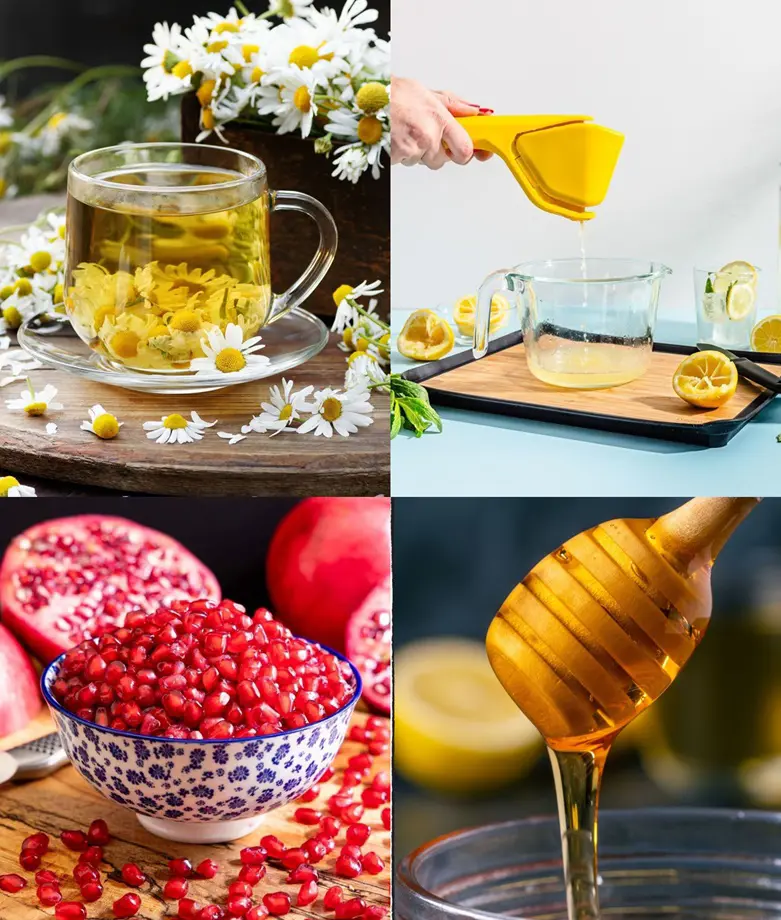
In the realm of culinary delights and garden magic, basil stands as a beloved herb, prized for its aromatic leaves and versatility in the kitchen. Yet, unlocking the secrets of basil propagation opens up a whole new realm of possibilities.
From the delicate dance of flowers to the promise held within seeds and the art of nurturing cuttings, there are several paths to propagate this cherished herb.
Basil Propagation
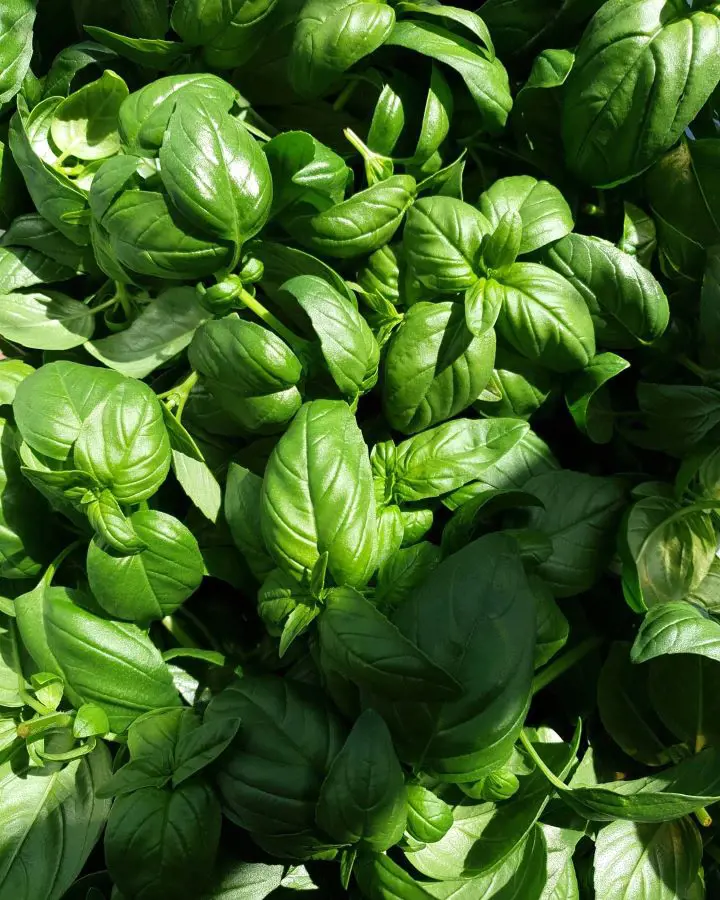
Basil propagation refers to the process of reproducing basil plants from existing ones, allowing you to expand your basil garden without having to purchase new plants. Basil, the king of fragrant herbs, is a beloved addition to kitchens and gardens worldwide. Its sweet, slightly peppery aroma and versatile flavor profile make it a culinary superstar.
From the vibrant green leaves of sweet basil gracing caprese salad and pesto to the citrusy notes of Thai basil in stir-fries, it elevates dishes with its fresh, herbaceous punch.
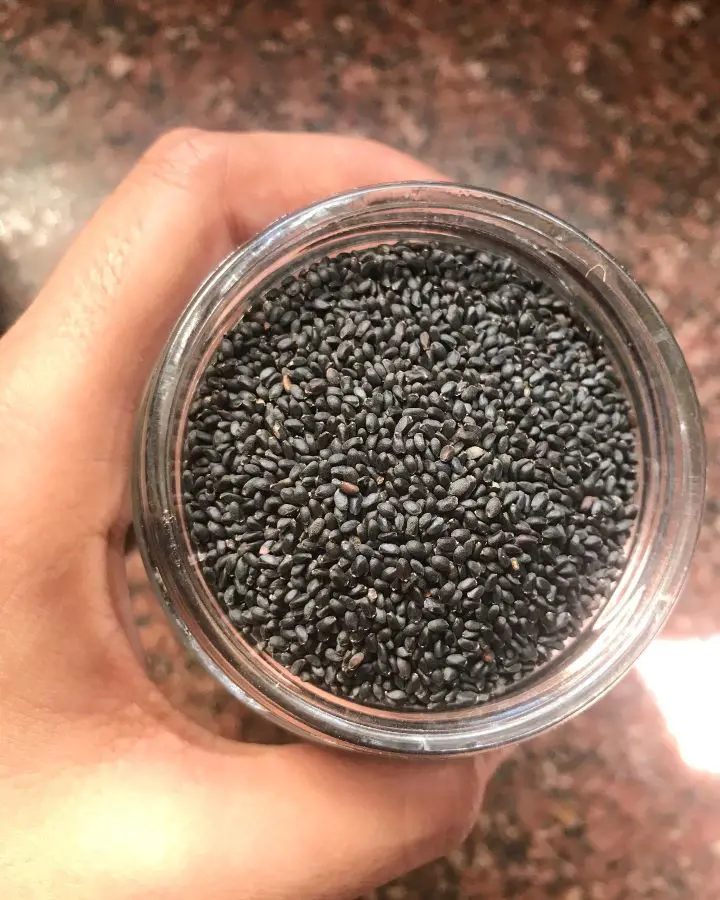
Propagation by Flowers
While not the most common method, propagating basil through its tiny black seeds, nestled within its delicate flowers, offers a unique and rewarding experience for dedicated herb enthusiasts.
This method, though slightly more involved, promises offspring that inherit the exact characteristics of their parent plant, potentially leading to higher yields and a truly personalized basil bounty.
Setting the Stage: Pollination and Seed Formation
The journey begins with the humble basil flower. Unlike many other flowering plants, basil exhibits a phenomenon called "cleistogamy," where self-pollination occurs within the closed flower bud, even before it opens. This ensures successful seed production even in the absence of pollinators like bees or butterflies.
Harvesting and Storing Tiny Treasures
Gently pinch the dried calyx between your fingers, and you'll be rewarded with a handful of tiny, black basil seeds. Be careful not to apply too much pressure, as you might crush the delicate seeds.
Spread the harvested seeds on a clean paper towel or plate to dry completely in a cool, well-ventilated area. Avoid direct sunlight, as it can damage the seeds. Once thoroughly dry, store them in an airtight container placed in a cool, dark location like a pantry or refrigerator.
Sowing the Seeds of Success
When spring arrives and the planting season beckons, it's time to awaken your basil seed treasures. Fill a small pot or seed tray with a well-draining potting mix specifically formulated for seedlings. Moisten the mix slightly, making it damp but not soggy.
Sow the seeds on the surface of the soil, gently pressing them down with your fingertips to ensure good contact. Unlike regular basil seeds, flower seeds might require a bit more light for germination, so cover the pot or tray with a clear plastic dome or plastic wrap to create a mini greenhouse.
Place the container in a warm, sunny location with temperatures around 70–75°F (21–24°C). Keep the soil consistently moist, but avoid overwatering, as it can lead to damping-off disease.
Witnessing the Miracle of Life
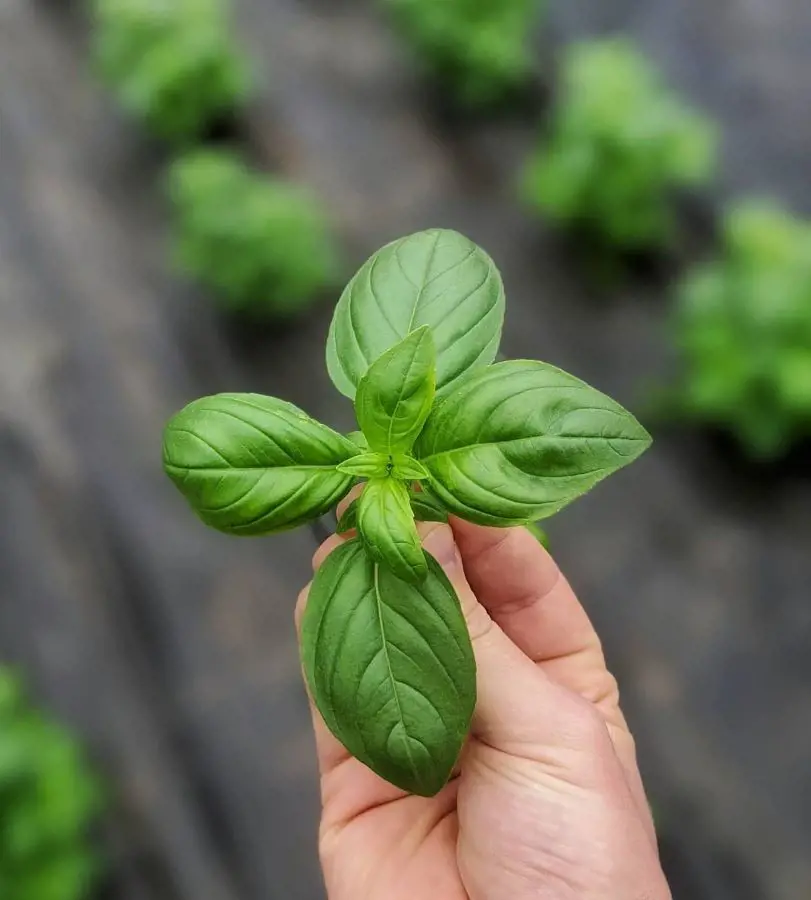
With proper care, tiny green sprouts should emerge within 7–10 days, pushing through the soil and reaching for the sunlight. Once the seedlings have developed their first set of true leaves, you can thin them out if necessary, leaving the strongest ones to thrive.
As the seedlings grow sturdier, gradually acclimate them to outdoor conditions before finally transplanting them into your garden bed or larger pots.
Propagation by Seeds
Sowing seeds is the most common and beginner-friendly way to bring the fragrant magic of basil into your garden. It's a straightforward process that offers a sense of accomplishment and the joy of watching tiny sprouts transform into lush basil plants. Let's delve into the details of seed propagation step-by-step and explore its advantages and considerations.
Choosing Your Seeds
The first step is selecting the perfect seeds for your culinary adventures. Basil boasts a diverse family, each variety offering unique flavors, aromas, and growth habits. Popular choices include:
- Sweet basil: The all-rounder, known for its classic anise-like aroma and versatility in various dishes.
- Thai basil: Packs a punch with its spicy, licorice-tinged flavor, perfect for Southeast Asian cuisine.
- Lemon basil: Infuse dishes with a refreshing citrusy zest, ideal for salads and pesto.
- Purple basil: Adds a vibrant pop of color to your garden and dishes, with a slightly milder flavor than sweet basil.
You can find basil seeds at most garden centers, and online retailers, or even save them from your own mature plants (more on that later!). Opt for reputable brands and choose seeds packaged within the current year for optimal germination rates.
Preparing the Seedbed
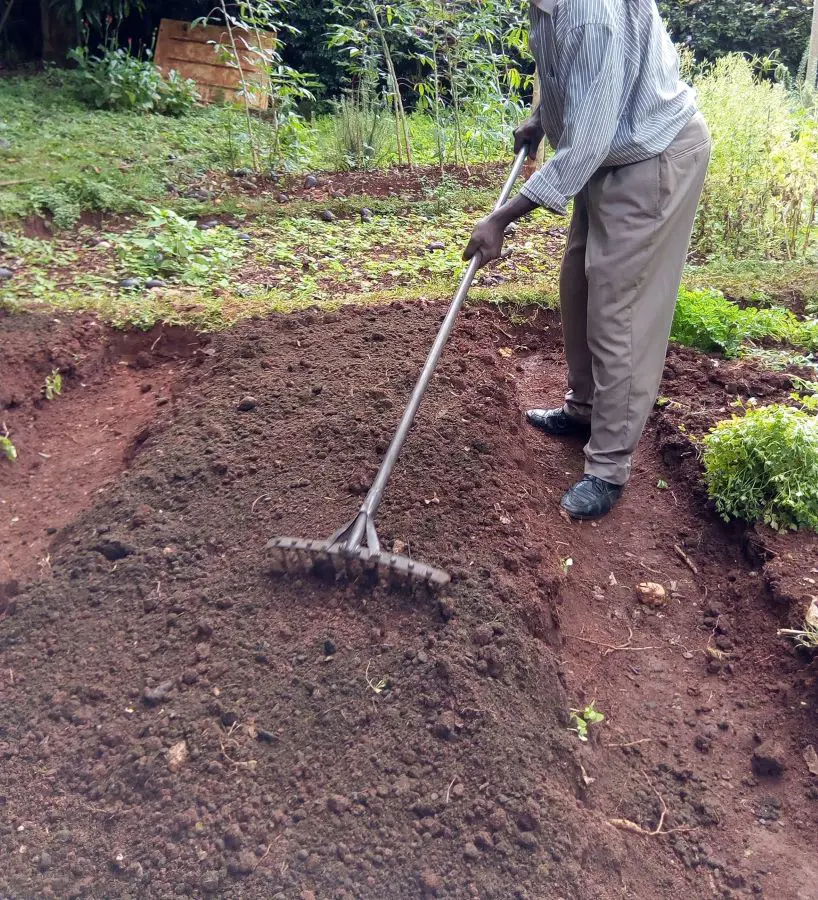
Basil thrives in well-draining, fertile soil. Choose a container with drainage holes and fill it with a high-quality potting mix specifically formulated for seedlings. Seedling mixes are typically lighter and airier, providing optimal conditions for germination. Moisten the potting mix slightly, ensuring it's damp but not soggy.
Sowing the Seeds
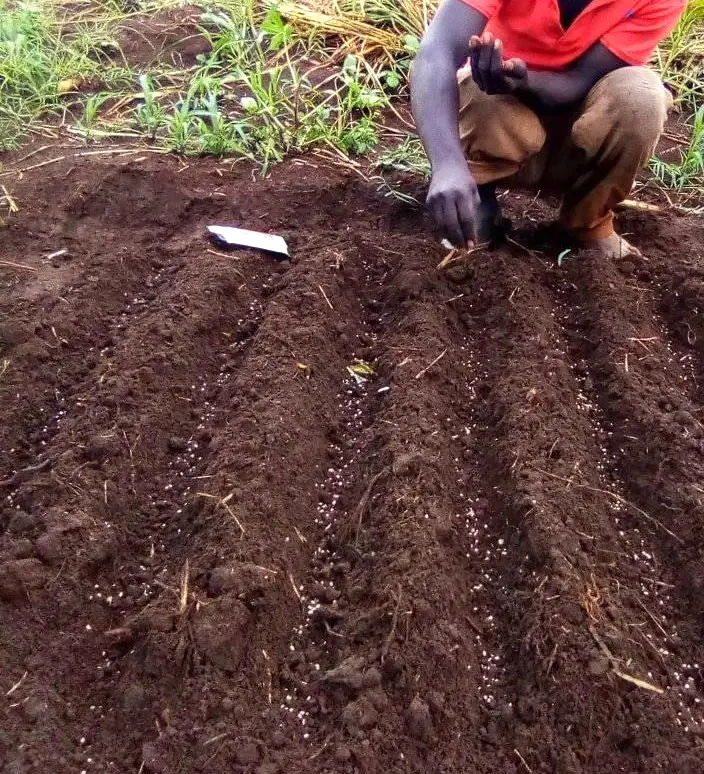
Now comes the fun part! Gently press the seeds onto the surface of the potting mix, spacing them about an inch apart. You can cover them lightly with a thin layer of soil or vermiculite, but some varieties prefer light for germination, so leaving them uncovered is also acceptable.
Creating the Perfect Environment
Basil seeds love warmth and humidity. Place the container in a sunny location, with temperatures ideally between 70-75°F (21-24°C). You can create a mini greenhouse effect by covering the container with a clear plastic dome or plastic wrap. This helps trap moisture and maintain consistent temperatures.
Nurturing Tiny Sprouts
Keep the soil consistently moist but avoid overwatering, which can lead to damping-off disease. Check daily and gently mist the soil surface if it feels dry. Germination typically takes 5-10 days, and you'll be rewarded with the sight of tiny green basil sprouts peeking through the soil.
Thinning and Transplanting
Once the seedlings have developed their first set of true leaves (the second pair of leaves after the initial cotyledons), it's time to thin them out. Gently remove weaker seedlings, leaving the strongest ones spaced about 2-3 inches apart. This allows them room to grow and prevents overcrowding.
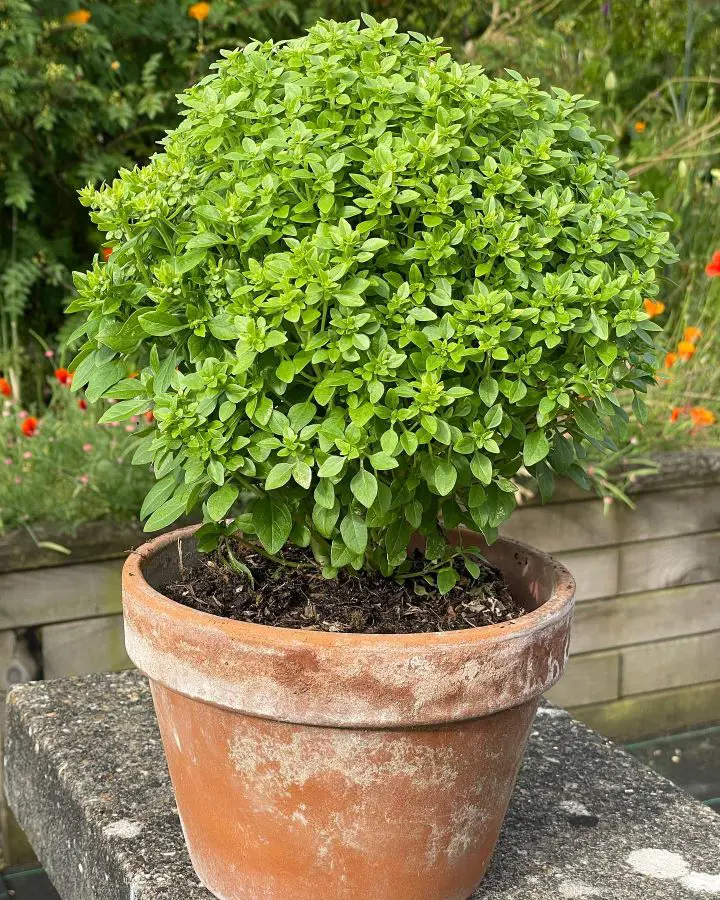
Tending Your Basil Paradise
Water your basil plants regularly, keeping the soil moist but not soggy. Provide them with at least 6-8 hours of sunlight daily. As your plants mature, pinch off flower buds to encourage bushier growth and prevent bolting (when the plant flowers and produces seeds, reducing leaf production).
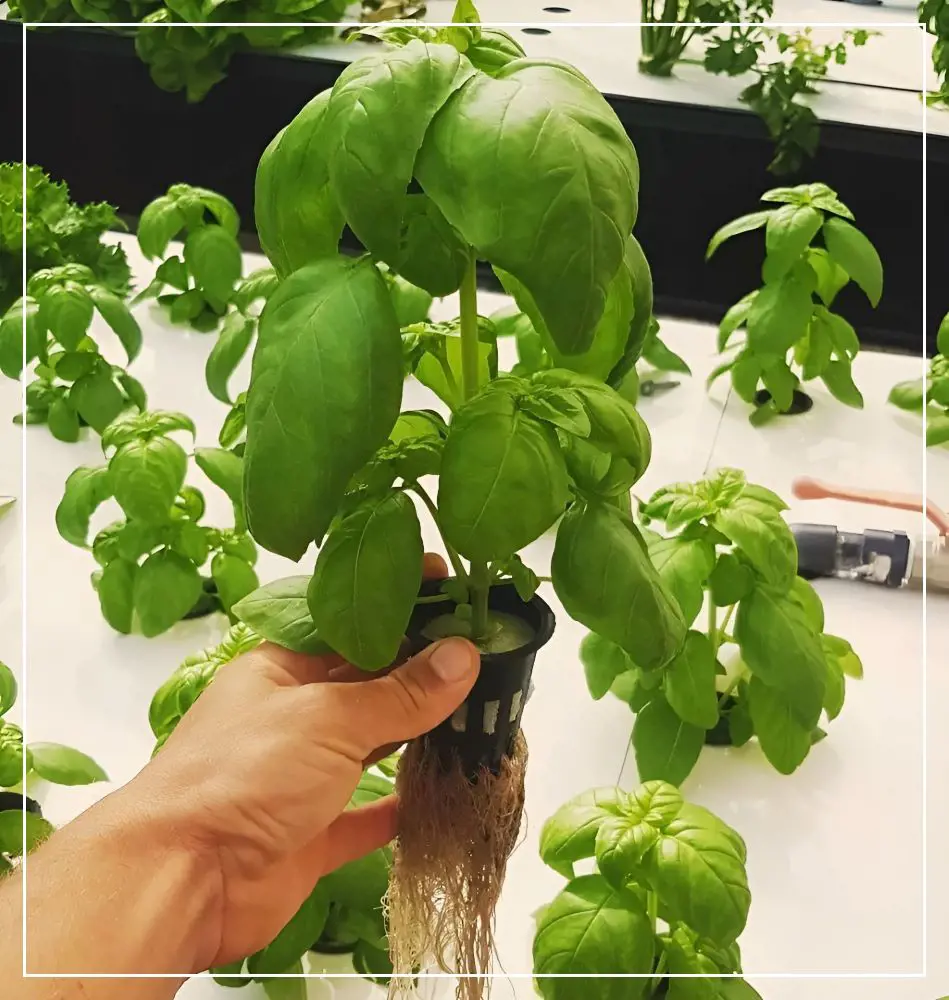
Propagation by Cutting
Forget waiting weeks for seeds to sprout—basil propagation by cuttings lets you enjoy this fragrant herb in just a few weeks! This rapid and efficient method is ideal for impatient herb lovers and those who already have a thriving basil plant to share the bounty.
Dive into the detailed world of basil-cutting propagation and witness the magic of leafy abundance unfolding before your eyes.
Selecting the Perfect Stems
Not all stems are created equal. Choose healthy, actively growing branches from the upper part of your basil plant. Look for stems with at least 4-6 sets of leaves and avoid any with flowers or buds, as they might focus energy on flowering rather than rooting.
Making a Precise Cut
Using sharp, clean pruning shears or scissors, make a diagonal cut just below a leaf node (the point where a leaf joins the stem). Aim for a clean cut approximately 4-6 inches long. Avoid crushing the stem as this can hinder rooting.
Preparing Stems for Takeoff
Remove the bottom two sets of leaves from the stem, exposing the bare nodes. This encourages root growth at the base. You can dip the cut end in rooting hormone (optional) to promote faster root development, but it's not essential for basil.
Choose Your Medium
Basil cuttings can be rooted in two ways: water or potting mix. Each method has its advantages:
- Water: You can propagate basil in water with this simple trick. Simpler and allows you to observe root development. Place the stem in a glass or jar filled with clean water, ensuring only the bare nodes are submerged. Change the water every few days to prevent bacterial growth.
- Potting Mix: Offers faster rooting and allows for direct transplant. Fill a small pot with a well-draining potting mix and poke a hole in the center. Insert the stem into the hole and gently firm the soil around it.
Creating an Ideal Environment
Whichever method you choose, provide your cuttings with bright, indirect sunlight and keep the medium consistently moist but not soggy. Avoid placing them in direct sunlight or in drafts.
Witnessing the Rooting Revolution
Within a week or two, you'll witness the magic of nature as tiny white roots emerge from the nodes. Once the roots reach about 1-2 inches in length, your cuttings are ready for their next chapter!
Transplanting for Basil Bliss
For cuttings rooted in water, gently transfer them to individual pots filled with potting mix. For cuttings in soil, simply let them grow until they become established, and then transplant them to larger pots or your garden bed if desired.
Which is the Best Way to Propogate?
There isn't a single "best" method for propagating basil, as it really depends on your individual circumstances and preferences! Each method has its own advantages and disadvantages, so the ideal choice will vary depending on factors like:
Seeds
- Pros: Most affordable, widest variety of cultivars, potentially higher yields, sense of accomplishment.
- Cons: Takes the longest to reach maturity; seedlings may not inherit exact parent characteristics; requires more attention to watering and sunlight.
Flowers
- Pros: True-to-type offspring, potentially higher yields, and a unique and rewarding experience.
- Cons: Most time-consuming and requires careful attention; lower success rate compared to regular seeds; not suitable for beginners.
Cuttings
- Pros: Fastest method to harvest (ready in 2-3 weeks), offspring inherit parent characteristics, can be done year-round, easy to share with others.
- Cons: Requires an existing basil plant; lower success rate compared to seeds; and may not be suitable for all basil varieties.
General Tips for Basil Propagation
Despite individual propagation methods, here are some general tips to follow for basil propagation:
- Use warm water: When rooting cuttings in water, use lukewarm water and change it every few days to prevent bacteria growth.
- Pinch those buds: Regularly pinch off flower buds to encourage bushier growth and prevent bolting (seed production).
- Sunshine is key: Provide your basil with at least 6–8 hours of sunlight daily for optimal growth and flavor.
- Fertilize for vigor: Use a balanced fertilizer once a month during the growing season to give your basil an extra boost.
- Harvest with care: Snip leaves regularly from the stems, but avoid taking more than one-third of the plant at a time to maintain its health.
Recent posts
How To Propagate
How To Propagate
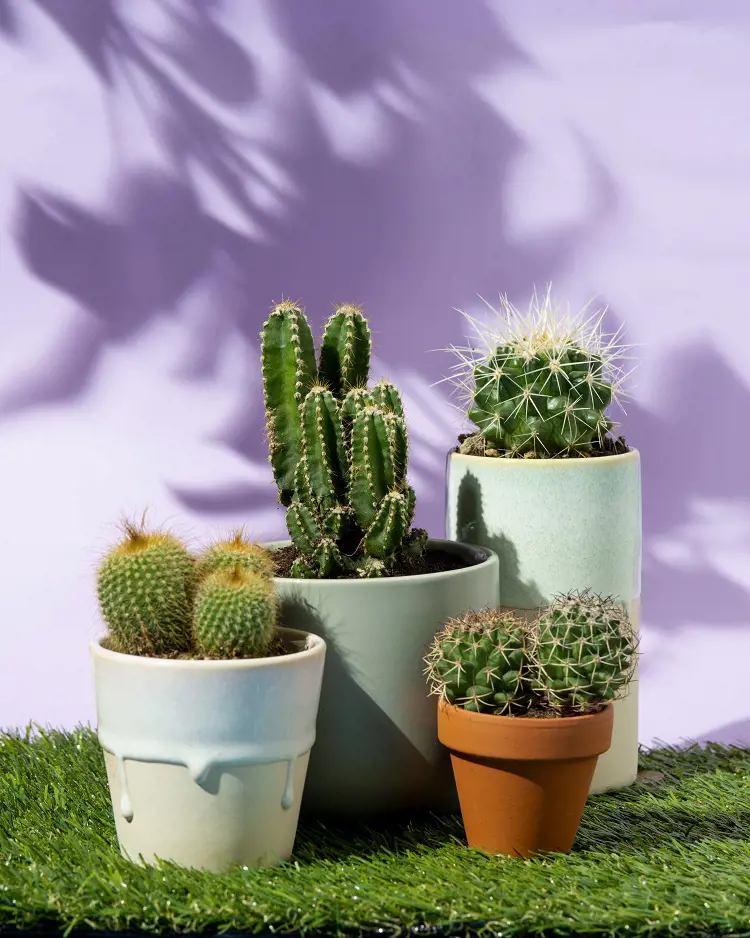
How To Propagate Cactus In 9 Ways
Propagation involves creating new plants from existing ones. In nature, this often happens through seed formation after flowers are pollinated. However, due to the shrinking natural habitats of cactus, it’s essential to propagate and care for t...

How To Propagate
How To Propagate Monstera Deliciosa
Monstera plants are popular indoor plants, making homes and offices cheerful and stylish. They're not just easy to grow but also thrive in any indoor setting. But if you're wondering how to make more Monstera plants, it might seem tricky. Start...
How To Propagate
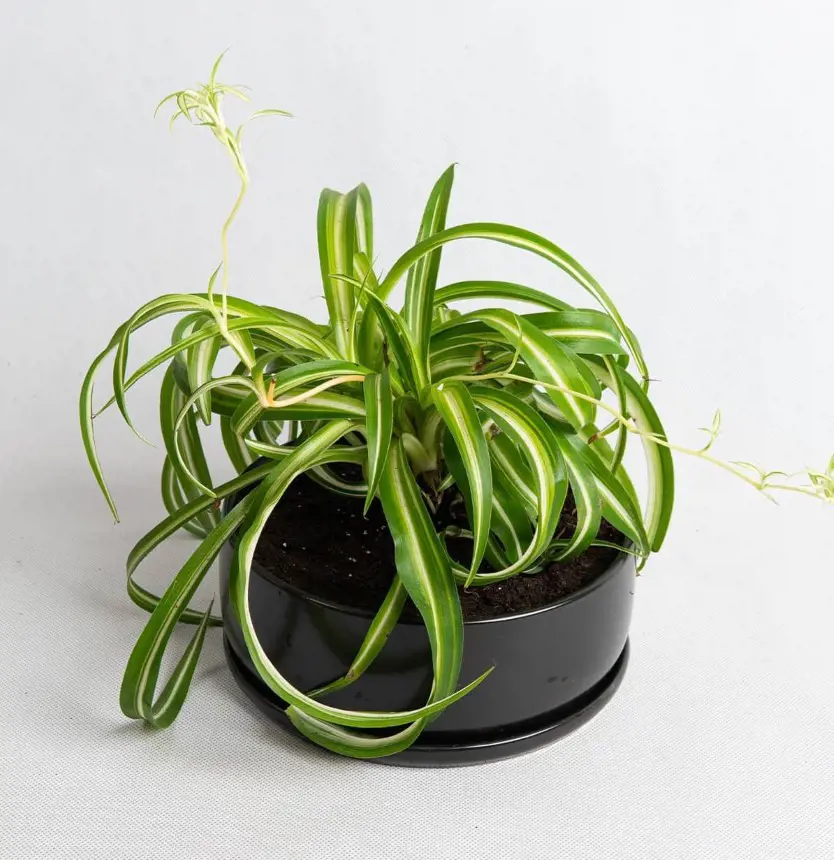
How To Propagate Spider Plant
The Spider Plant is a resilient indoor plant appreciated for its arching leaves and spider-like offshoots. It's an ideal choice for plant enthusiasts due to its easy care. Propagating these plants is also simple and can be done in various ways, such ...
How To Propagate
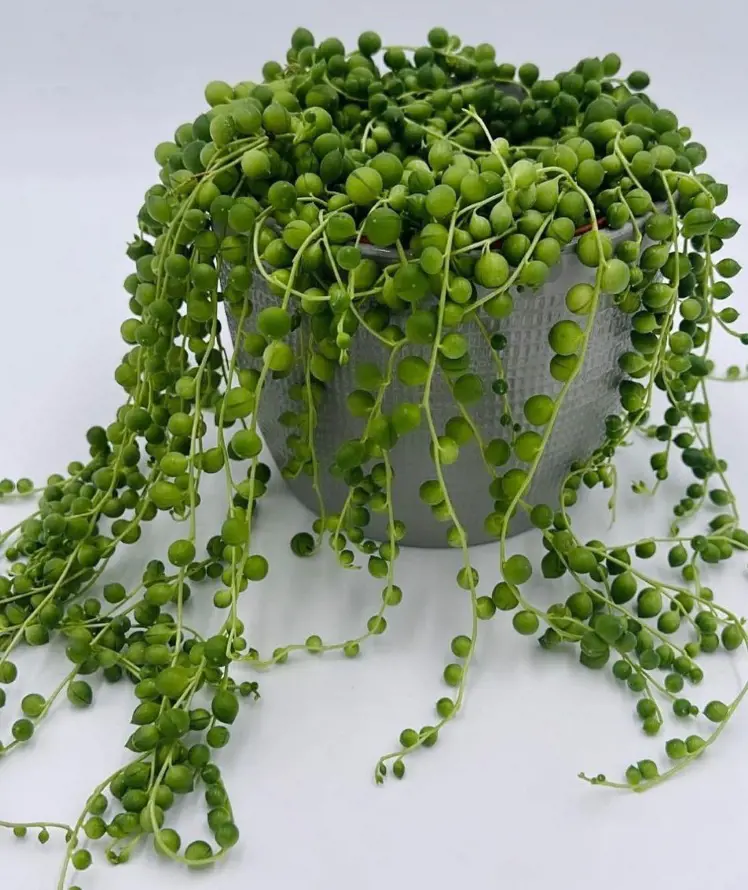
How To Propagate String Of Pearls
Propagating String of Pearls is a fascinating and fulfilling process that allows you to create new plants from an existing one. This plant is a cute succulent from South Africa, known scientifically as Senecio Rowleyanus. It has long, hanging stems w...
How To Propagate
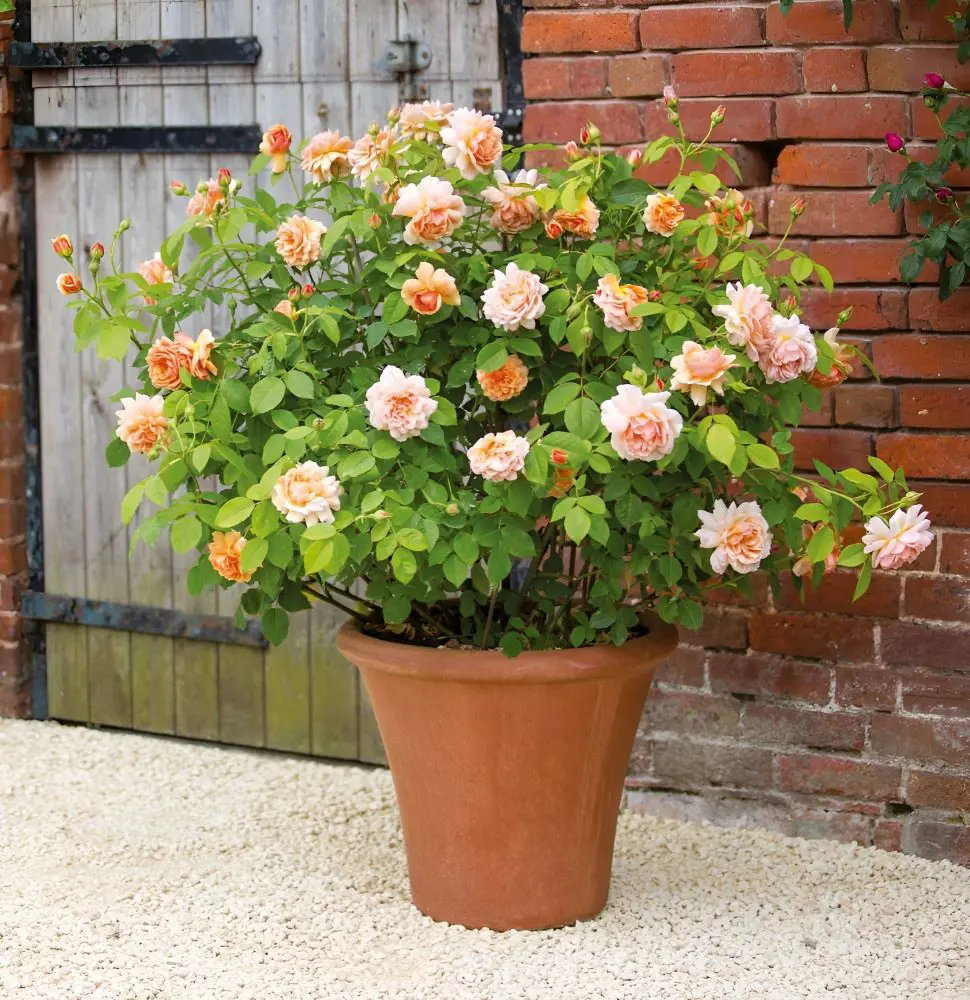
How To Propagate Roses In 12 Steps
Propagating roses might sound fancy, but it's a way to grow new rose plants from existing ones. It's like making baby roses. If you have a beautiful rose bush and want more just like it, you can do this through a process called propagation. Here's a ...
How To Propagate
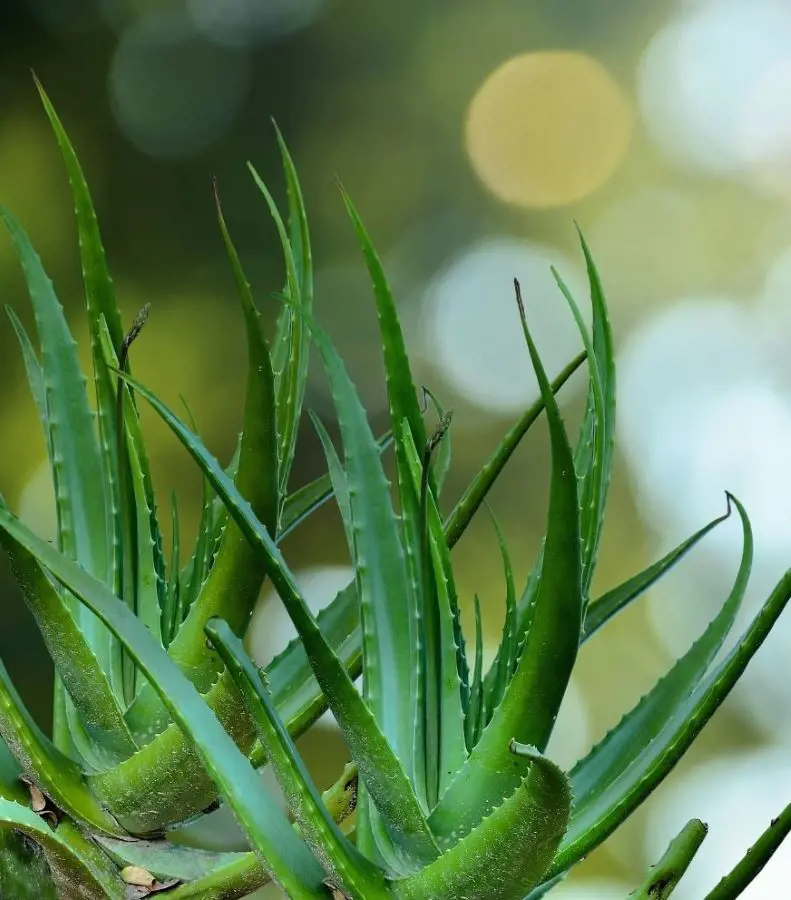
How To Propagate Aloe Vera
If you are in a quest to enlarge the supply of aloe vera plants or share their beauty with your loved ones, then learning how to propagate aloe vera is the right way. It doesn't matter if you are a beginner or an expert, as these ten tips will help y...