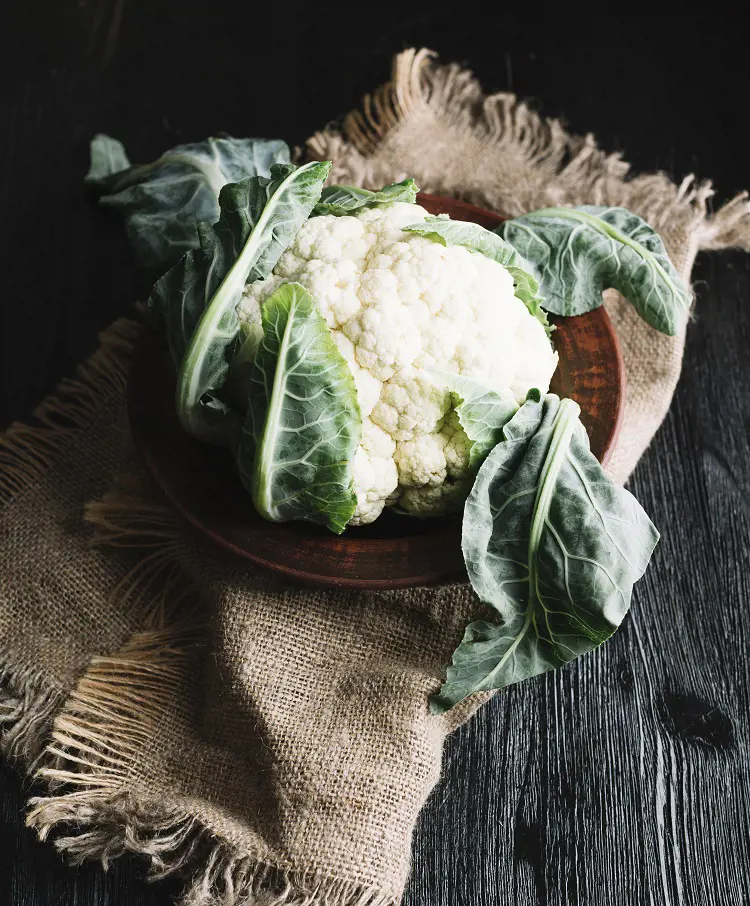
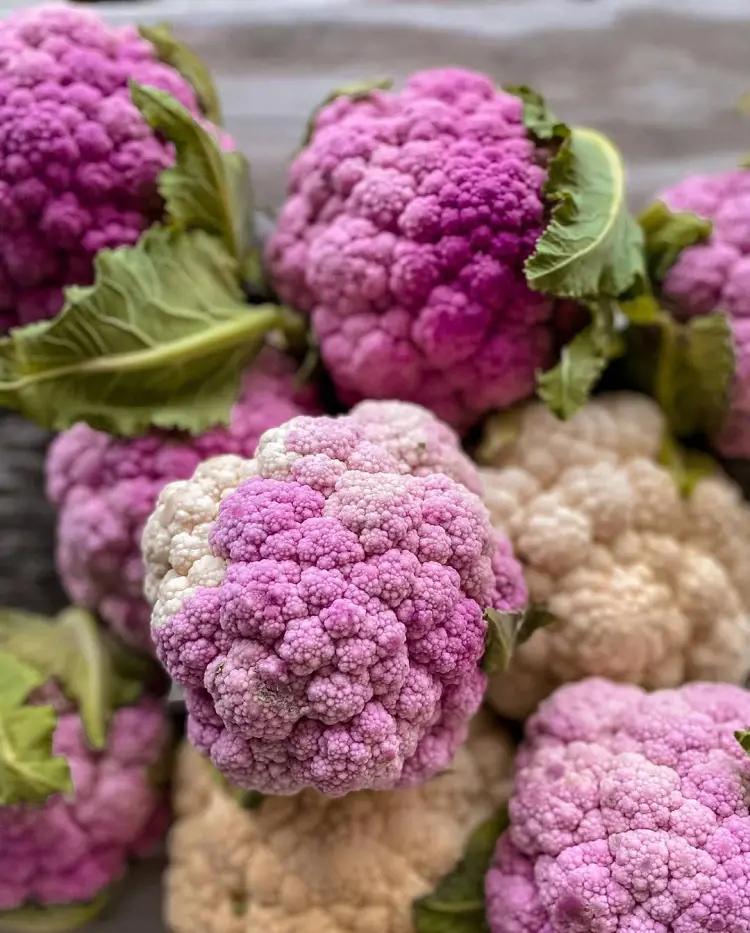
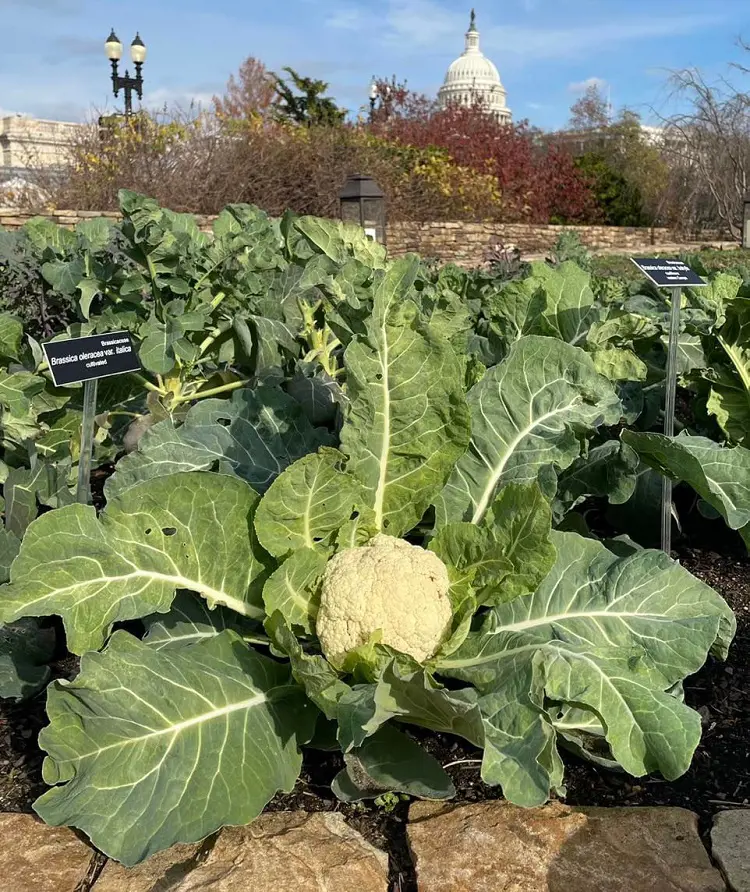
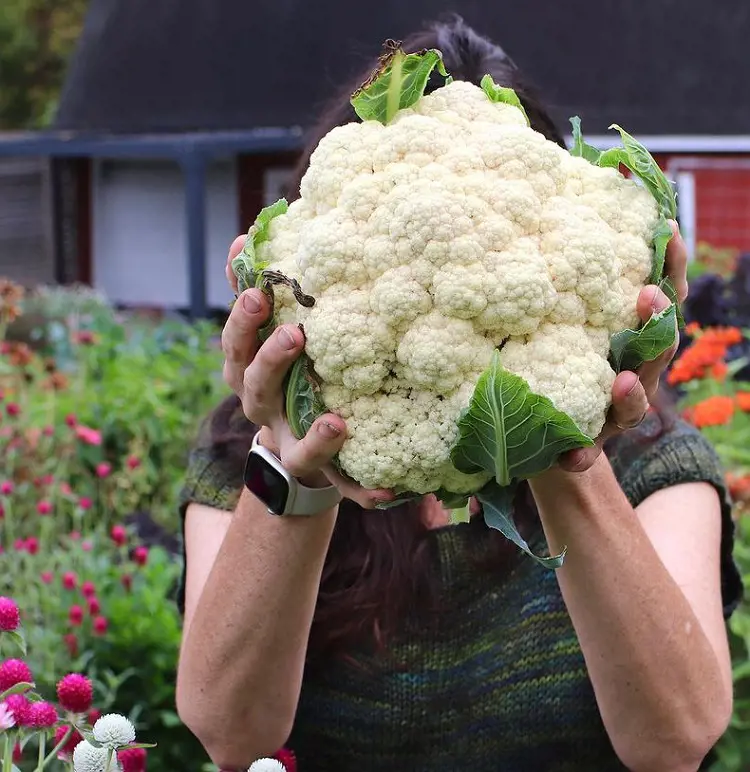
How To Grow Cauliflower In Your Garden
By Mlbrun Team
On Apr 21, 2024

This post may contain affiliate links. If you make a purchase through links on our site, we may earn a commission.
Growing cauliflower is a rewarding endeavor that requires careful planning and attention to detail. In these steps, we will guide you through the entire process, from selecting the right cauliflower variety to enjoying a bountiful harvest.
From preparing the soil and sowing seeds to providing the right conditions and preventing common challenges, this comprehensive guide aims to ensure a successful cauliflower-growing experience.
1. Timing
For optimal cauliflower growth, adapt your planting strategy based on the season. In early spring, ideal for cooler climates, initiate the process by sowing seeds indoors 6-8 weeks before the last frost, followed by outdoor transplantation. In the fall, more suitable for warm climates, directly plant seeds in the garden 6-8 weeks before the first frost.
To enhance success, opt for cauliflower varieties with shorter maturity times for fall planting, shield seedlings from intense sunlight with row covers or shade cloths, and diligently monitor soil moisture, ensuring regular watering to prevent drought stress, a potential trigger for bolting.
2. Location
Select a site strategically for cauliflower cultivation, prioritizing morning sun exposure and gentle midday shade, particularly in warmer climates. Opt for locations shielded from strong winds to prevent potential harm and tilting. Thoughtfully consider sunlight and shade distribution to alleviate stress, especially in regions with higher temperatures.
Choose well-draining soil or employ raised beds to counteract waterlogging issues. Ensure the chosen location minimizes environmental stressors, fostering optimal growing conditions for cauliflower. This meticulous site selection process contributes to a thriving cauliflower garden by mitigating potential challenges and providing a supportive environment for the plant's healthy development.
3. Soil
Choose fertile, well-draining soil enriched with organic matter for cauliflower cultivation. Confirm the pH falls within the ideal 6.5 to 7 range by utilizing a soil test kit for precision. Enhance soil quality by incorporating aged compost or manure two weeks before planting, ensuring a nutrient-rich foundation.
Thoroughly mix these amendments into the soil, reaching a depth of 8-12 inches, to create a homogeneous and nourishing environment. Guarantee the soil provides the optimal conditions necessary for cauliflower growth and development, emphasizing the importance of cultivating an environment that supports the robust and healthy maturation of your cauliflower plants.
4. Seeds or Seedlings
- Seedling Sprout: Opt for healthy, sturdy seedlings from a reputable garden center if you seek a quicker head start and prefer established plants. Choose varieties with compact heads and minimal foliage for optimal growth.
- Seed Sowing Savvy: Choose disease-resistant varieties suited to your climate and season if you're up for the challenge of starting from seeds. Consider indoor sowing 6-8 weeks before planting outdoors for earlier harvests and greater control over seedling development.
Remember, both seeds and seedlings offer viable paths to delicious cauliflower. Choose the method that best suits your preferences and gardening goals!
5. Hardening Off
Prepare seedlings for outdoor transplantation by implementing a crucial hardening-off process. Gradually introduce them to outdoor conditions over 7-10 days, incrementally extending exposure while safeguarding against direct sunlight and strong winds initially. This protective measure aids in minimizing potential transplant shock.
Diligently monitor the transition, adapting exposure based on prevailing weather conditions. The ultimate goal is to ensure that seedlings become thoroughly acclimated to outdoor conditions by the end of this period, laying the foundation for their successful growth in an outdoor environment without compromising their health and development potential.
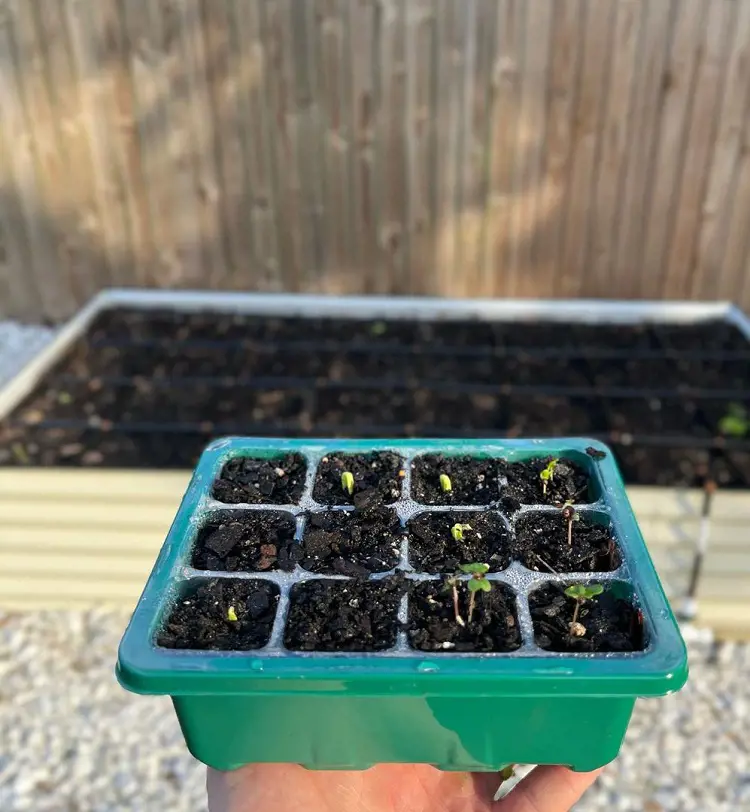
6. Seeding
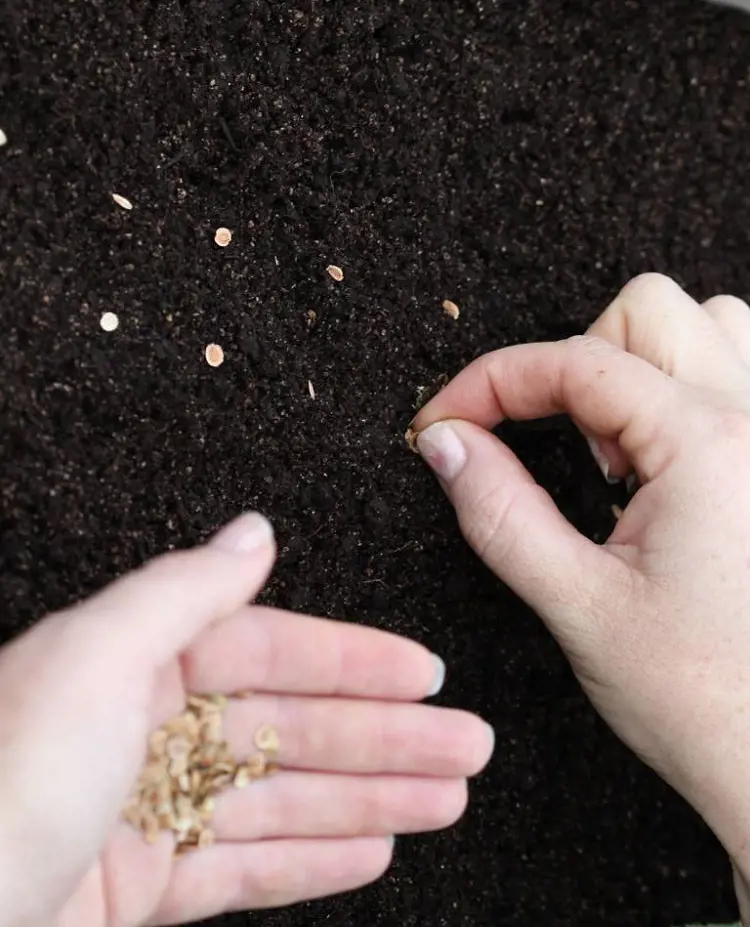
Initiate the seeding process by forming shallow furrows, approximately ½ inch deep and spaced at intervals of 12-18 inches, utilizing a garden hoe or rake. Plant seeds with precision, ensuring a thin dispersion in the furrows and maintaining an optimal spacing of around 1 inch between them.
Secure the seeds by lightly covering them with soil and gently compacting the surface for an ideal seed-to-soil connection. Sustain the germination process by regular watering, maintaining consistent soil moisture levels while steering clear of waterlogged conditions. Execute this systematic procedure meticulously to achieve successful and well-spaced cauliflower seed germination.
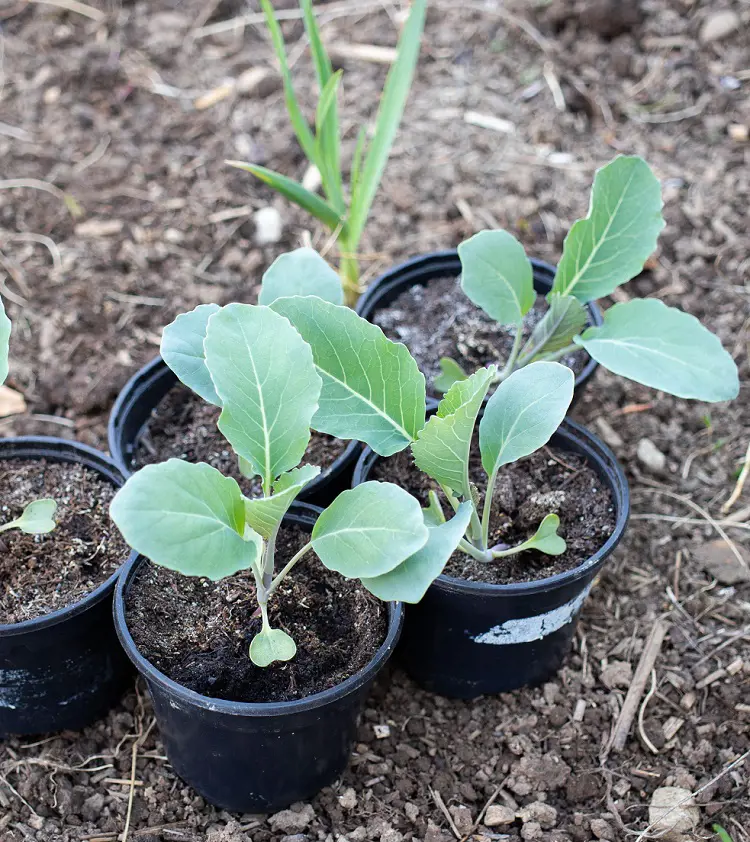
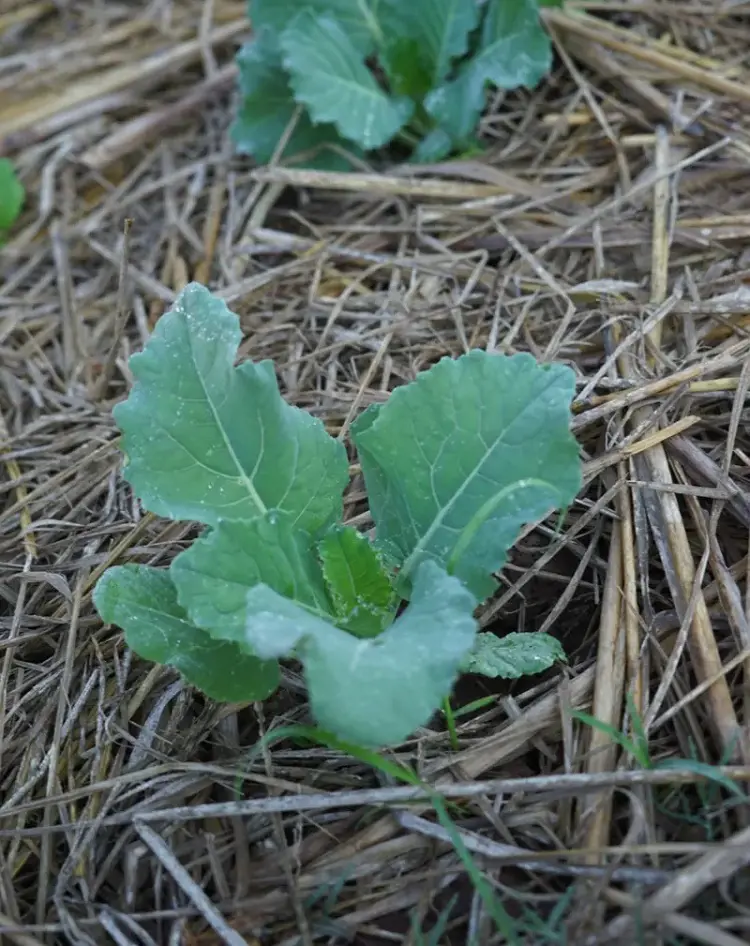
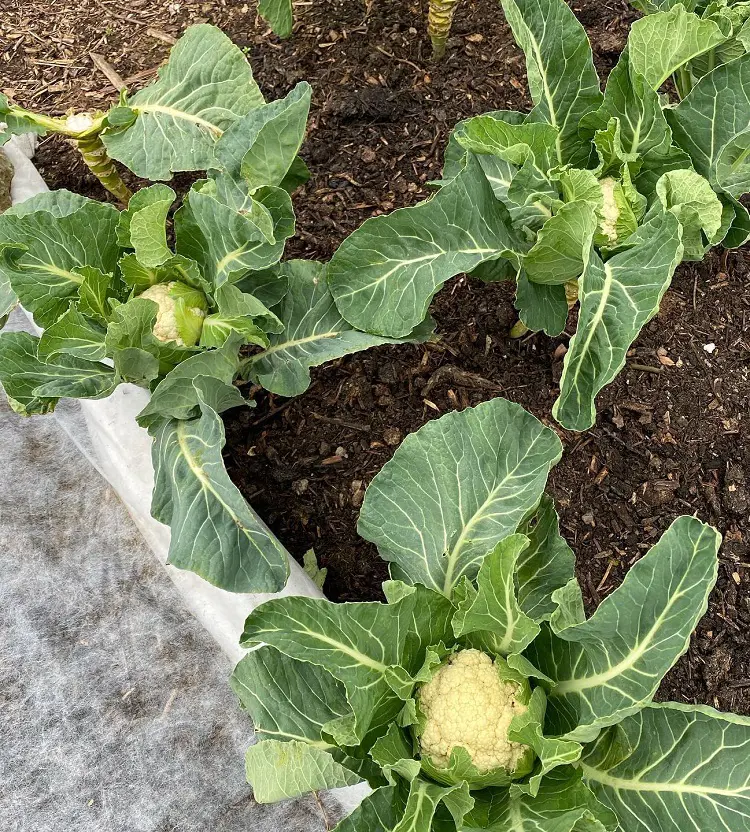
7. Transplanting
![]()
When transplanting, create planting holes slightly larger than the seedling pots, providing ample space for root expansion. Carefully extract seedlings from pots, minimizing root disturbance by using fingers instead of pulling on the stem. Position seedlings in holes at the same depth as their pots to prevent stem stress.
Fill holes with soil, gently compacting it around each plant for stability and optimal soil contact. Ensure proper root moisture absorption by watering deeply post-transplantation, eliminating air pockets. For larger seedlings, consider staking or caging to prevent wind damage and head tipping, promoting secure growth and overall plant health.
8. Watering
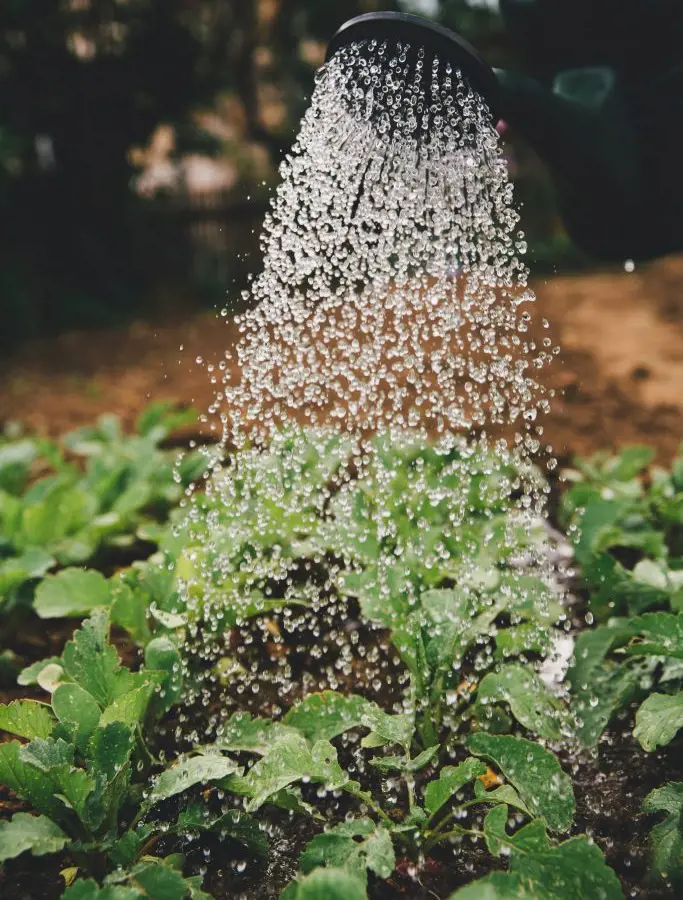
Maintain a consistent watering regimen by targeting 1-2 inches of water per week, ensuring soil moisture without waterlogging. Opt for deep, infrequent watering over shallow, frequent sessions to promote robust root development. Minimize evaporation by watering early in the morning.
Employ soaker hoses or drip systems for precise soil hydration, reducing leaf contact. Regularly assess soil moisture levels, adjusting watering frequency based on weather conditions and growth stages. This comprehensive approach to watering supports optimal plant hydration, fostering healthy growth and minimizing water-related issues throughout different phases of development.
9. Mulching
Following soil settling, implement a beneficial practice by spreading a 2-3 inch layer of organic mulch. This layer aids in moisture retention, diminishing the frequency of watering required. The dense mulch acts as a natural weed deterrent, reducing competition for essential nutrients and water.
Consistent soil temperatures around cauliflower roots are maintained, fostering steady growth and mitigating stress. Additionally, the soil is shielded from the elements, minimizing erosion and preserving healthy soil structure. As the mulch decomposes, it gradually releases valuable nutrients, providing sustained nourishment to the cauliflower throughout its growth, ensuring a flourishing and nutrient-rich environment.
10. Fertilizing
Select a well-balanced fertilizer with an NPK ratio of around 10-10-10 for your cauliflower. Apply this fertilizer every 4-6 weeks during the growing season, following the provided instructions carefully. Cease fertilization about 4-6 weeks before you plan to harvest your cauliflower.
Stick to the suggested application schedule to prevent over-fertilizing. This approach guarantees your cauliflower receives the right nutrients at the right times, fostering strong and healthy growth while being considerate of the preparation needed for the upcoming harvest.
Additional Tips
- Consider supplementing with micronutrients like boron, zinc, and magnesium to address potential deficiencies and enhance overall cauliflower health.
- Explore organic fertilizers or compost tea options to provide nutrients in a natural, sustainable manner, promoting both plant and soil well-being.
11. Support
Get ready to lend some help to your cauliflower as it grows. Before the cauliflower heads become too heavy, set up stakes or cages for solid support. Make sure to pick stakes or cages that are tall enough for your cauliflower variety's mature head size.
Gently tie the plant stems to the support structures using soft twine or garden tape, being careful not to squeeze or harm the plant. Keep an eye on your support system, adjusting the ties as needed to keep up with the cauliflower heads' growth. If your area is windy, think about adding extra support to prevent tipping.
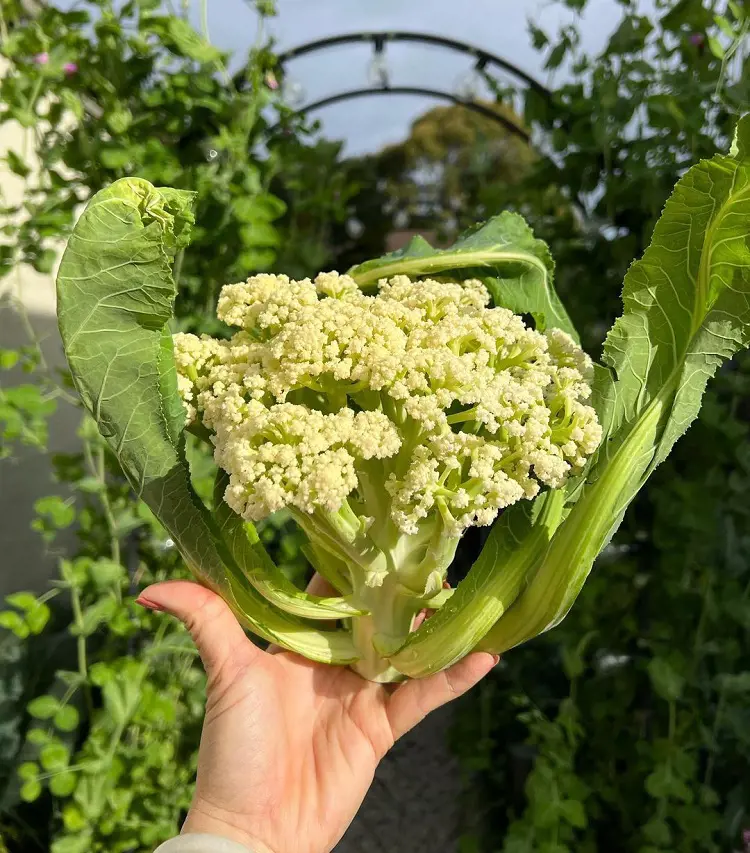
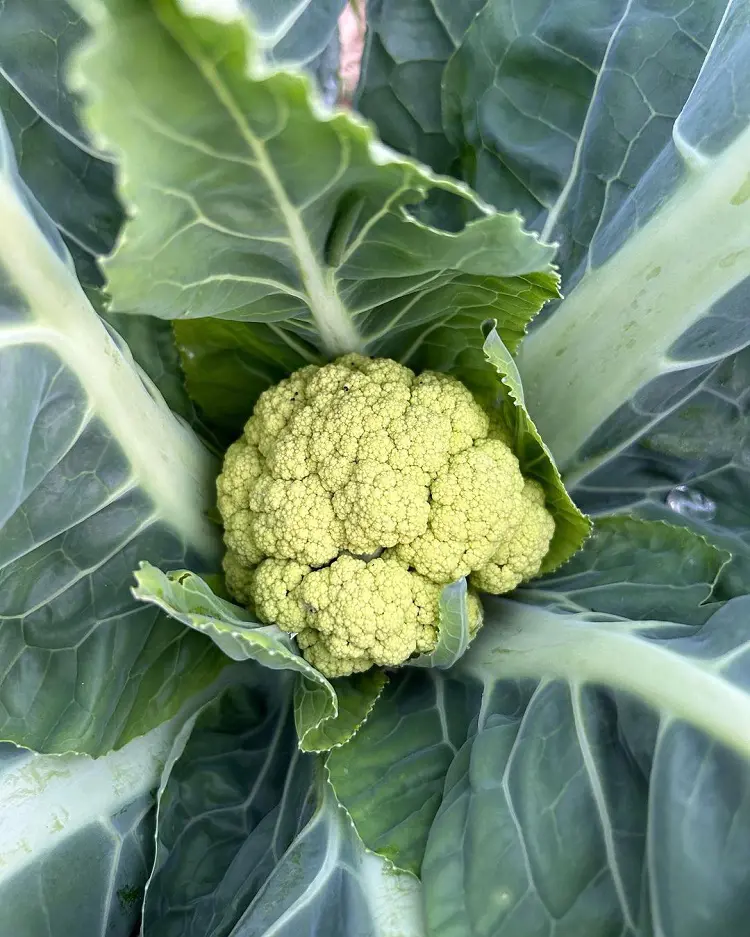
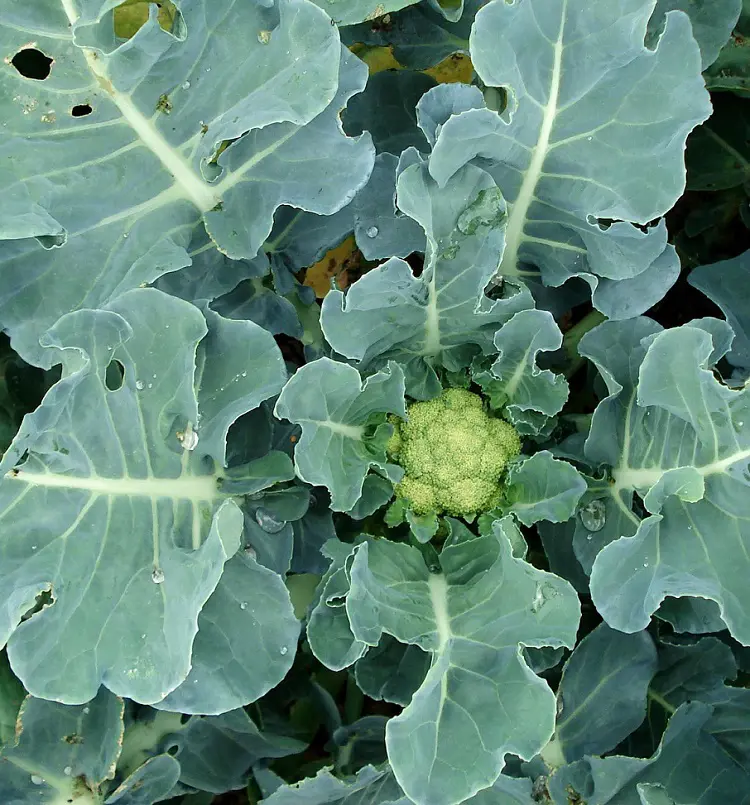
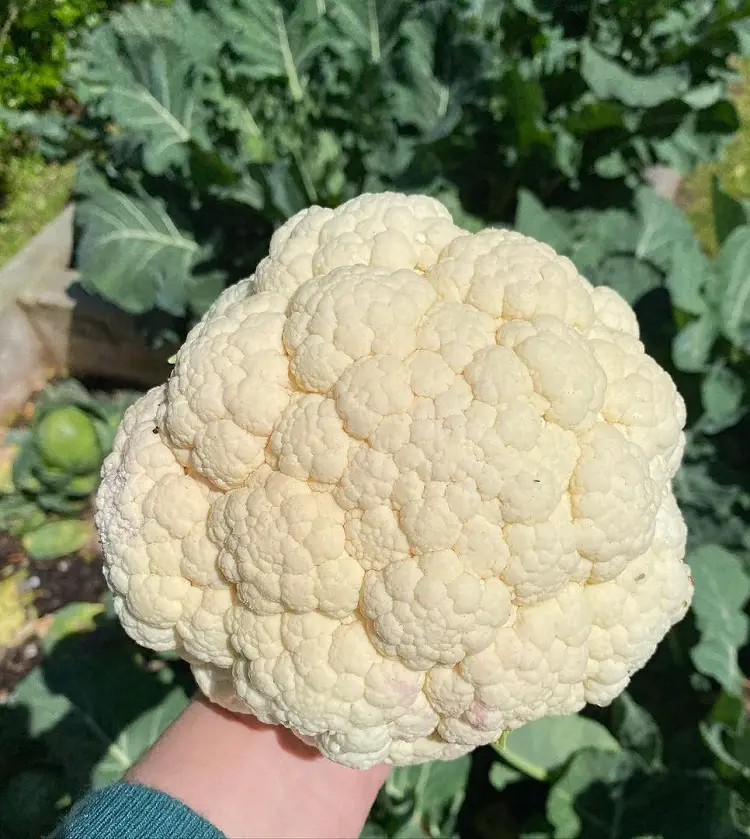
12. Harvesting
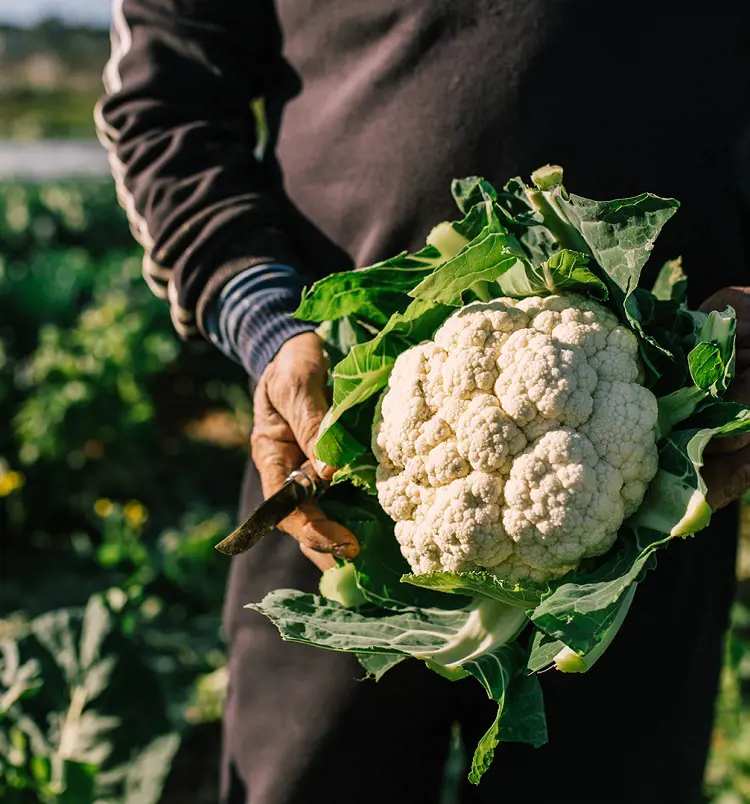
Patience pays off when it's time to harvest your cauliflower. Wait for the cauliflower heads to feel firm and tightly packed, which usually takes about 70-90 days from planting. When the heads are 6-8 inches in diameter, it's harvest time!
Remember, bigger doesn't always mean better; look for heads that are firm and compact at the ideal size. Get a sharp knife for a clean cut through the stem, leaving a few inches attached to keep them fresh. Be gentle while harvesting, slicing through the stem just below where it meets the head for the best results.
13. Succession Planting
- Seed Method
Extend your harvest symphony by sowing seeds at intervals throughout the season. Choose varieties with staggered maturity dates, like early, mid, and late maturing, for a continuous melody of fresh cauliflower.
- Interval Method
Aim for successive plantings every 2-3 weeks, starting from the beginning of your growing season. This ensures a harmonious flow of cauliflower from your garden to your table.
Additional Tip
- Utilize different areas of your garden or containers for staggered plantings. This maximizes space usage, prevents overcrowding, and promotes optimal cauliflower growth throughout the season.
- If saving seeds for future plantings, choose the healthiest head from your early harvest and let it go to seed.
14. Preventing Bolting

Bolting can affect the quality of your cauliflower, causing early flower stalks. To stop bolting, steer clear of hot weather and reduce stress during the growing season. Keep the soil consistently moist by watering regularly to lower the chances of bolting.
Create a cooler environment to discourage early flowering and promote strong cauliflower head growth. Understanding and taking these steps will help your cauliflower stay focused on growing those tasty heads, ensuring a better harvest without premature flowering getting in the way.
15. Pests & Diseases
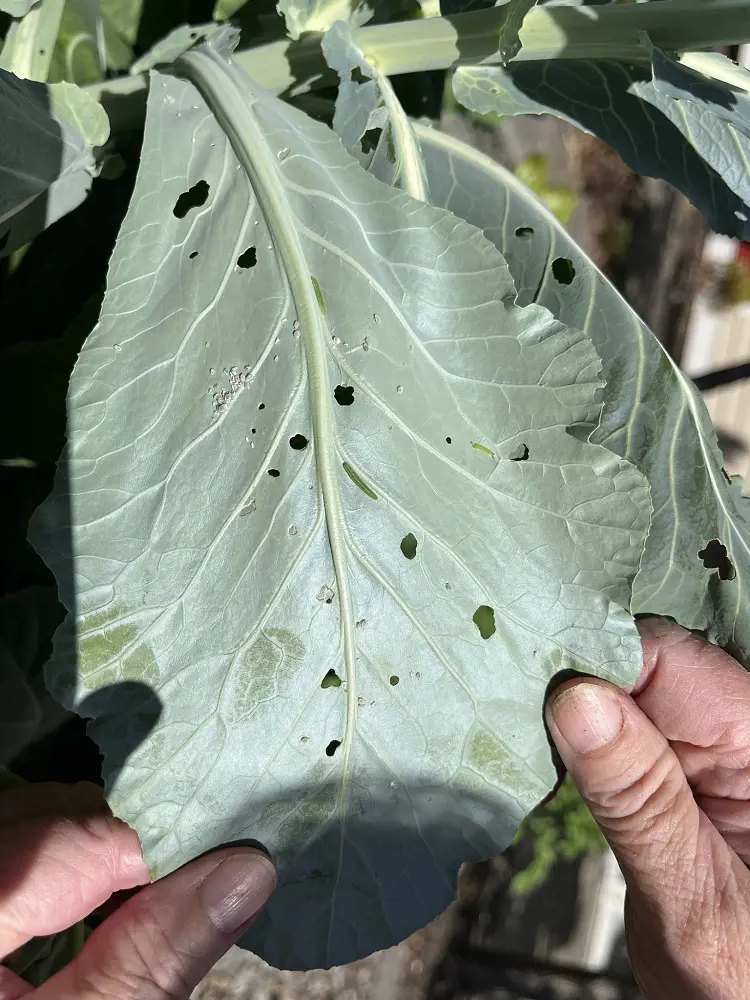
Keep an eye out for unwelcome visitors like cabbage worms, aphids, and flea beetles in your cauliflower. Watch for signs such as chewed leaves, sticky sap, or little jumps. To make pest control easier, catch problems early by checking your plants regularly and taking action at the first sign of trouble.
When it comes to pests, go for natural solutions like handpicking, insecticidal soap sprays, or bringing in helpful insects like ladybugs to keep them in check. Also, be on the lookout for cauliflower diseases like clubroot and black rot, rotate crops, and pick resistant varieties.
16. Companion Planting
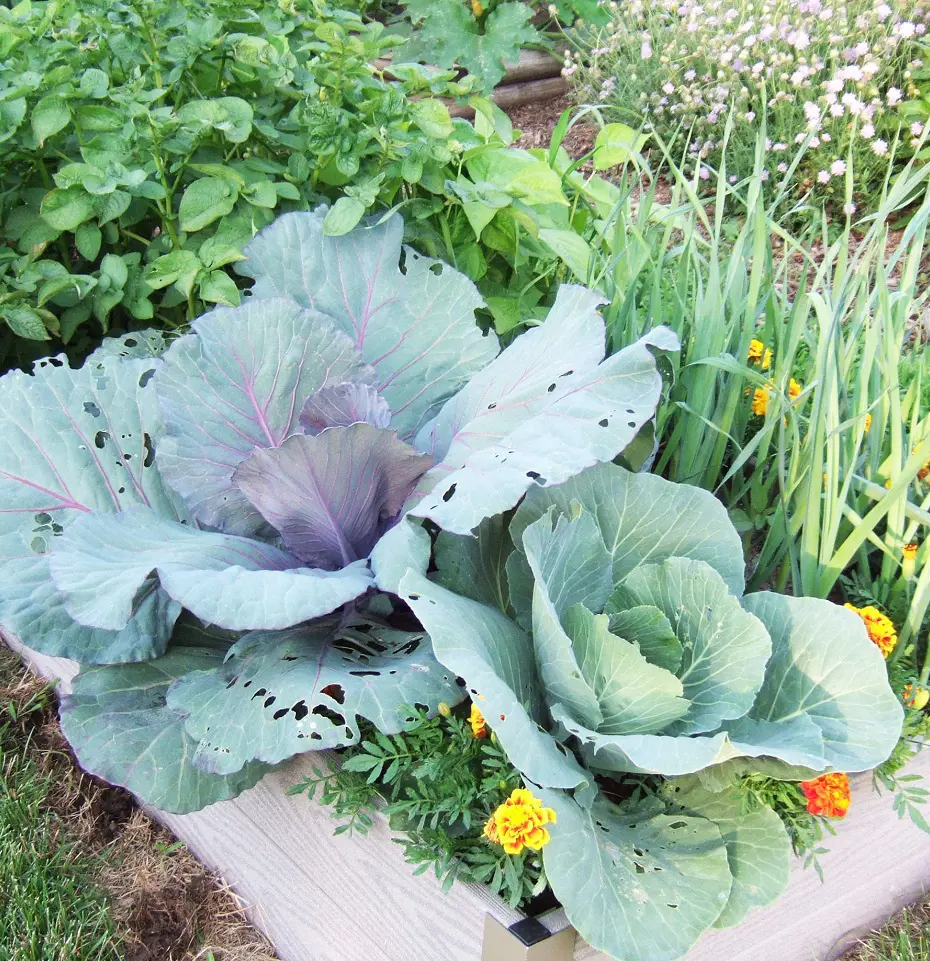
Help your cauliflower by planting it alongside fragrant herbs like dill and basil to naturally keep pests away. Pick herbs that draw in helpful insects like ladybugs, creating a balanced and healthy garden environment.
This partnership between cauliflower and pest-repelling herbs reduces the chance of infestations, making your garden more resilient. By strategically planting companions, you're not just protecting your cauliflower but also promoting overall plant health and a diverse garden ecosystem. It's like building a team of natural defenders to keep your cauliflower thriving and your garden in tip-top shape.
17. Saving Seeds
To grow your own cauliflower seeds for the next year, pick a healthy plant and allow one head to go to seed. This head will produce yellow flowers, leading to green pods containing the seeds. Once these pods turn brown and dry, cut them off and gather the seeds from inside.
Ensure the seeds are completely dry in a cool, well-ventilated area. Store them in an airtight container, placing them in a cool, dark spot. Following these steps will help you collect and preserve cauliflower seeds, ensuring a sustainable source for your future cauliflower crops.
18. Post-Harvest Care
Once you've harvested your cauliflower, quickly clear away any leftover plant bits from your garden to lower the chance of diseases spreading. Keep things clean in your garden to stop diseases in the soil. In the next growing season, go for a different crop to break the cycle of diseases and keep your soil healthy.
Properly get rid of the leftover plant parts you harvested to cut down on the chances of diseases coming back. Taking care of your garden after harvesting helps keep the soil healthy for a long time, setting the stage for successful future plantings.
Bonus Tip
- Rotate cauliflower crops to prevent soil-borne diseases and maintain soil health.
- Avoid planting cauliflower in areas recently occupied by other Brassica family members (like cabbage, broccoli, or kale) for 3-4 years.
- By strategically changing planting locations, you contribute to sustained soil fertility and healthier future harvests.
Recent posts
How To Grow
How To Grow
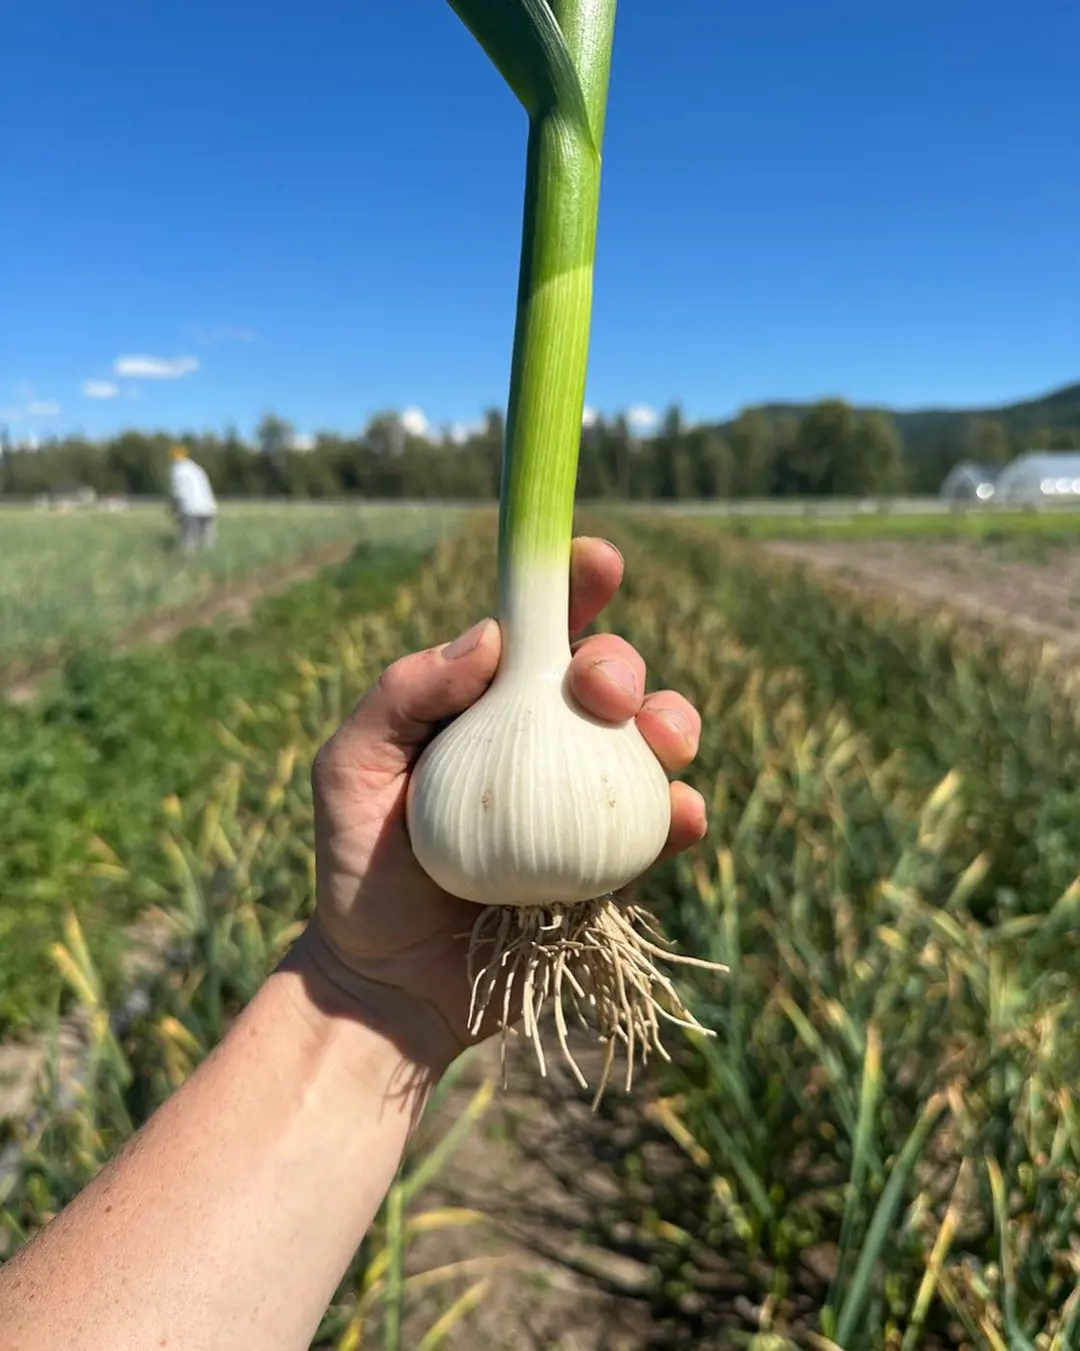
How To Grow Garlic
A bulbous member of the onion family, garlic is prized for both its potent flavor and a variety of therapeutic applications. Due to its relative ease of cultivation, it is a favorite among home gardeners and a pioneer in kitchens worldwide. Garlic ma...

How To Grow
How To Plant and Grow Orchids
Orchids are one of the prettiest and most interesting flowers out there, with over 30,000 types and 200,000 hybrids. They are one of the biggest families of plants and can grow indoors or outdoors. However, growing and taking care of orchids is not e...
How To Grow
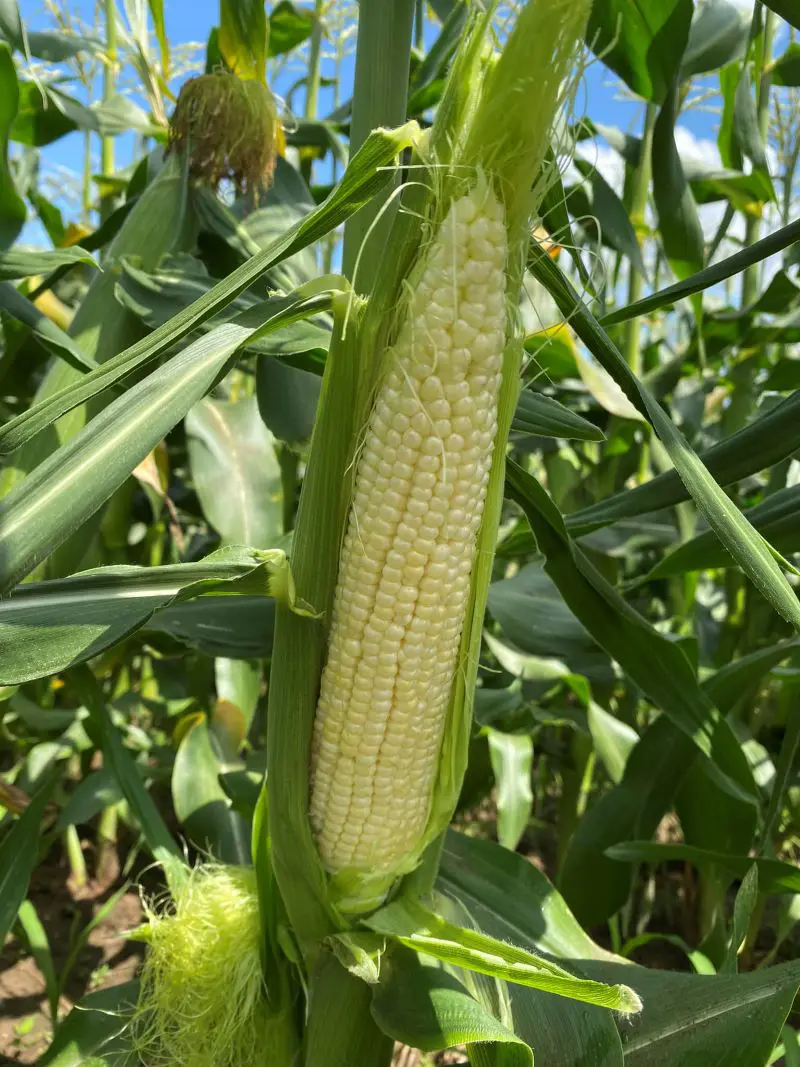
How To Plant, Grow And Harvest Corn All By Yourself
Growing your popcorn or sweet corn at home garden can seem like an interesting idea. However, it requires a large amount of space to grow as it is a tall plant that needs plenty of room to spread out. But, if you want to enjoy freshly popped po...
How To Grow
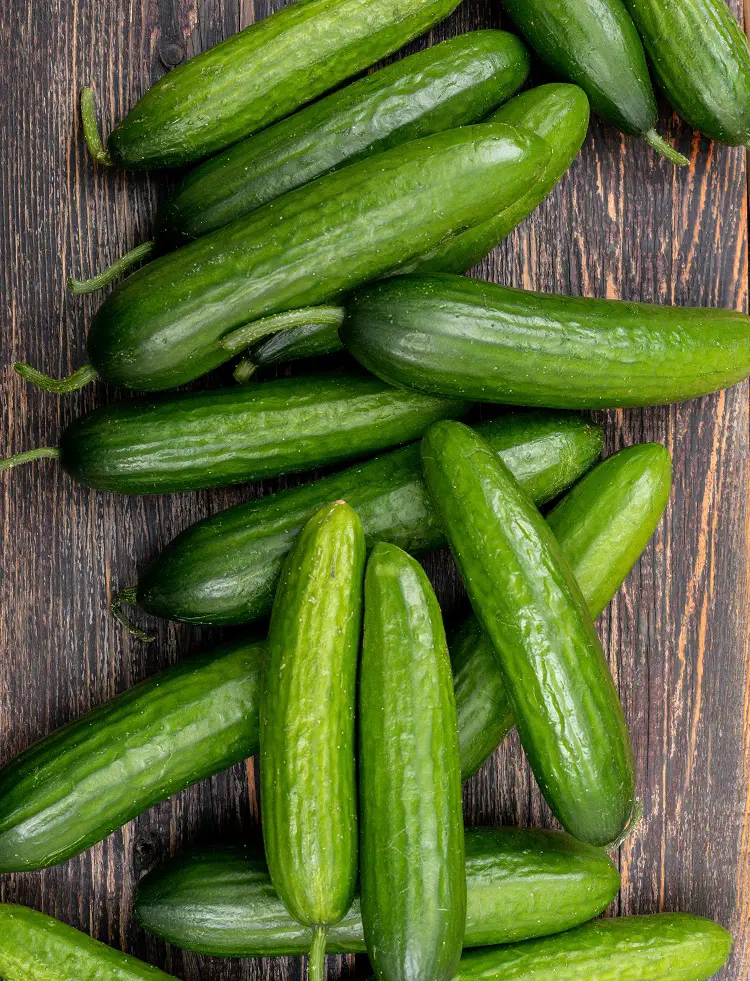
How To Plant, Grow And Care Cucumbers
Growing cucumbers is like going on a fun journey where you get to plant and pick your very own crunchy veggies. It's not just about having tasty cucumbers, it's also about the joy of seeing your plants grow. Whether you have a big garden or a small b...
How To Grow
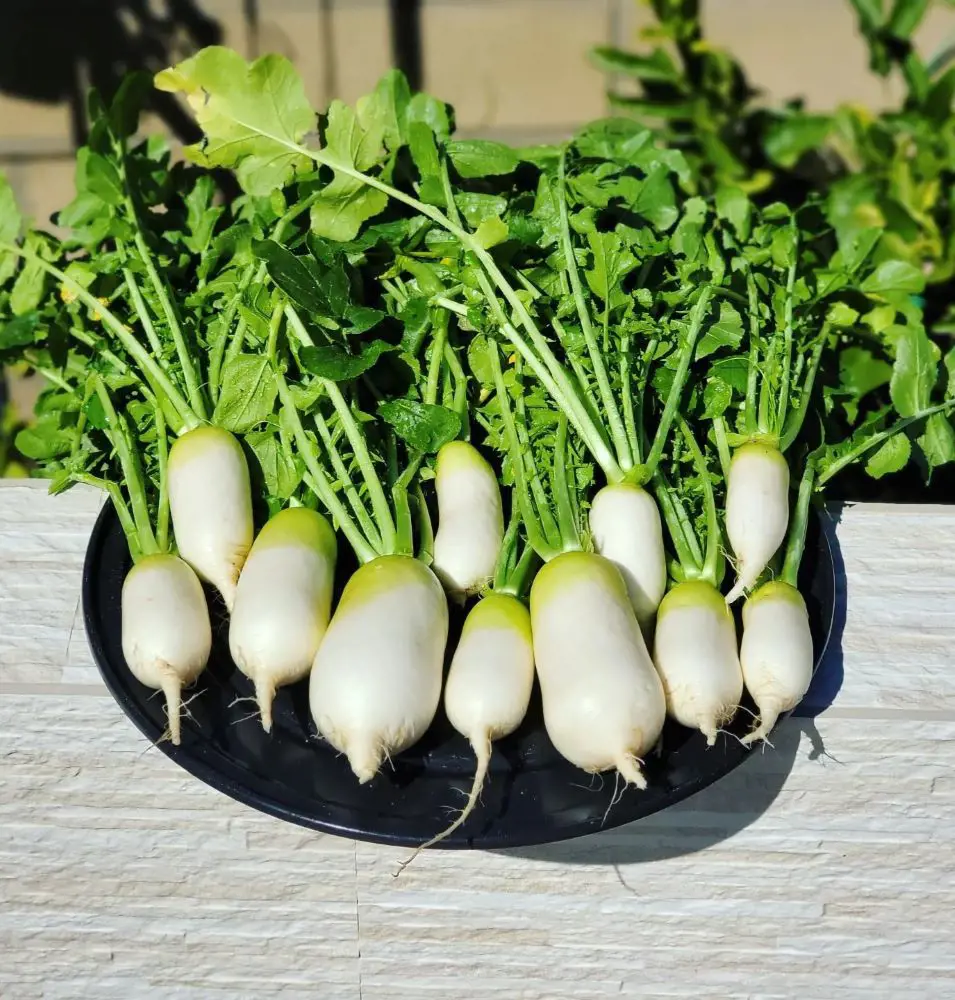
How To Plant, Grow And Care Radishes In Your Garden
Growing radishes in your garden is a fantastic way to enjoy crisp and peppery veggies that you've nurtured from seed to plate. It's a straightforward process that anyone can try, even if you're new to gardening. In the following 12 steps, we'll guide...
How To Grow
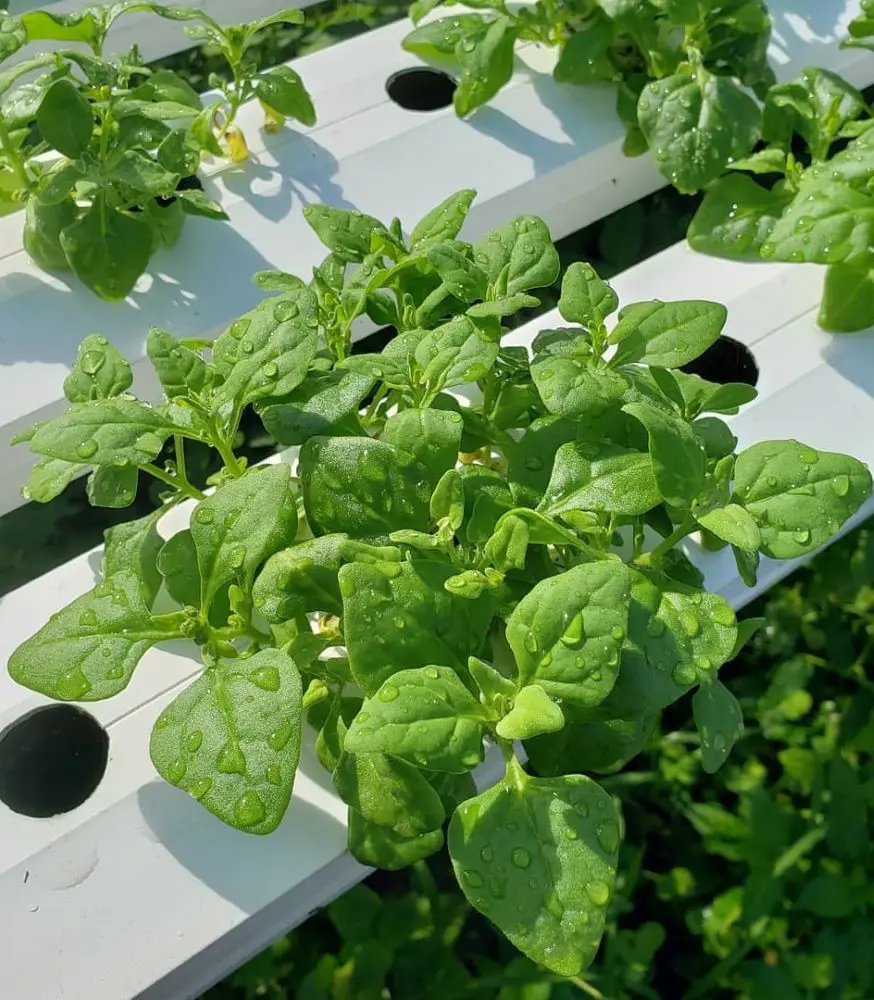
How to Plant, Grow And Care For Spinach?
Growing leafy greens in your backyard garden is both healthy and fun. Spinach can be the best leafy green to start with as it is relatively easy to grow from scratch and can be harvested in about a month from planting. It thrives in spring or fall in...