How To Grow Garlic
By Mlbrun Team
On Sep 20, 2024

This post may contain affiliate links. If you make a purchase through links on our site, we may earn a commission.
A bulbous member of the onion family, garlic is prized for both its potent flavor and a variety of therapeutic applications. Due to its relative ease of cultivation, it is a favorite among home gardeners and a pioneer in kitchens worldwide.
Garlic may be grown by planting individual cloves in the fall and making sure they are placed in separate, permeable soil. You can expect to harvest your garlic by late spring or early summer if you patiently wait through the cooler months. We're going to show you how to grow garlic in your backyard in 14 easy stages!
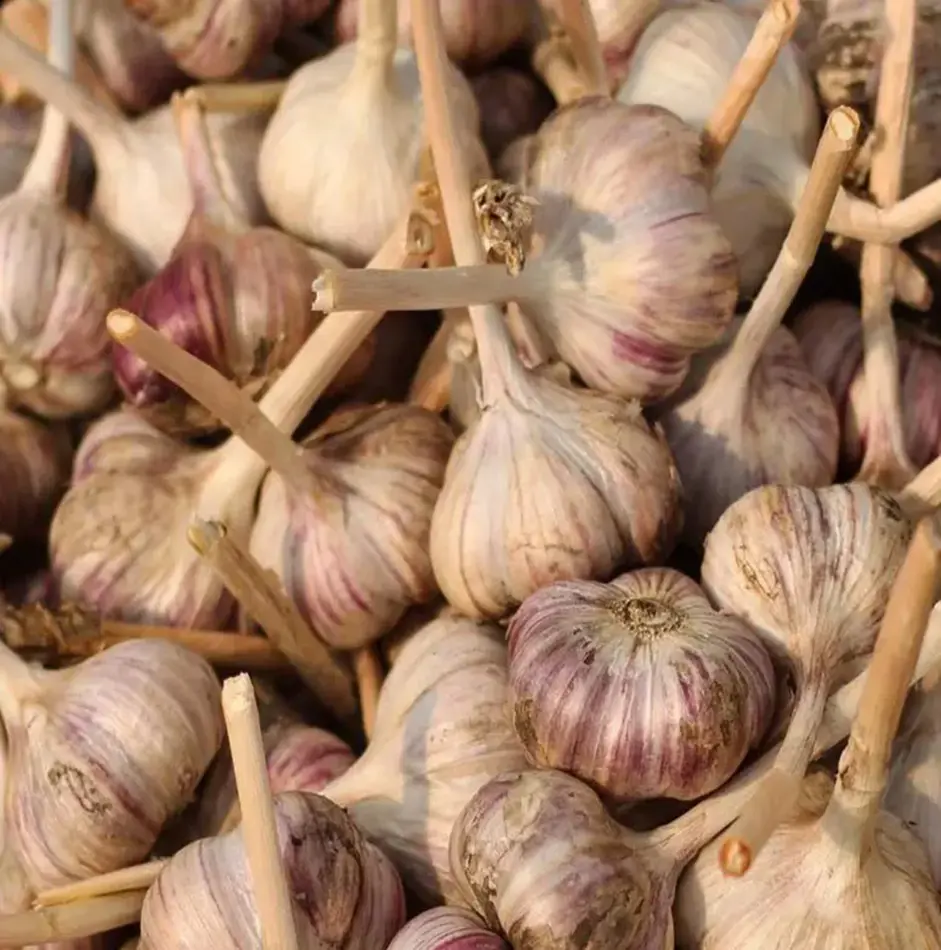
1. Choose Right Garlic Variety
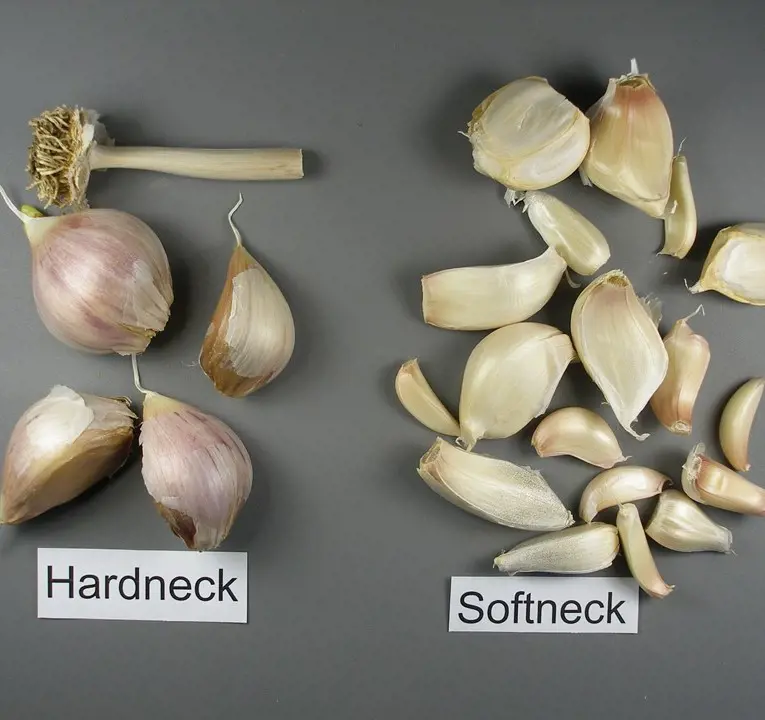
There are two primary types of garlic that you must choose for your garden: softneck and hardneck. If you want garlic that keeps fresher for longer, softneck garlic is a terrific option because it is perfect for long-term preservation.
Hardneck varieties typically generate larger cloves and have a more complex flavor profile. Your choice between the two depends on personal preference and local climate; if you prefer a bolder taste and larger cloves, hardneck may be the better option.
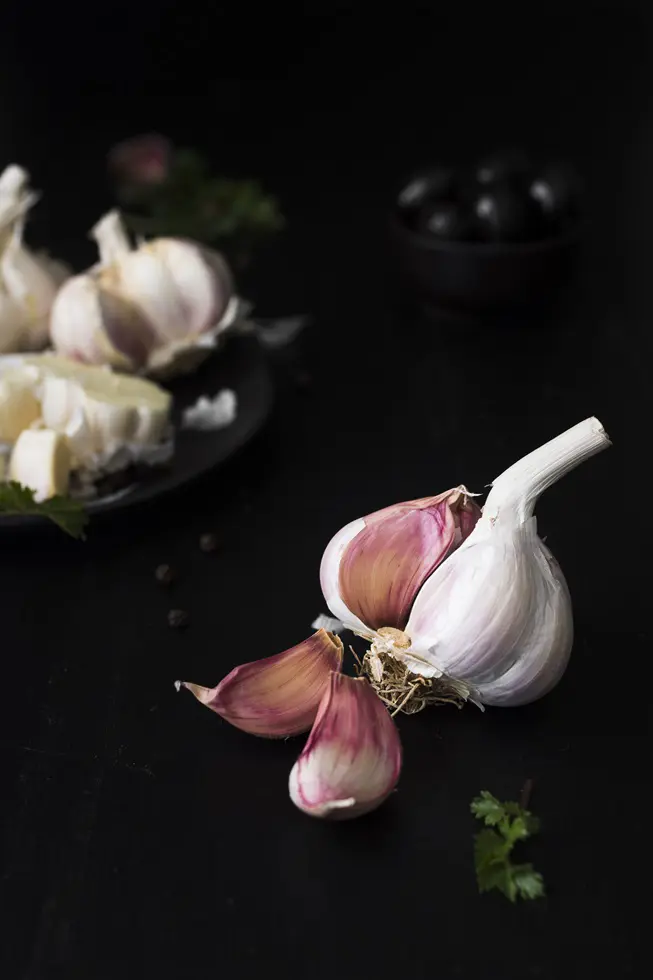
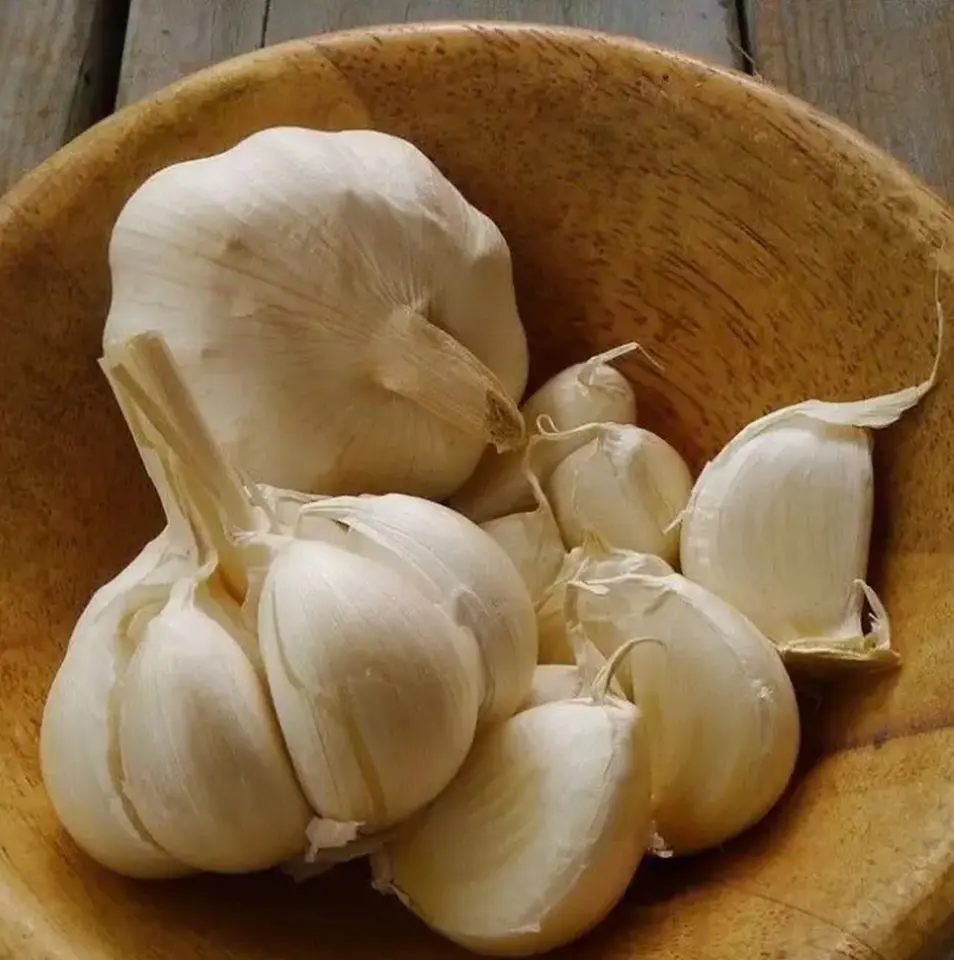
2. Use Quality Garlic Bulbs
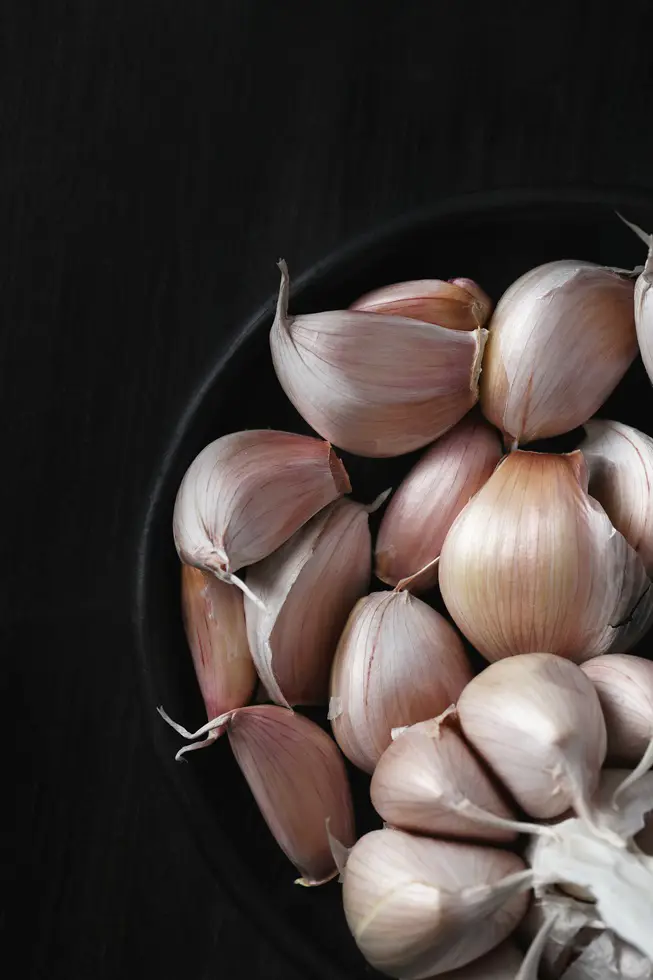
Pick high-quality cloves for flourishing garlic plants. You can obtain disease-free garlic bulbs from a highly-regarded garden center, and avoid using store-bought garlic, as it may be treated to prevent sprouting.
When selecting cloves, look for ones that are rigid, plump, and have unbroken skins while steering clear of any with soft spots or mold. If you have garlic cloves from your past harvest, they are suitable for use as long as they remain free of any diseases.
Remember, the quality of your garlic not only aids in better flavor but also contributes to a successful planting. So, choosing a healthy bulb is essential for achieving a good garlic yield.
3. Prepare Planting Site
Once you have quality cloves, prepare a sunny planting site with well-draining, fertile soil rich in organic matter and a pH of about 6.5. Raised beds or containers are ideal, as garlic prefers loose soil and is a heavy feeder.
To improve poor soil quality, incorporate compost to enhance fertility. For optimal results, soak the separated garlic cloves in a fertilizer solution before planting to boost nutrient absorption.
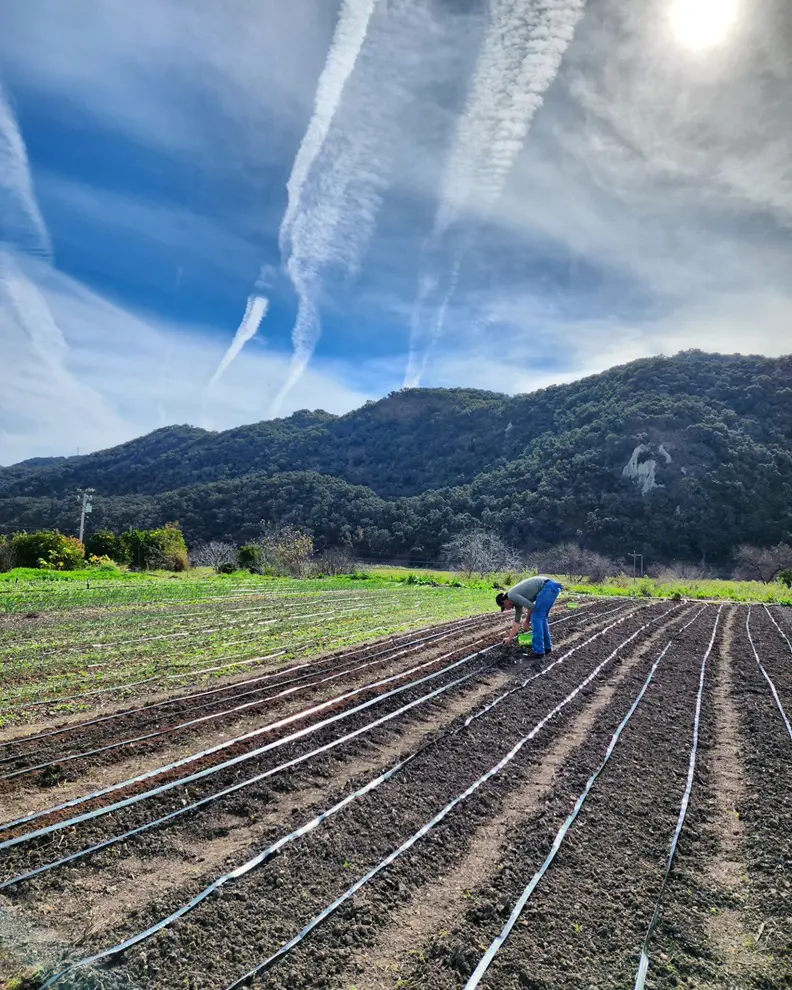
4. Plant At Right Time
Plant garlic in the fall, a few weeks before the first frost, to help the cloves establish strong roots before winter. In the upper Midwest, garlic is typically planted in mid-fall, around late September or early October, when the autumn leaves are vibrant.
This specific season is ideal for garlic because it provides the right conditions for its initial growth. As temperatures cool, the cloves use this time to establish themselves in the soil, preparing for the colder months ahead.
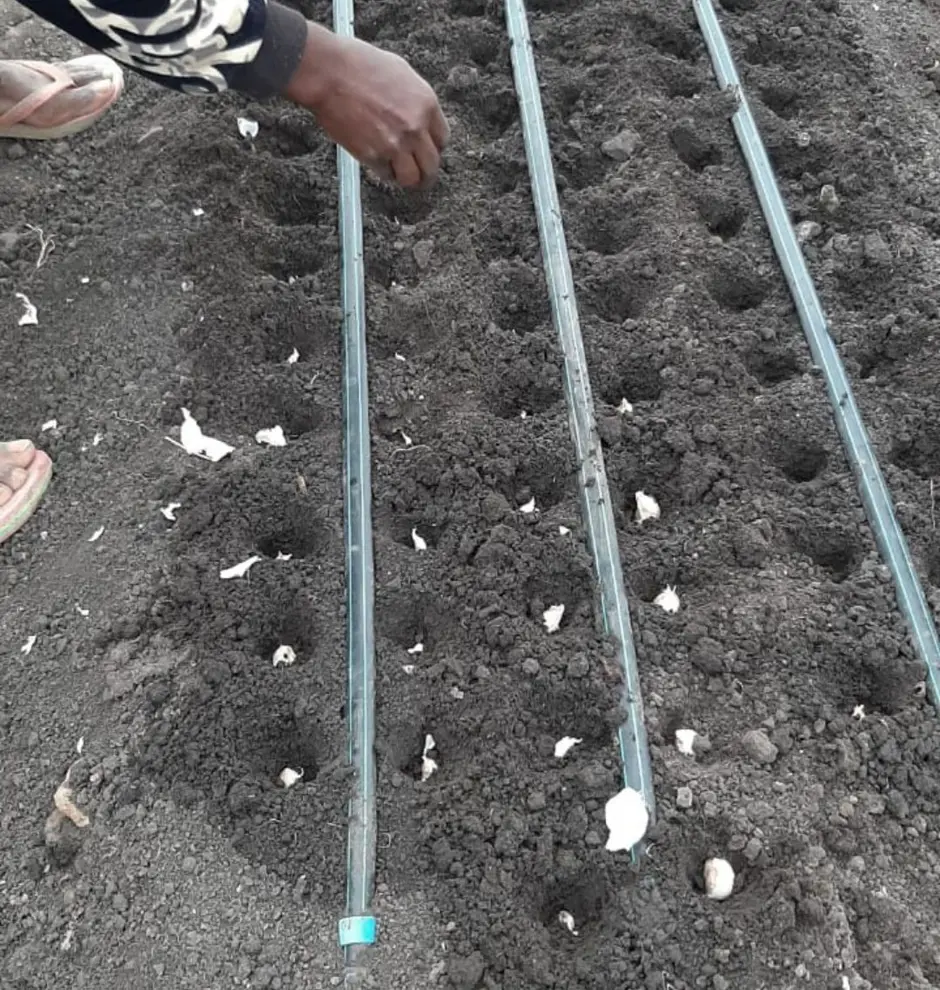
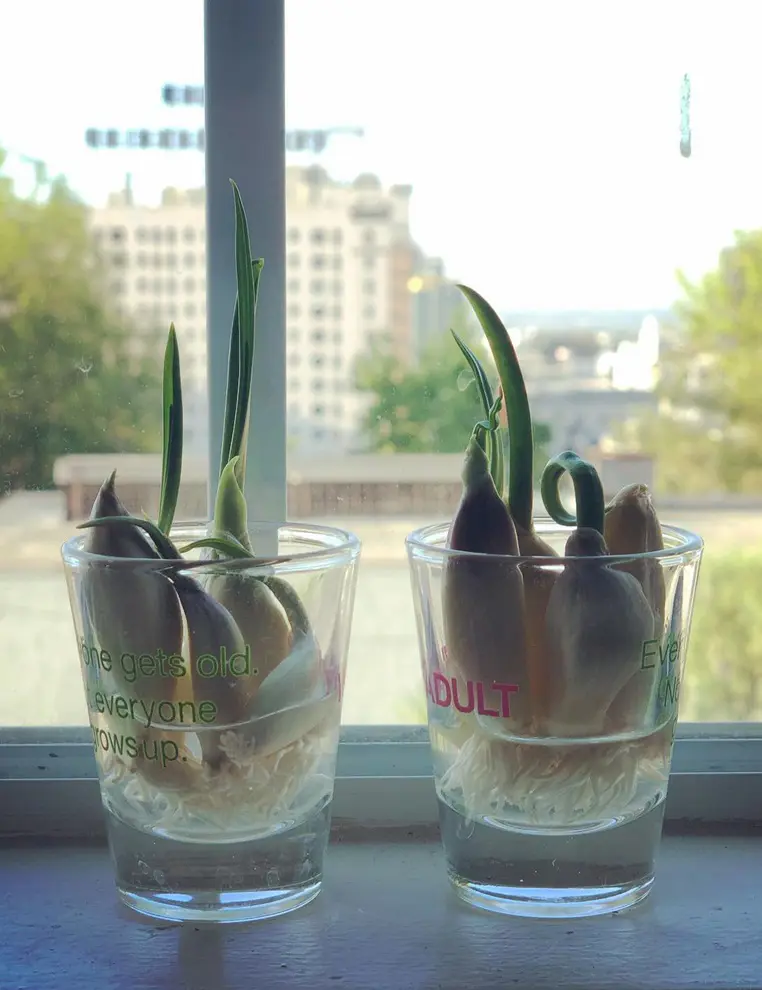
5. Break Apart Bulbs
Before planting, separate the garlic bulbs into individual cloves while keeping the thin outer skin intact, and select the largest, healthiest cloves. This separation allows each clove to grow independently.
If you plant the whole bulb without separating it, the cloves might not have enough space to develop properly. Breaking them apart exposes the clove, allowing it to establish itself in the soil while the outer skin provides protection during planting.
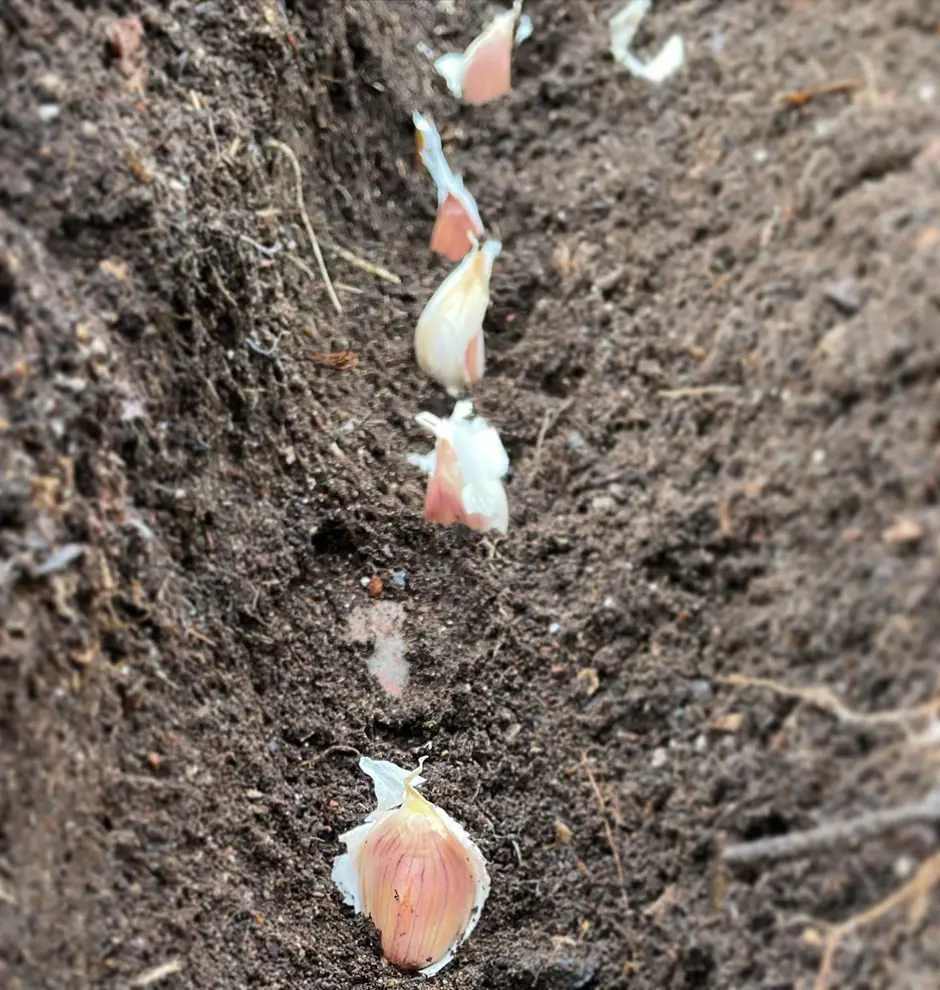
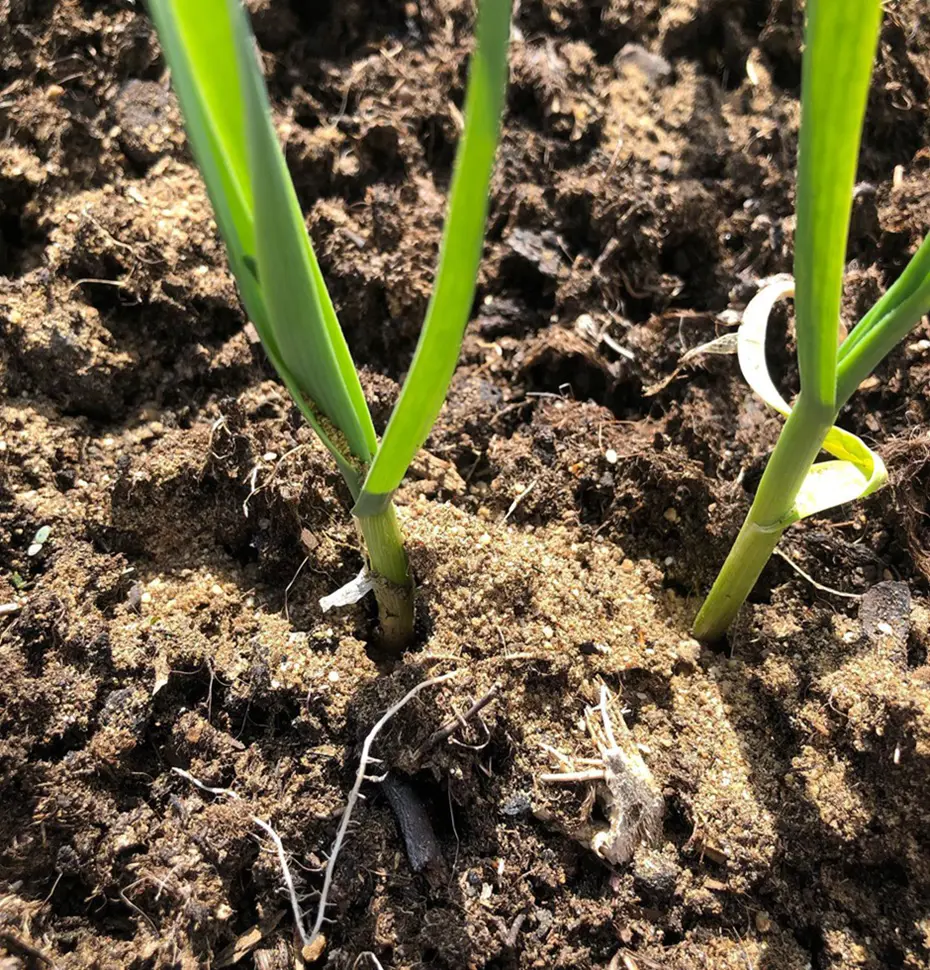
6. Planting Depth
To plant the cloves, make 2-inch deep holes in the soil, ensuring the pointed ends face upwards, and space them 4-6 inches apart in rows with a 12-18 inch gap between rows. Use well-draining soil for raised beds.
When using containers, choose a pot at least 6 inches deep filled with quality potting mix. Ensure the cloves receive adequate sunlight and water, and adjust the planting depth based on your local climate for optimal growth.
7. Mulch Planting Area

To protect garlic plants from jarring weather, apply a generous layer of straw or leaves as mulch around each bulb. This natural cover acts as a barrier, shielding the plants from extreme hot and cold temperatures.
Mulching with wood chips, straw, or leaves helps maintain stable soil conditions for garlic and suppresses weeds, keeping the bed tidy. This also allows the plants to absorb nutrients without competition.
8. Watering
After uncovering the garlic, water it once a week starting in spring, providing about 1 inch of water each time. Stop watering when summer arrives and the leaves turn yellow to prevent the bulbs from rotting.
If it rains during the week, you may not need to water your garlic. Use a rain gauge to monitor water levels and avoid overwatering, which can harm the plants.
9. Fertilize
Fertilize garlic with a stabilized organic fertilizer in early spring as green shoots begin to appear. Avoid high-nitrogen fertilizers, as they can promote excessive leafy growth at the expense of bulb development.
Select organic fertilizers with a sound mix of nutrients to assist both the leaves and bulbs grow. Keep an eye on your plants and check for green shoots to analyze the correct time to fertilize.
10. Scaping
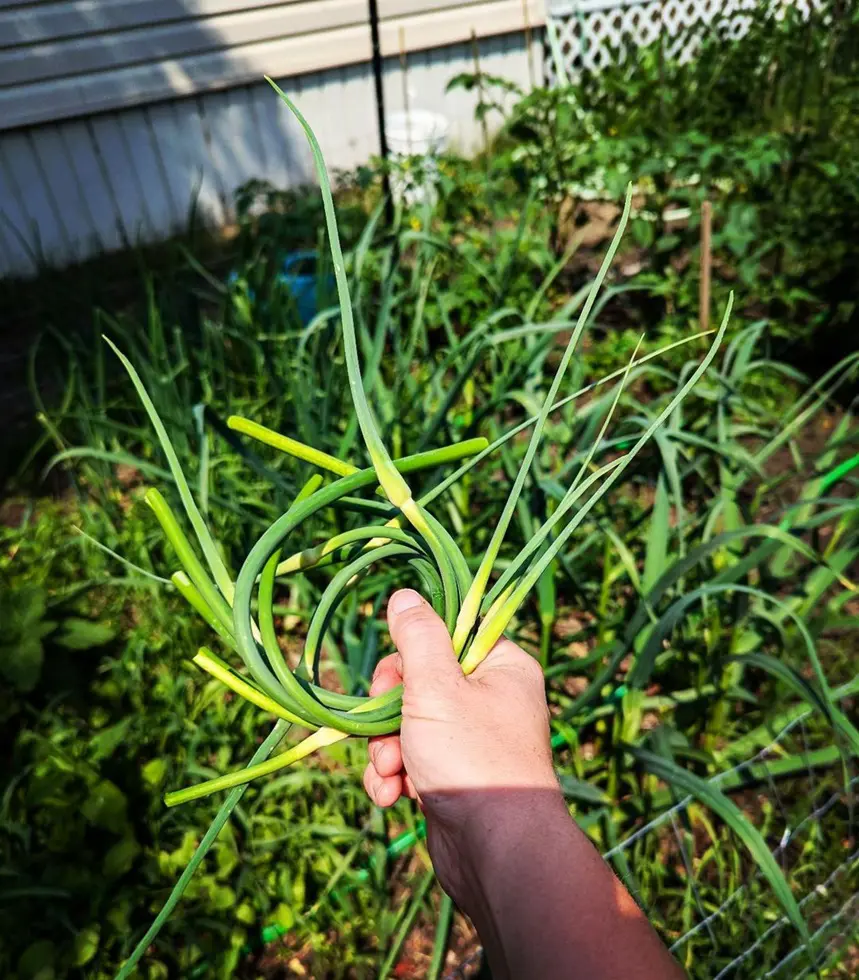
In mid-June, hardneck garlic will produce curly stems called scapes, which are flower stalks. Snip them off once they curl into a loop to promote better bulb growth.
By removing the scapes, you help the plant focus its energy on growing larger bulbs instead of flowering. Use clean garden shears or scissors to cut the scape near its base; this won't harm your garlic.
11. Harvesting
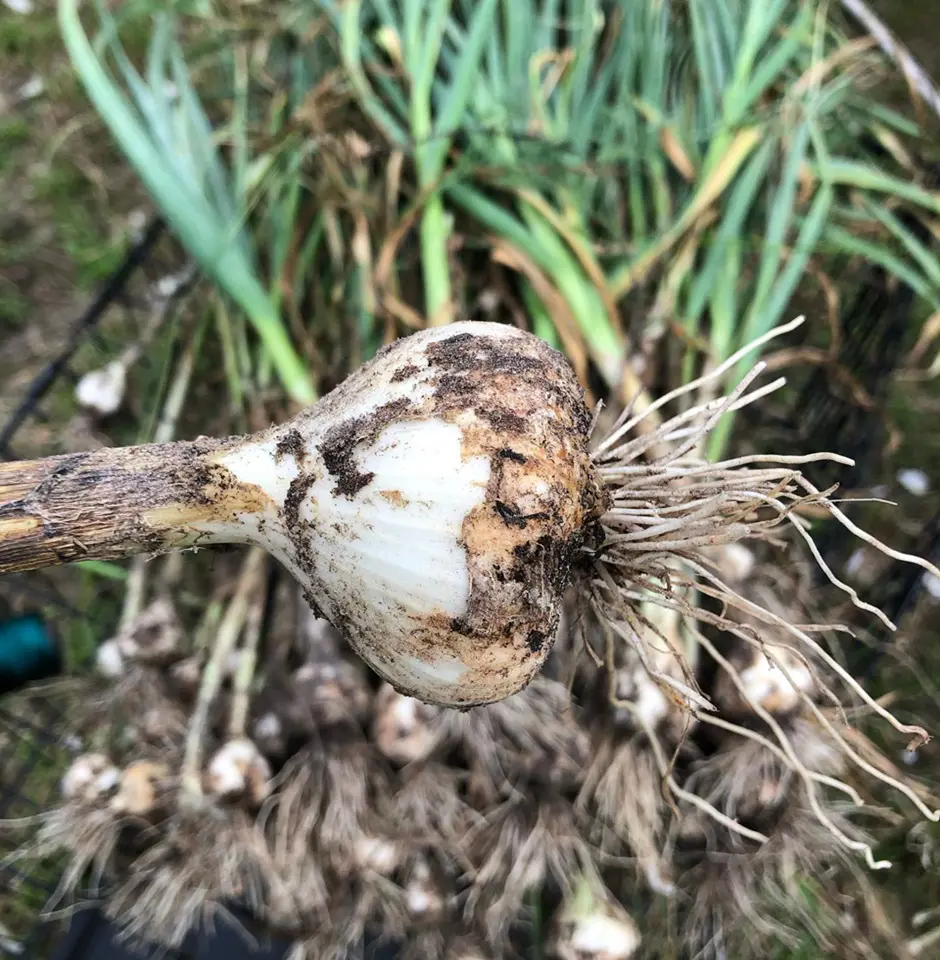
To harvest garlic, wait until late June or early July when the lower leaves begin to yellow and die back which is a clear indication that the bulbs are ready. With the use of a spade or fork carefully unlatch the soil around the bulbs before lifting them out.
Once harvested, allow the garlic to dry in a shaded, airy space for a couple of weeks. Proper harvesting not only enhances the flavor but also aids the garlic store well and lasts longer.
12. Curing Garlic
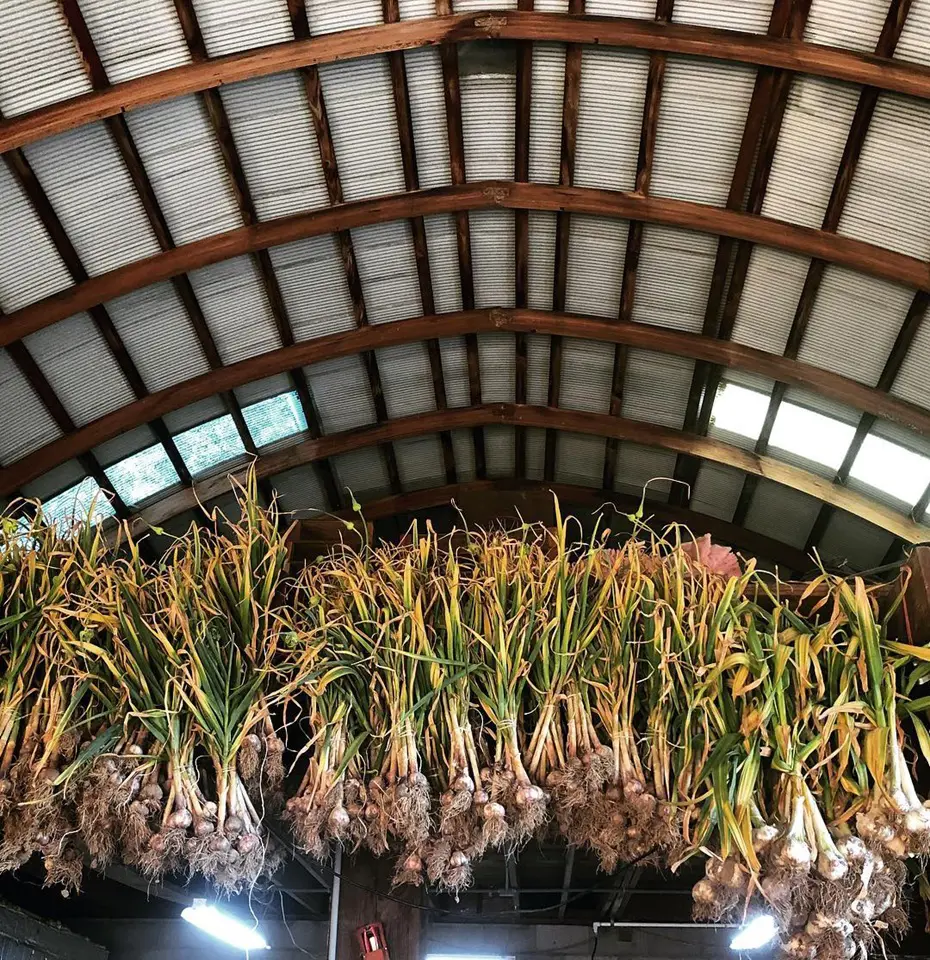
After harvesting, let the garlic dry in a warm, airy space for 2 to 4 weeks to intensify its flavor and extend its longevity. This drying process prepares the bulbs for long-term storage.
Proper drying makes the outer layers of garlic turn papery, protecting the bulbs and ensuring they remain in good condition for storage. Keeping the area dry and consistent during this process is crucial for optimal results, making the garlic ready for long-term storage.
13. Trim And Store
Once the garlic has dried, trim the roots and tops, leaving about 1-2 inches of the stem. Store the garlic in a cool, dry area with good airflow to prevent decay and keep the bulbs in excellent condition for longer.
Proper storage is essential for maintaining garlic quality; a cool environment slows sprouting, while dry conditions prevent mold and rot. Adequate air circulation keeps the garlic fresh, ensuring a longer shelf life for well-preserved cloves for future culinary use.
14. Save Cloves For Planting
Save some of the largest cloves from your harvest for planting in the next season to sustain the garlic-growing cycle. This practice ensures a productive yield for future planting.
Select healthy, large cloves for planting, as they are more likely to produce robust plants. Store these chosen cloves in a cool, dry place until ready to plant, promoting sustainable garlic cultivation and self-sufficiency for future harvests.
Managing Common Garlic Growing Issues
When growing garlic, there can be several hurdles to look for, ranging from pests to diseases. Here's an insight into common issues that might arise along with tips on how to address them:
Birds
Birds, especially pigeons can tend to disturb garlic crops. They may uproot freshly planted cloves or eat on newly sprouted plants.
To prohibit this phenomenon shed your garlic bed with a net or horticultural swindle after planting. You can keep the protection in place until the garlic shoots reach at least 5 cm in height.
Leek Rust
It is a fungal disease that can attack garlic, especially during the wet season. An orange spot formation on the leaves that starts dying black is an indication of this rust.
While the bulbs are still edible, it's smart to harvest affected plants early to prohibit the rust from spreading. Dispose of the infected plant material properly by burning or ditching it.
Garlic Bulb Mites
These are tiny pests that can attack stored garlic bulbs it even affect plants while growing. Infested bulbs develop small brown spots and may have withered, unhealthy-looking cloves.
To fight this, use disease-free garlic sets rotate crops ensure bulbs are thoroughly dried before storing, and check for signs of mites.
Overwatering
Too much water can also lead the bulb to rot, especially if garlic is planted in heavy clay soil or poorly draining areas. Restrict watering excessively, especially after the garlic has generated bulbs.
Ensure the soil is well-drained and minimize watering as the plants mature.
Nutrient Deficiency
Garlic being a heavy feeder can suffer badly if grown in poor soil. Any signs of yellow leaves are an indication of a lack of potassium or nitrogen.
Adding well-decomposed compost or organic fertilizer into your soil before planting can address this situation. Side-dressing the plants with fertilizer mid-season can also provide them a nutrient boost.
Onion White Rot
This tricky swell-dwelling disease is very hard to spot early on. You'll only notice something's wrong when the garlic leaves turn yellow and become flaccid around harvest time.
White, fluffy fungus along with tiny black specks will have developed on the bulb's base that severely infects bulbs turning them black and rotting them. To prohibit the further spread, remove and destroy affected plants and don't compost them.
As onion white rot can remain in the soil for years, consider growing garlic in fresh containers or soil or rotating crops to prevent infecting other alliums like onions and leeks.
Recent posts
How To Grow
How To Grow
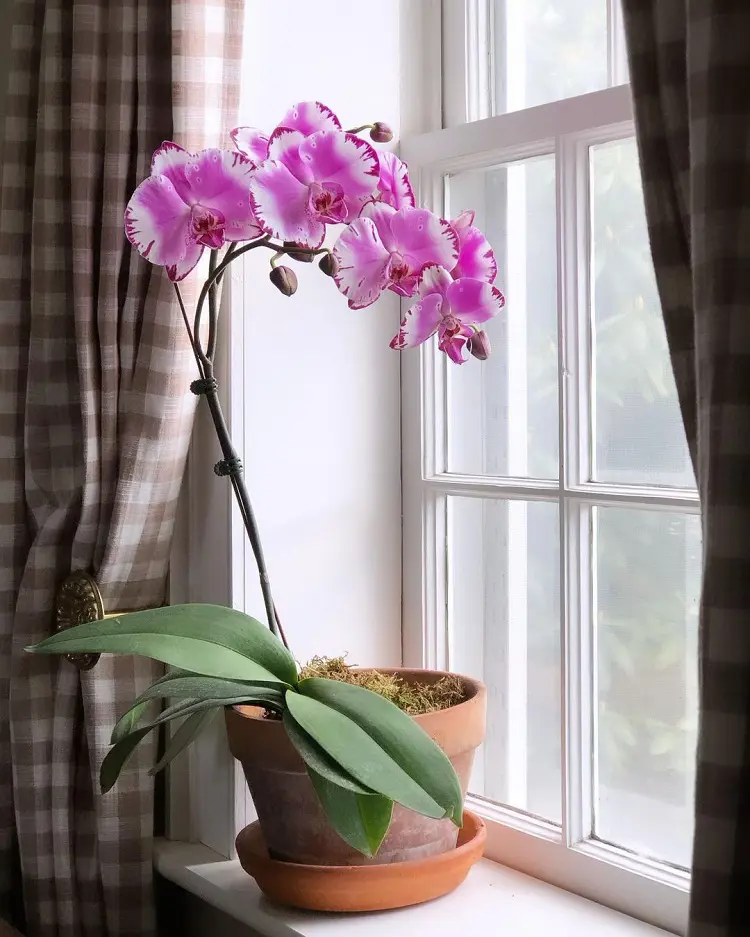
How To Plant and Grow Orchids
Orchids are one of the prettiest and most interesting flowers out there, with over 30,000 types and 200,000 hybrids. They are one of the biggest families of plants and can grow indoors or outdoors. However, growing and taking care of orchids is not e...
How To Grow
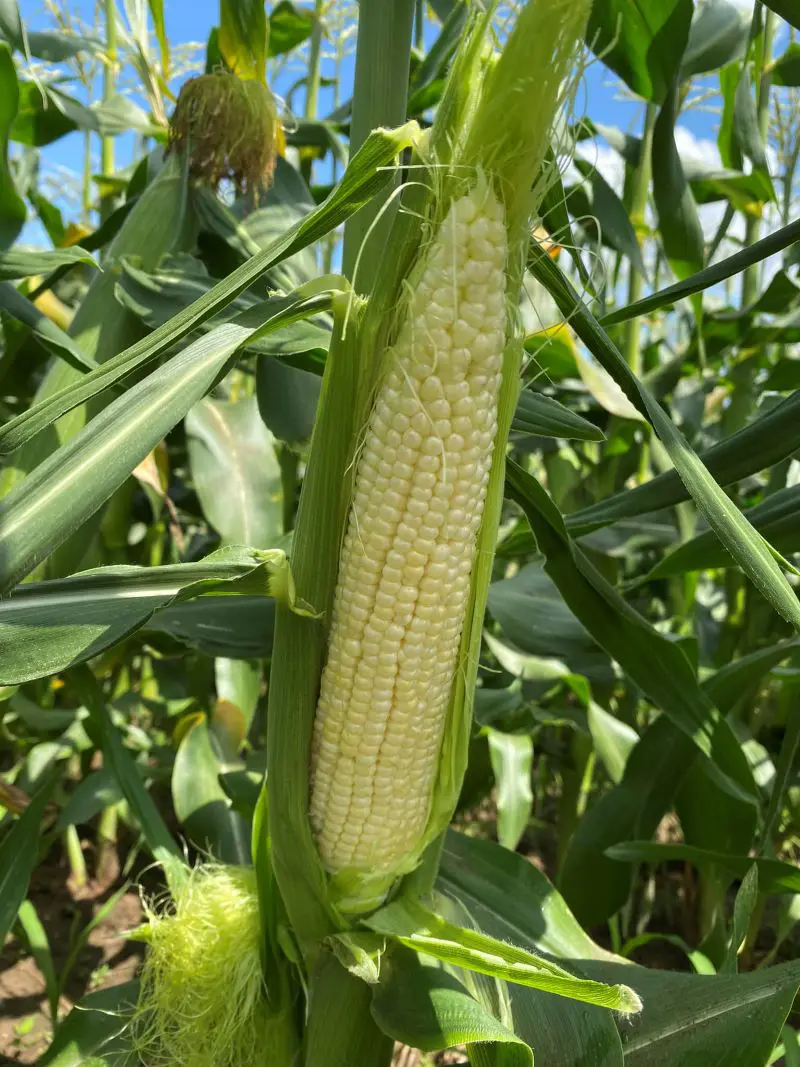
How To Plant, Grow And Harvest Corn All By Yourself
Growing your popcorn or sweet corn at home garden can seem like an interesting idea. However, it requires a large amount of space to grow as it is a tall plant that needs plenty of room to spread out. But, if you want to enjoy freshly popped po...
How To Grow
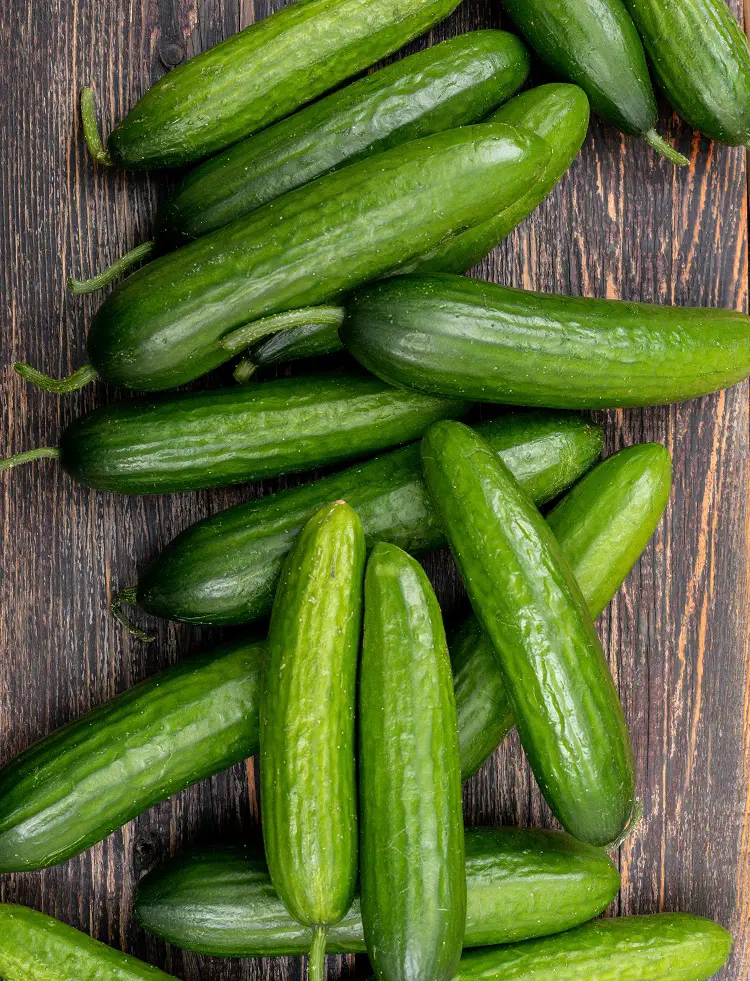
How To Plant, Grow And Care Cucumbers
Growing cucumbers is like going on a fun journey where you get to plant and pick your very own crunchy veggies. It's not just about having tasty cucumbers, it's also about the joy of seeing your plants grow. Whether you have a big garden or a small b...
How To Grow
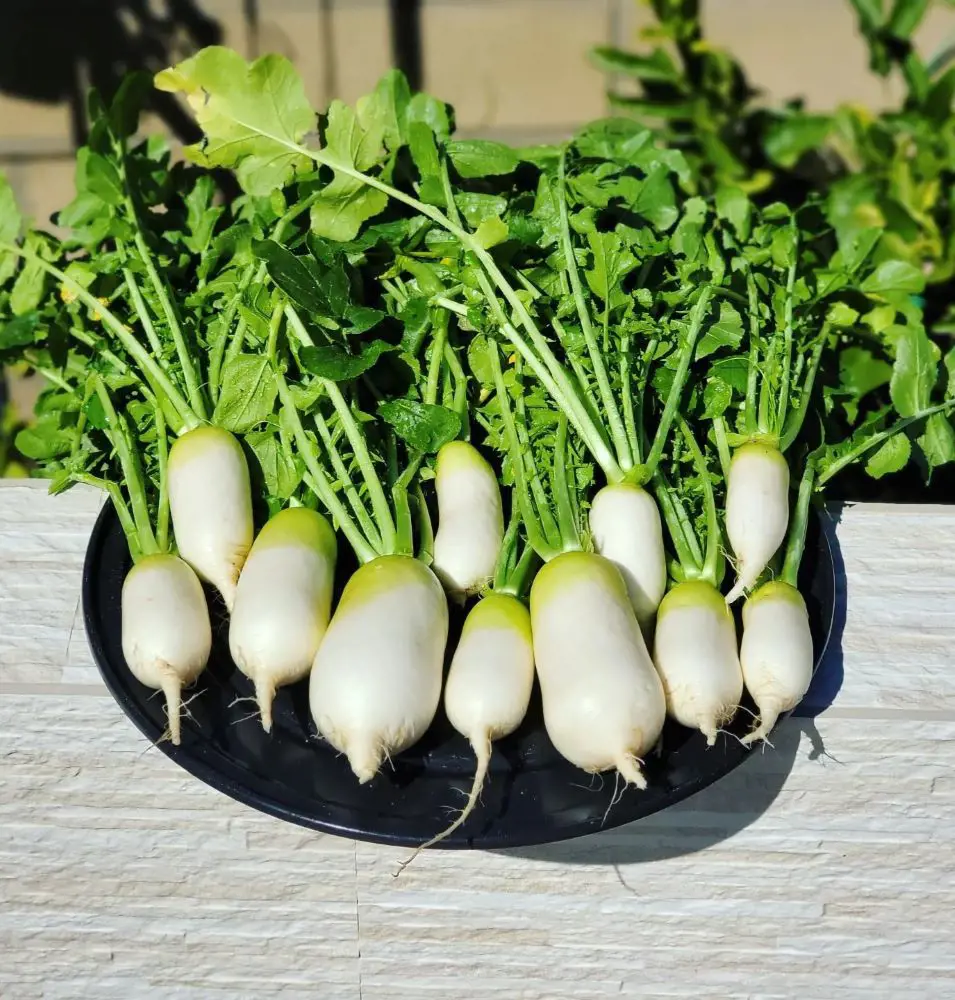
How To Plant, Grow And Care Radishes In Your Garden
Growing radishes in your garden is a fantastic way to enjoy crisp and peppery veggies that you've nurtured from seed to plate. It's a straightforward process that anyone can try, even if you're new to gardening. In the following 12 steps, we'll guide...
How To Grow
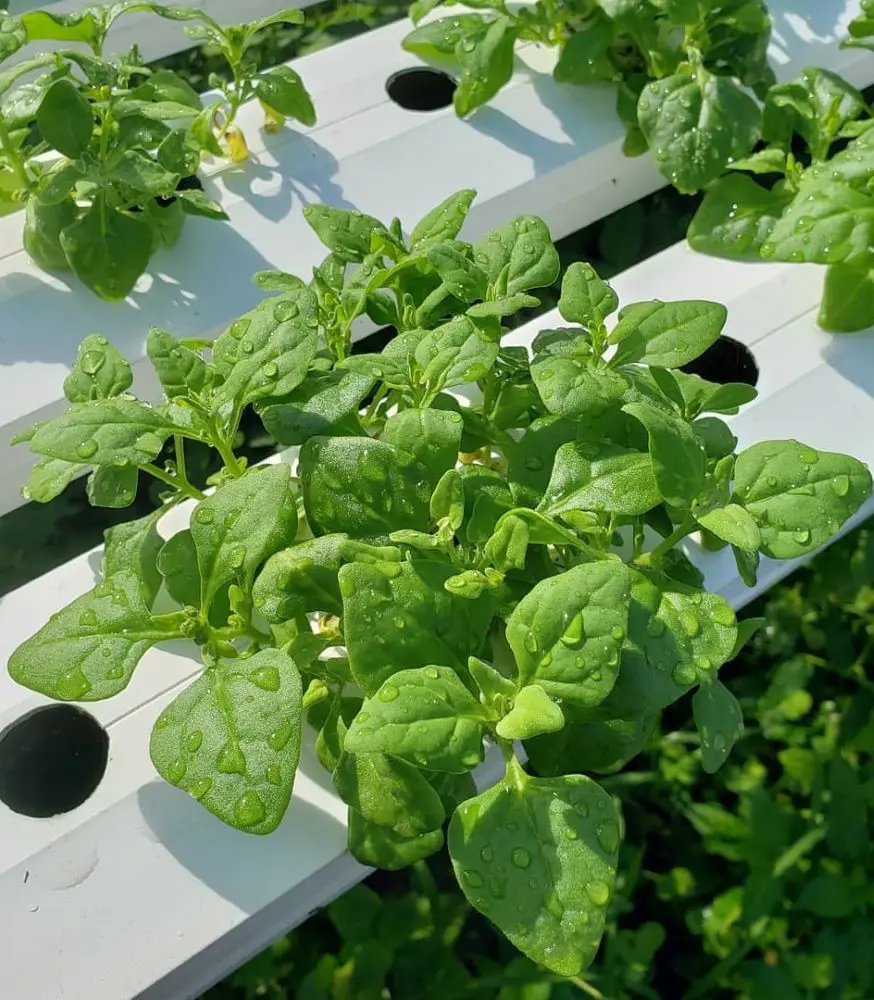
How to Plant, Grow And Care For Spinach?
Growing leafy greens in your backyard garden is both healthy and fun. Spinach can be the best leafy green to start with as it is relatively easy to grow from scratch and can be harvested in about a month from planting. It thrives in spring or fall in...
How To Grow
How To Plant, Grow And Care Asparagus In Your Backyard
People love asparagus in spring and summer because it's one of the first veggies to pop up, and the fresh spears taste amazing. Besides being tasty, it's super healthy, loaded with vitamin B, vitamin C, calcium, and iron. Growing asparagus might soun...