How To Plant and Grow Orchids
By Mlbrun Team
On Aug 28, 2024

This post may contain affiliate links. If you make a purchase through links on our site, we may earn a commission.
Orchids are one of the prettiest and most interesting flowers out there, with over 30,000 types and 200,000 hybrids. They are one of the biggest families of plants and can grow indoors or outdoors.
However, growing and taking care of orchids is not easy, get ready for some ups and downs if you planning to grow one. Growing orchids is a special experience that requires patience and a willingness to learn from mistakes.
When To Plant Orchids
The best time to plant orchids depends on the type of orchid and your local climate. However, most orchids are not planted in the traditional sense as they are typically grown in pots with special orchid medium rather than in the ground.
Here are some general guidelines:
- Indoors: Orchids can be started indoors at any time of the year if you can control their environment, especially temperature and humidity. The key is to mimic the natural conditions of your specific orchid species as closely as possible.
- Outdoors: If you live in a climate similar to the orchid's natural habitat, you can move them outdoors or plant them when temperatures are suitable for the specific type of orchid. This is usually done after the danger of frost has passed in spring and when temperatures do not drop below the orchid’s tolerance at night.
- Seasonal Growth Cycles: Many orchids have a specific growth cycle, with a period of active growth followed by a period of dormancy. It's best to repot or divide orchids during their dormant phase, which often falls after they bloom. This timing can vary widely among orchid species.
- Specific Orchid Types: Phalaenopsis orchids (often called moth orchids) can be bought and started indoors at any time of the year. This variety tends to flower regardless of the season, as long as its environmental needs are met.
Orchid Growing Tips
Growing orchids can seem daunting due to their exotic appearance, but many types are quite forgiving and can thrive with the right orchid care. Here's how to grow orchids in seven basic steps.
Focus on the commonly available types, such as Phalaenopsis (moth orchids), which are a good starting point for beginners.
1. Choose the Right Orchid
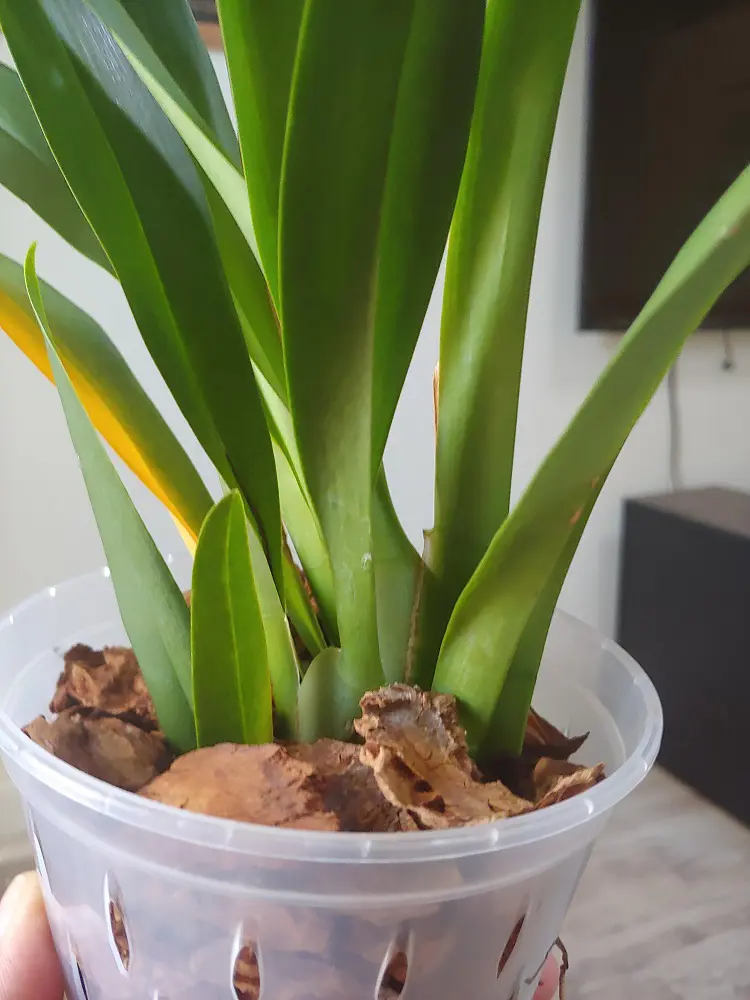
Start with a beginner-friendly orchid, like a Phalaenopsis, which is adaptable to indoor conditions. Look for an orchid with bright, firm leaves and, if possible, roots that are green or white and appear healthy.
2. Use the Proper Potting Medium
Orchids generally don't grow in regular potting soil but in a special orchid mix designed to drain quickly and provide air to the roots. This mix often contains bark, sphagnum moss, and perlite.
3. Select an Appropriate Pot
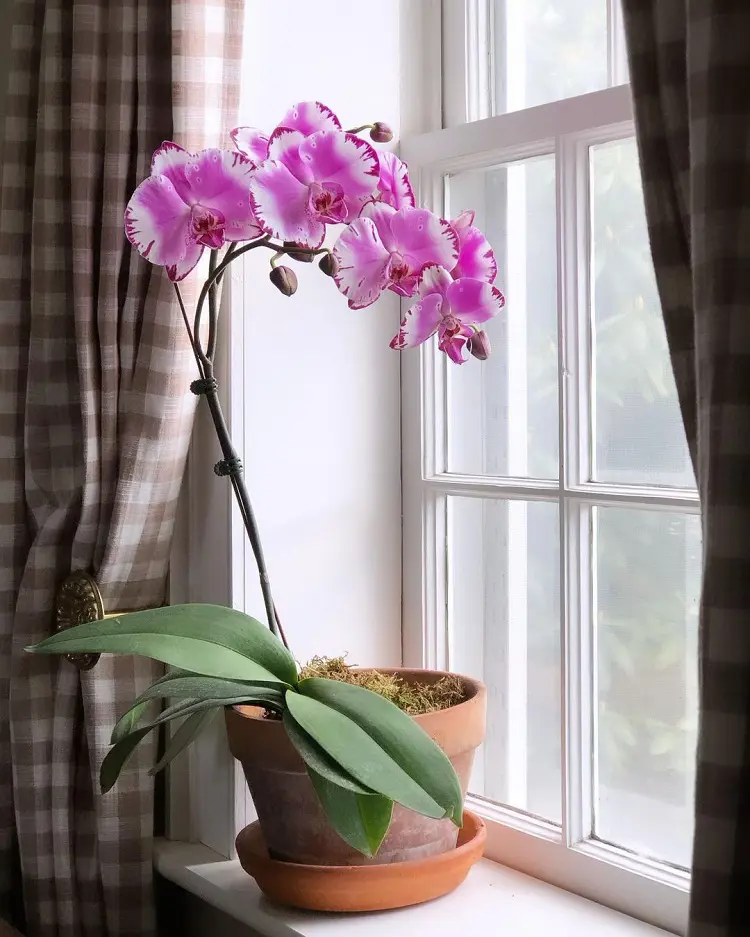
Use a pot with good drainage to prevent water from pooling at the bottom, which can cause root rot. Many orchids benefit from clear pots that allow light to reach the roots.
4. Provide Adequate Light
Most orchids thrive in bright, indirect light. A window facing east or west is often ideal. Direct sunlight can burn the leaves, while too little light can prevent flowering.
5. Water Properly
Overwatering is a common mistake. Water your orchid only when the potting mix has dried out, usually every 5 to 7 days, depending on conditions like humidity and temperature.
Water thoroughly, allowing water to run freely through the potting mix and out the drainage holes.
6. Maintain Humidity and Temperature
Orchids enjoy a humidity level of about 40-70%. Use a humidity tray or a room humidifier if your home is dry.
Moreover, keep temperatures between 60-75°F (15-24°C) during the day and slightly cooler at night, which many orchids prefer.
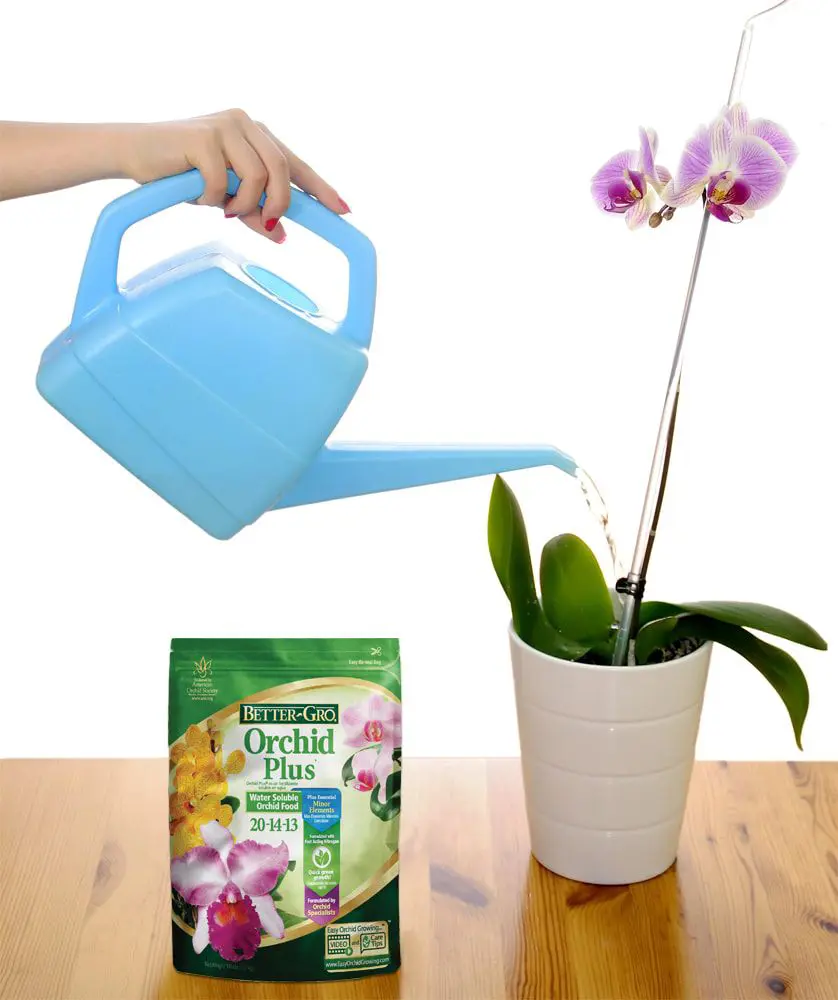
7. Fertilize Regularly
Use a balanced, water-soluble fertilizer diluted to half-strength, typically every other week during the growing season. In the dormant season, reduce fertilization.
Potting and Repotting
Potting and repotting orchids are crucial aspects of their care, helping to ensure they have the appropriate environment to thrive, grow, and bloom.
Orchids require a different approach compared to most houseplants due to their unique root systems and growth patterns. Here's how to pot and repot orchids effectively:
When to Repot
- Repot orchids every 2-3 years, or when the potting medium has broken down and no longer drains well. After blooming is an ideal time, as the orchid is entering a new growth cycle.
- Other signs that an orchid needs repotting include roots growing over the edge of the pot, through drainage holes, or if the plant is unstable in its pot.
Choosing the Right Potting Medium
- Select a potting mix designed for orchids. These mixes often include bark, perlite, and sphagnum moss, providing the drainage and aeration orchid roots need.
- The choice of medium can depend on the orchid type. For example, Phalaenopsis orchids generally do well in a bark mix, while some other species might prefer more moss.
Selecting a Pot
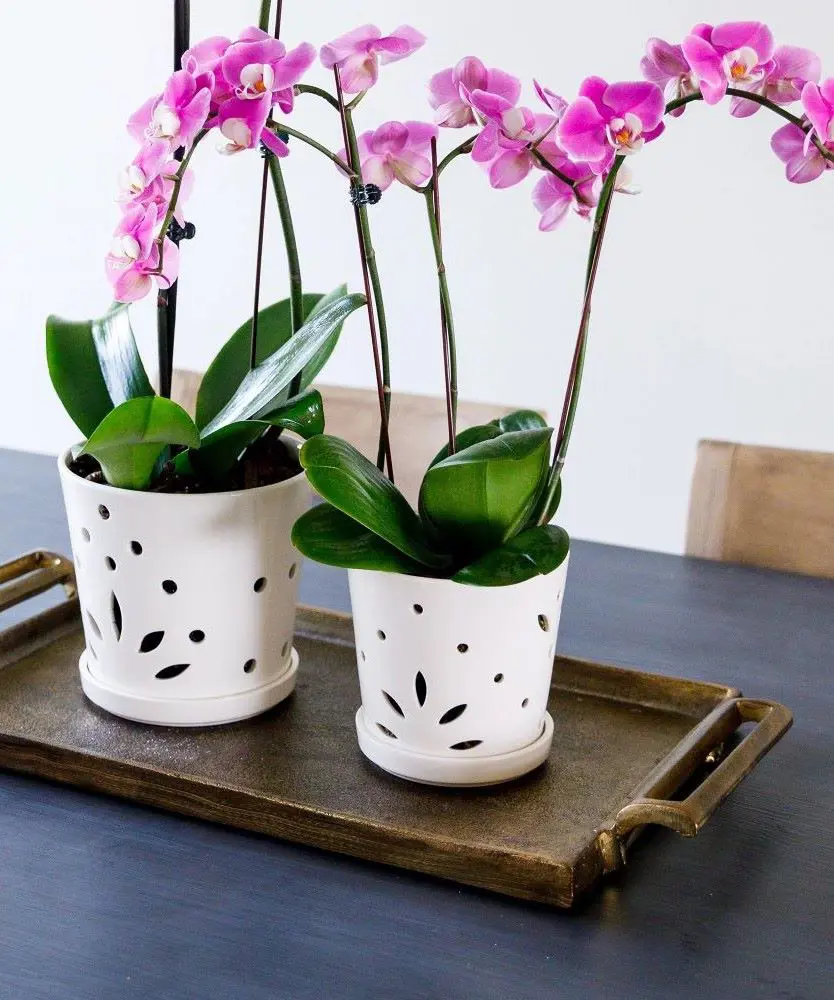
- Plastic pots are lightweight and retain moisture longer, while clay or terracotta pots offer better air circulation and dry out more quickly.
- Choose a pot that is just large enough to accommodate the root system. Orchids prefer snug quarters, and a too-large pot can lead to moisture-related issues.
- Ensure the pot has adequate drainage holes. Clear pots are beneficial for orchids, allowing light to reach the roots and letting you see when to water.
Potting and Repotting Steps
- Gently take the orchid out of its current pot. If the roots stick, you might need to cut the pot away.
- Remove any dead or rotting roots with sterilized scissors or pruners. Healthy orchid roots are firm and green or white.
- Place a layer of orchid potting mix at the bottom of the new pot.
- Set the orchid in the pot so that the base of the plant (where the roots emerge) is just below the rim. This placement ensures that the plant isn't too deep in the medium.
- Gently fill around the roots with the orchid potting mix, tapping the pot to settle the mix without compacting it too tightly.
- Water the orchid thoroughly after repotting to help settle the potting mix around the roots. Then, allow the pot to drain completely.
Aftercare
- Avoid fertilizing for about a month to let the plant recover and adjust to its new pot without burning the roots.
- Keep an eye on the plant for signs of stress and adjust care as needed. It's normal for the orchid to take some time to acclimate to its new pot.
How To Propagate Orchid
Orchid propagation is a rewarding process for enthusiasts looking to expand their collection or share plants with friends. While orchids can sometimes be more challenging to propagate than other plants, with patience and the right technique, it's certainly achievable. Here are the most common methods for propagating orchids:
1. Division
Division is a straightforward method for propagating sympodial orchids during repotting, ideally in spring when new growth appears. Carefully extract the orchid from its pot, removing the old potting medium. Identify natural divisions, ensuring each section has at least three pseudobulbs.
Use a clean knife to cut through the rhizome, separating divisions, and individually pot them in a suitable orchid mix. This method promotes healthy growth and can be effective in expanding your orchid collection.
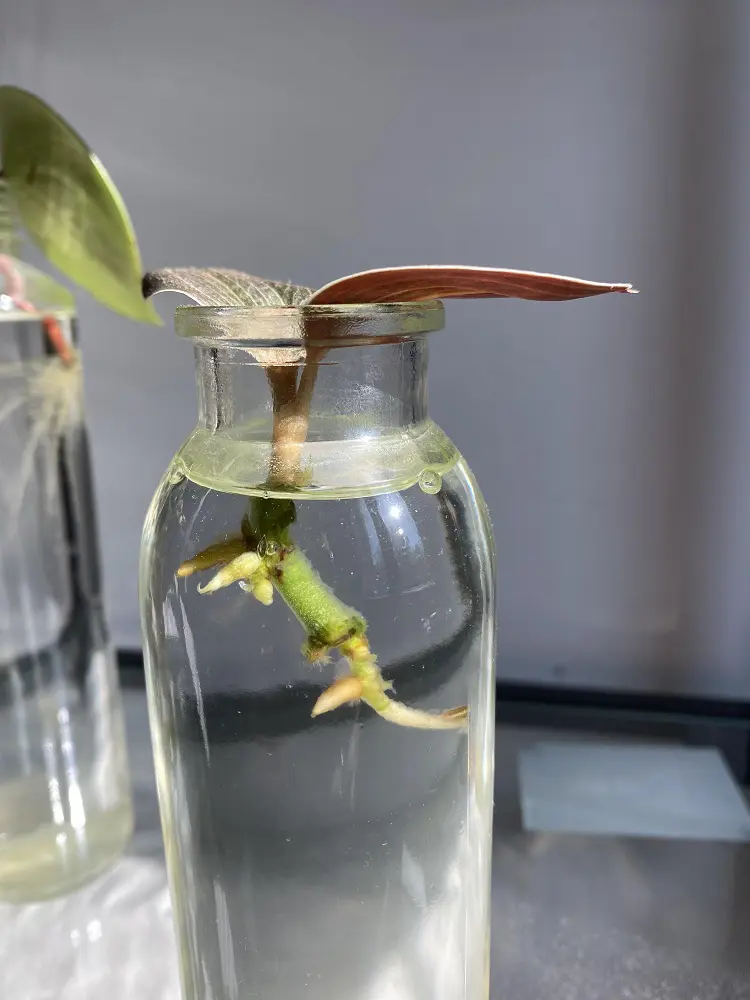
2. Keiki (Baby Plant) Propagation
Keiki propagation is a method for reproducing Phalaenopsis orchids. Once a keiki (baby plant) on the flower spike develops several roots, usually a couple of inches long, it is ready for separation. Using a sterilized blade, carefully cut the keiki along with a portion of the attached spike from the mother plant.
Plant it in a small container with orchid potting mix, ensuring roots are buried and leaves remain above the surface for successful growth.
3. Back Bulb Propagation
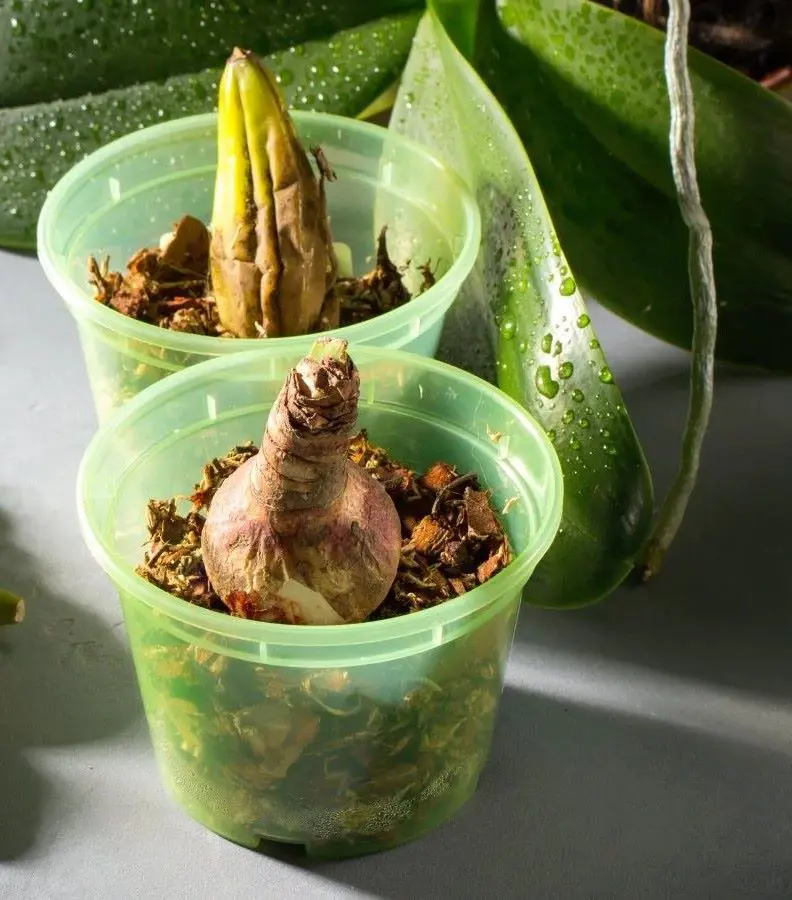
Back bulb propagation is a technique for rejuvenating or establishing sympodial orchids. Ideally performed during repotting or when back bulbs are accessible, choose those with one or two dormant eyes.
These eyes indicate potential growth points. Pot the back bulb in damp sphagnum moss or a fine orchid bark mix, maintaining high humidity. With patience, a new shoot will emerge, allowing for the revival or initiation of a healthy orchid plant.
4. Seed Propagation
Orchid seed propagation is intricate and generally not recommended for casual home growers due to the minuscule size of orchid seeds and their reliance on a symbiotic fungus for germination.
The process involves sterile lab conditions, with seeds sown in flasks under controlled, sterile environments on a nutrient agar medium. While fascinating, successful orchid seed germination demands specialized equipment and knowledge, making it a technique better suited for experienced orchid enthusiasts or professionals in dedicated facilities.
Blooming Orchid Flower
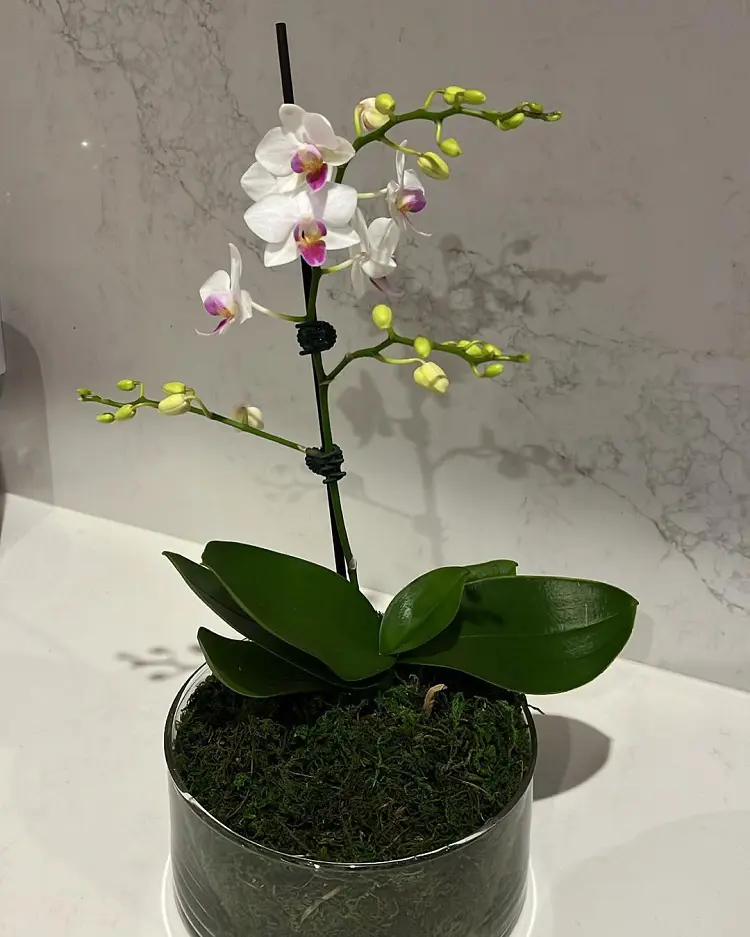
Orchid bloom times vary by species, with some flowering in winter and others in summer. A typical orchid may bloom once a year, and the flowers can last from a few weeks to several months, depending on the orchid type, environmental conditions, and care provided to the plant.
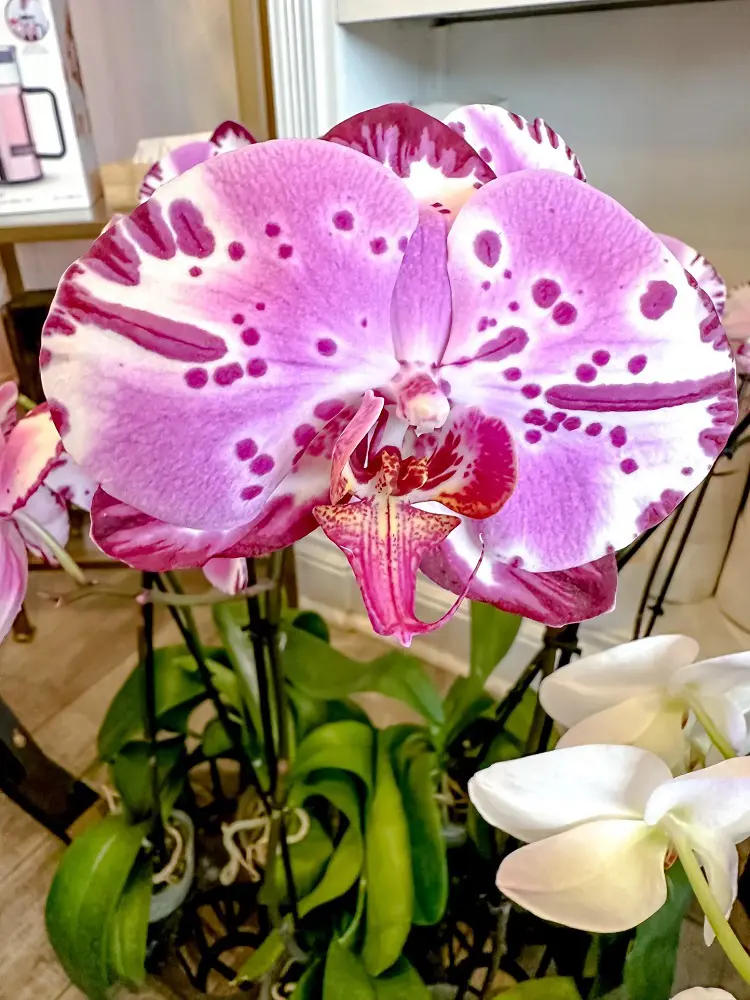
Appearance and Fragrance While Orchid Blooms
Orchid blooms exhibit a stunning array of colors, shapes, and sizes, captivating with their exquisite beauty. Their diverse appearances range from intricate patterns and vibrant hues to elegant, waxy textures. Orchids often boast symmetrical, three-petaled structures, with a unique lip or labellum, serving as a focal point for pollinators.
While some emit a mild, pleasant fragrance that varies between species, not all orchids are fragrant. Fragrance intensity can differ, with some varieties producing a subtle, sweet scent, enhancing the overall allure of these enchanting flowers during their blooming period.
Bloom Care
After an orchid has finished blooming, proper care is crucial to encourage reblooming. For Phalaenopsis orchids, you can cut the flower spike above the node where the first flower bloomed to potentially encourage a secondary spike.
Continue caring for your orchid with proper light, watering, and temperature conditions to support its overall health and set the stage for the next blooming cycle.
Orchid Plant Types
Orchids comprise a vast and diverse family with numerous types, each showcasing unique characteristics. Here are some popular types of orchid plants:
- Phalaenopsis (Moth Orchids): Phalaenopsis orchids are known for their elegant, arching sprays of blooms and adaptability to indoor conditions.
- Cattleya: Renowned for large, showy flowers with vibrant colors and a distinctive lip, often associated with corsages.
- Dendrobium: Diverse group, featuring various sizes and shapes, with canes or pseudobulbs, and vibrant, long-lasting flowers.
- Oncidium (Dancing Lady Orchids): Recognized for small, intricate flowers resembling dancing figures, often in cascading sprays.
- Cymbidium: Ideal for cooler climates, known for long-lasting, boat-shaped flowers in various colors.
- Vanda: Epiphytic orchids with large, fragrant, and vibrant blooms, are often cultivated in hanging baskets.
- Masdevallia: Small, cool-growing orchids with distinctive flowers and unique lip structures.
- Lady's Slipper Orchids (Paphiopedilum): Recognized by their slipper-shaped pouch, these orchids have long-lasting, intricate blooms.
Challenges While Growing Orchid
Growing orchids can present challenges like orchid leaves turning yellow, pest infestations, diseases, etc. But understanding common problems and their solutions enhances your ability to care for these beautiful plants. Here are some typical issues encountered while growing orchids:
Overwatering or Underwatering
- Issue: Orchids are sensitive to waterlogged roots or dry conditions.
- Solution: Water orchids only when the potting mix is partially dry, and ensure proper drainage.
Insufficient Light or Too Much Light
- Issue: Inadequate light leads to poor blooming, while excessive light can scorch leaves.
- Solution: Provide bright, indirect light, avoiding direct sunlight and adjusting based on orchid species.
Improper Potting Mix
- Issue: Regular soil retains too much moisture, causing root rot.
- Solution: Use a specialized orchid mix with good aeration and drainage.
Incorrect Temperature and Humidity
- Issue: Orchids are sensitive to extreme temperatures and low humidity.
- Solution: Maintain temperatures within the orchid's preferred range and increase humidity when necessary.
Lack of Air Circulation
- Issue: Stagnant air can lead to fungal issues and poor growth.
- Solution: Ensure gentle air circulation using fans but avoid direct drafts.
Pests
- Issue: Common pests include aphids, scales, spider mites, and mealybugs.
- Solution: Regularly inspect plants for pests, and treat with insecticidal soap or neem oil if necessary.
Fungal and Bacterial Infections
- Issue: High humidity can contribute to fungal and bacterial problems.
- Solution: Improve air circulation, ensure proper spacing, and use fungicides or bactericides when needed.
Inadequate Fertilization
- Issue: Insufficient nutrients can lead to poor growth and lack of flowering.
- Solution: Regularly fertilize with a balanced orchid fertilizer during the growing season, following package instructions.
Incorrect Repotting Practices
- Issue: Repotting at the wrong time or using the wrong potting mix can stress the orchid.
- Solution: Repot during the orchid's dormant period, using the appropriate mix for its species.
Recent posts
How To Grow
How To Grow
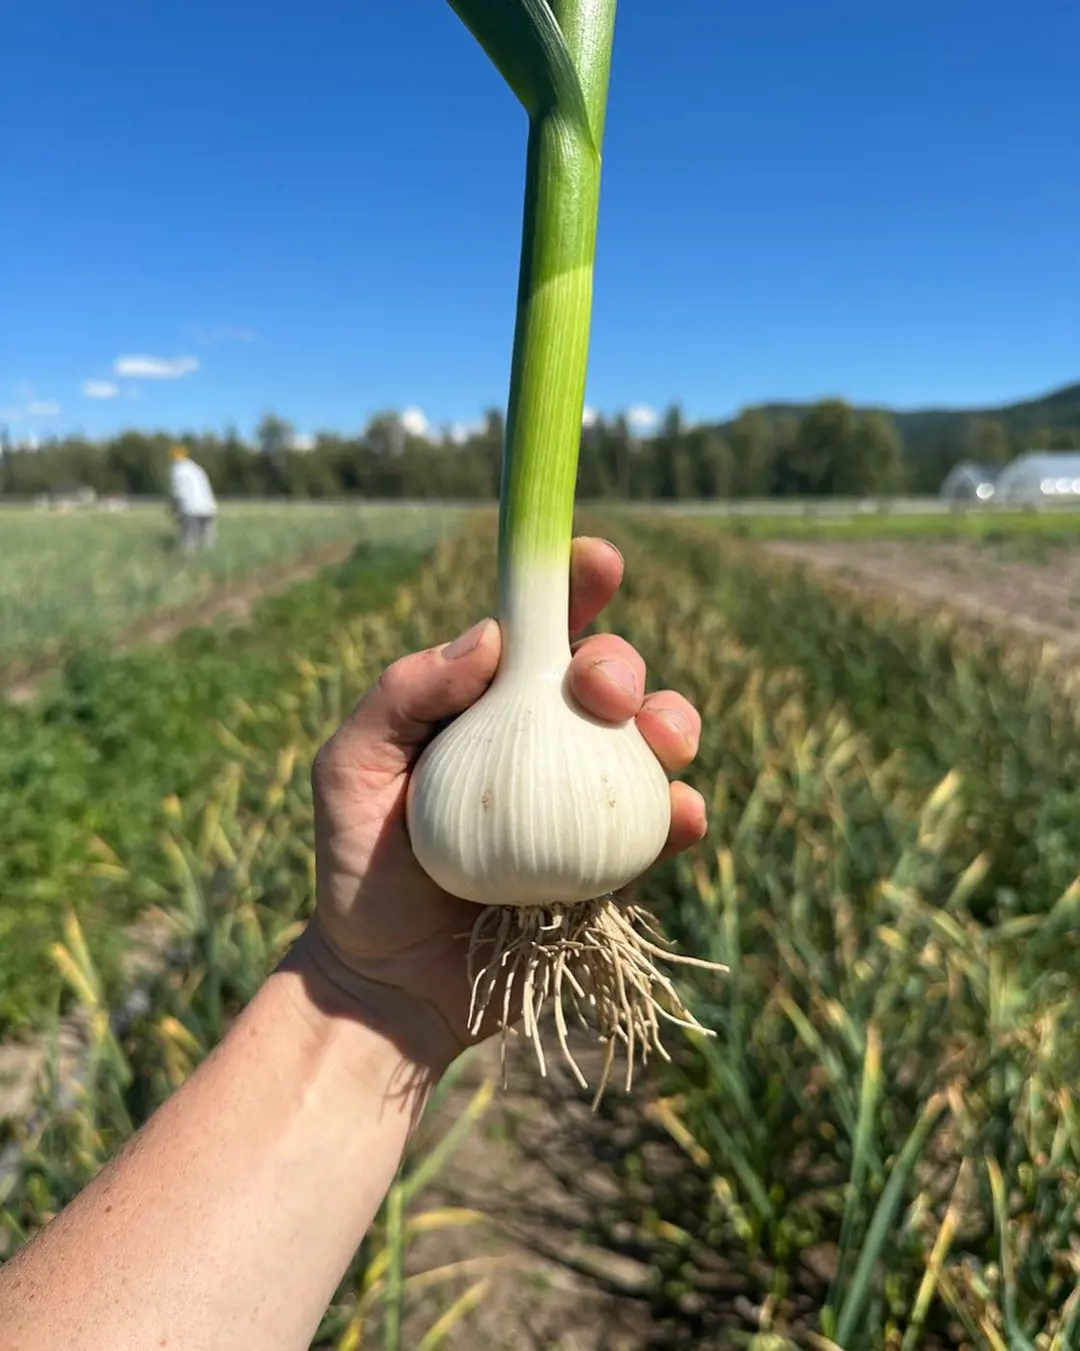
How To Grow Garlic
A bulbous member of the onion family, garlic is prized for both its potent flavor and a variety of therapeutic applications. Due to its relative ease of cultivation, it is a favorite among home gardeners and a pioneer in kitchens worldwide. Garlic ma...

How To Grow
How To Plant, Grow And Harvest Corn All By Yourself
Growing your popcorn or sweet corn at home garden can seem like an interesting idea. However, it requires a large amount of space to grow as it is a tall plant that needs plenty of room to spread out. But, if you want to enjoy freshly popped po...

How To Grow
How To Plant, Grow And Care Cucumbers
Growing cucumbers is like going on a fun journey where you get to plant and pick your very own crunchy veggies. It's not just about having tasty cucumbers, it's also about the joy of seeing your plants grow. Whether you have a big garden or a small b...
How To Grow
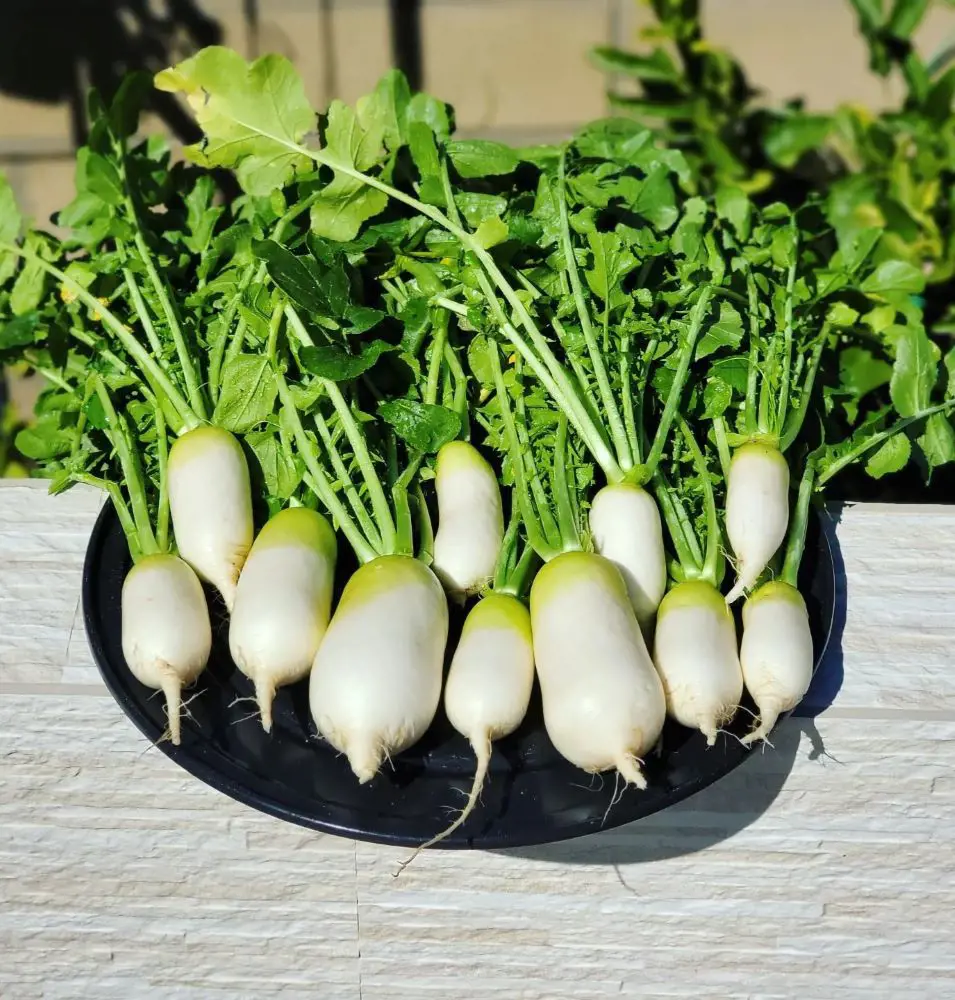
How To Plant, Grow And Care Radishes In Your Garden
Growing radishes in your garden is a fantastic way to enjoy crisp and peppery veggies that you've nurtured from seed to plate. It's a straightforward process that anyone can try, even if you're new to gardening. In the following 12 steps, we'll guide...
How To Grow
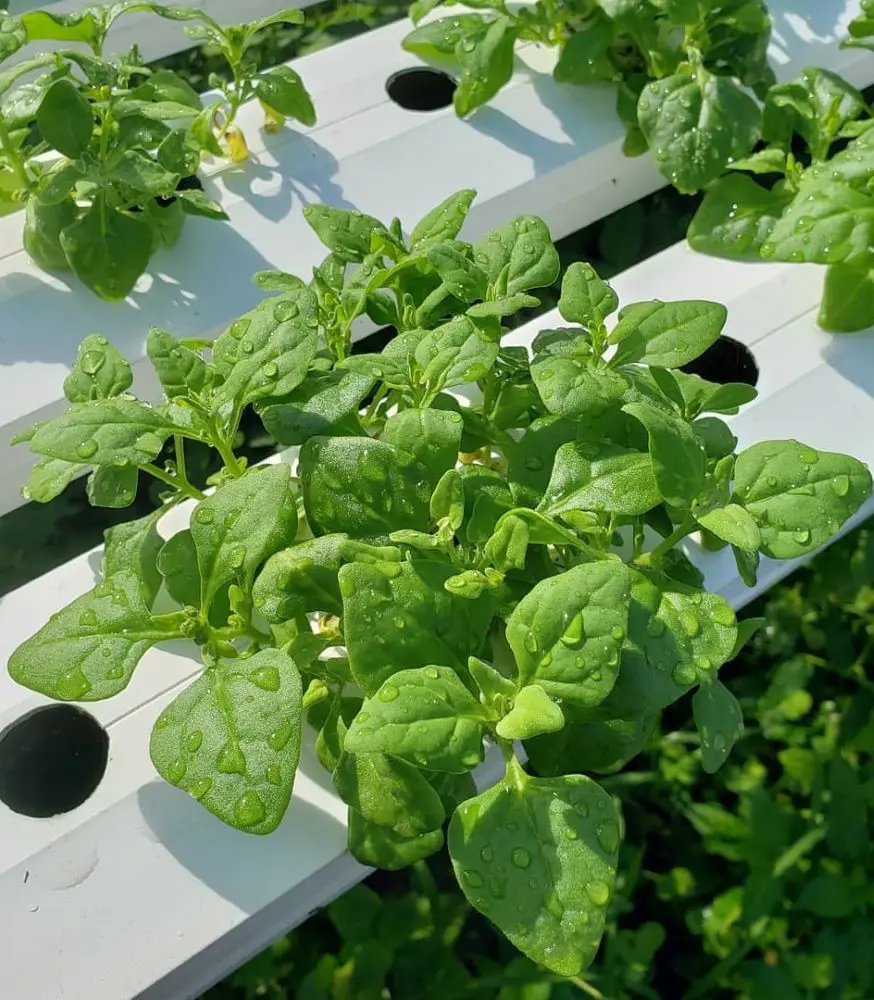
How to Plant, Grow And Care For Spinach?
Growing leafy greens in your backyard garden is both healthy and fun. Spinach can be the best leafy green to start with as it is relatively easy to grow from scratch and can be harvested in about a month from planting. It thrives in spring or fall in...
How To Grow
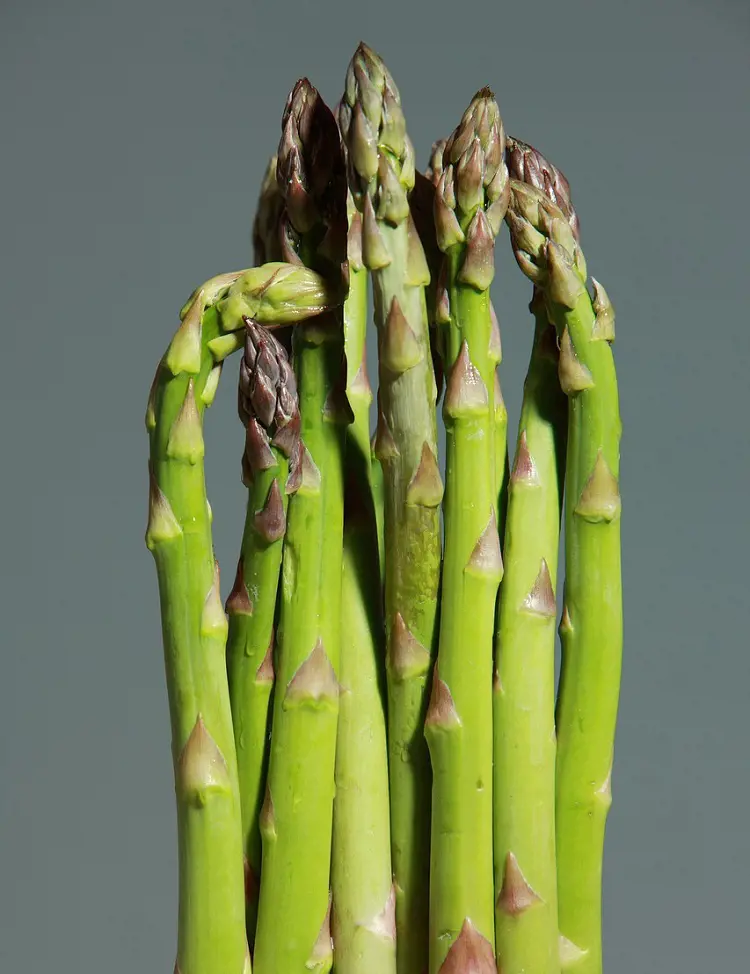
How To Plant, Grow And Care Asparagus In Your Backyard
People love asparagus in spring and summer because it's one of the first veggies to pop up, and the fresh spears taste amazing. Besides being tasty, it's super healthy, loaded with vitamin B, vitamin C, calcium, and iron. Growing asparagus might soun...