How To Prune Roses With These 10 Steps
This post may contain affiliate links. If you make a purchase through links on our site, we may earn a commission.
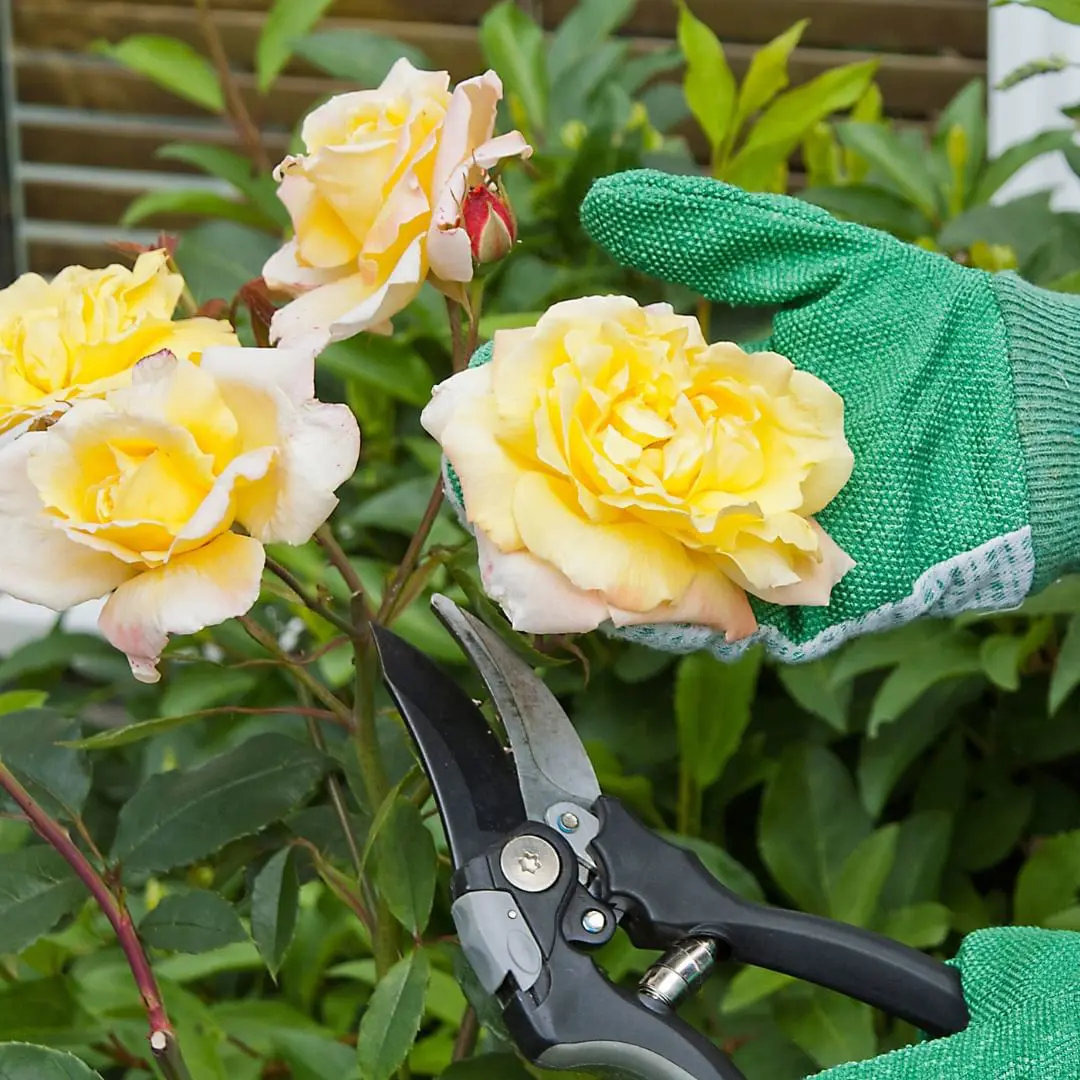
Pruning these thorn-filled plants might seem scary, but it's crucial for having abundant rose blooms. Cutting back old growth encourages new, vibrant growth, removes dead parts, and shapes the plant. This practice also reduces the risk of fungal diseases by allowing better airflow.
Don't worry if you're a beginner, experienced gardeners agree that it's hard to harm a rose bush, and mistakes can be fixed. It's better to learn and make some errors than let your roses become unruly and messy in the long run.
Step 1: Gather Your Tools
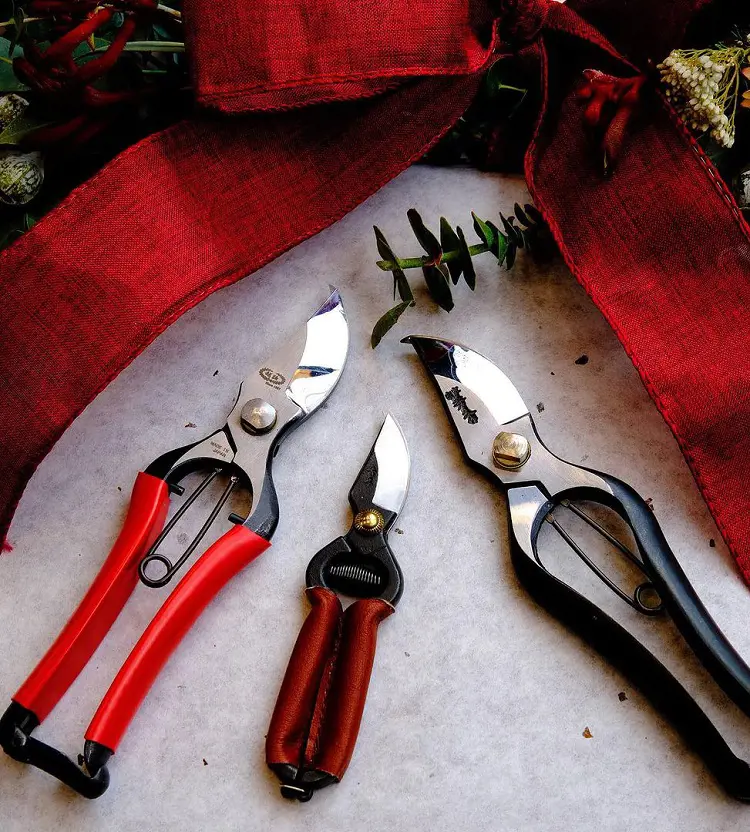
The material you will need to start the pruning procedure is:
- Pruning Shears:
Handheld tools for trimming small to medium-sized branches. Sharp, clean shears ensure precise cuts, promoting plant health.
- Gloves:
Sturdy gardening gloves protect hands from thorns, and scratches, ensuring a safer, comfortable pruning experience.
- Loppers (for thicker canes):
Larger cutting tools with long handles, ideal for thicker canes or branches. Provides extra leverage for efficient cutting.
- Disinfectant Solution (water and bleach or rubbing alcohol):
Crucial for cleaning tools between cuts. Mix water with bleach or rubbing alcohol to prevent disease spread, ensuring rose health.
Step 2: Choose The Right Time
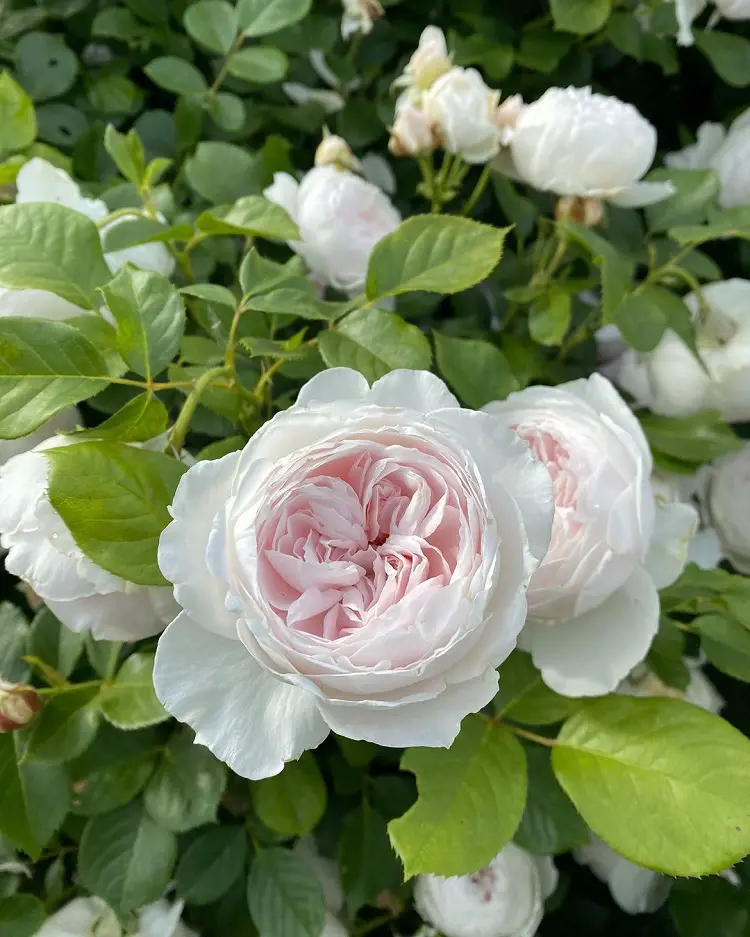
Pick the perfect time to prune your roses for a flourishing garden. Late winter to early spring is the sweet spot, just before new growth kicks in. Timing varies with your local weather, but wait until the last frost has bid adieu.
This ensures your roses get the best start, with no frosty surprises. When the chill is gone, it's go-time for pruning. This strategic timing lets your roses bloom beautifully. So, keep an eye on the frosty calendar, and when it's clear, grab your shears for a rose-pruning for a vibrant and healthy garden.
Step 3: Remove Dead Or Diseased Wood
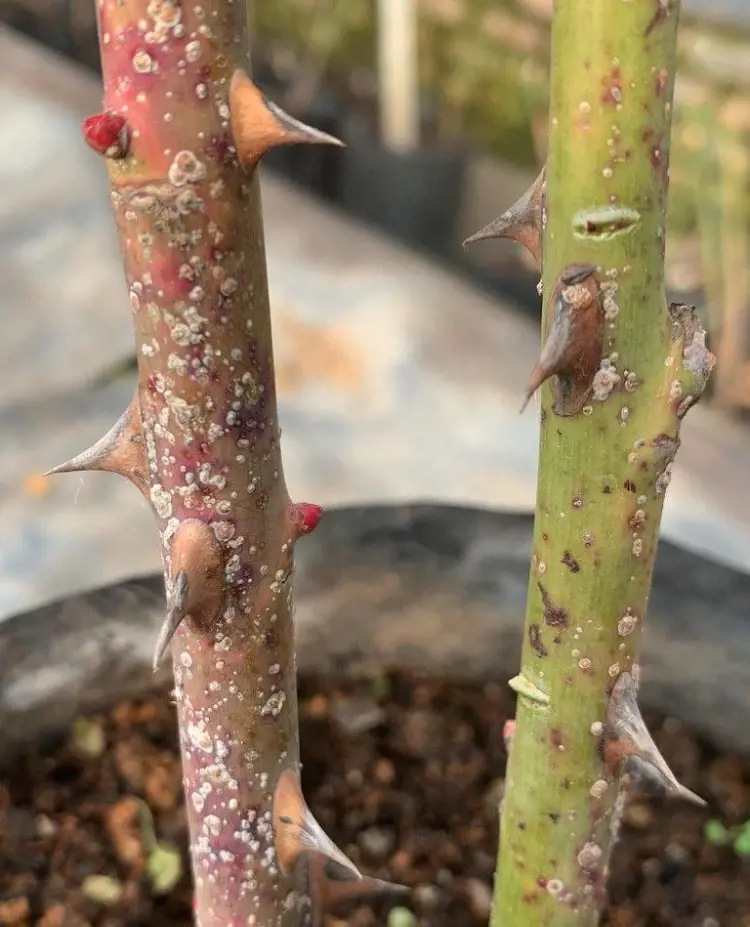
Start by saying goodbye to the sick and dead parts of your roses. Find those dark, shriveled canes or ones with ugly black spots, they're the troublemakers. With your handy pruning shears, give them a clean cut, trimming them down to the lively, green parts.
This isn't just about getting rid of the bad stuff; it's about giving your roses a boost to be healthier and stronger. Think of it as making room for fresh, lively growth that will turn your roses into a burst of life and beauty when they bloom in the next season.
Step 4: Remove Weak Or Spindly Growth
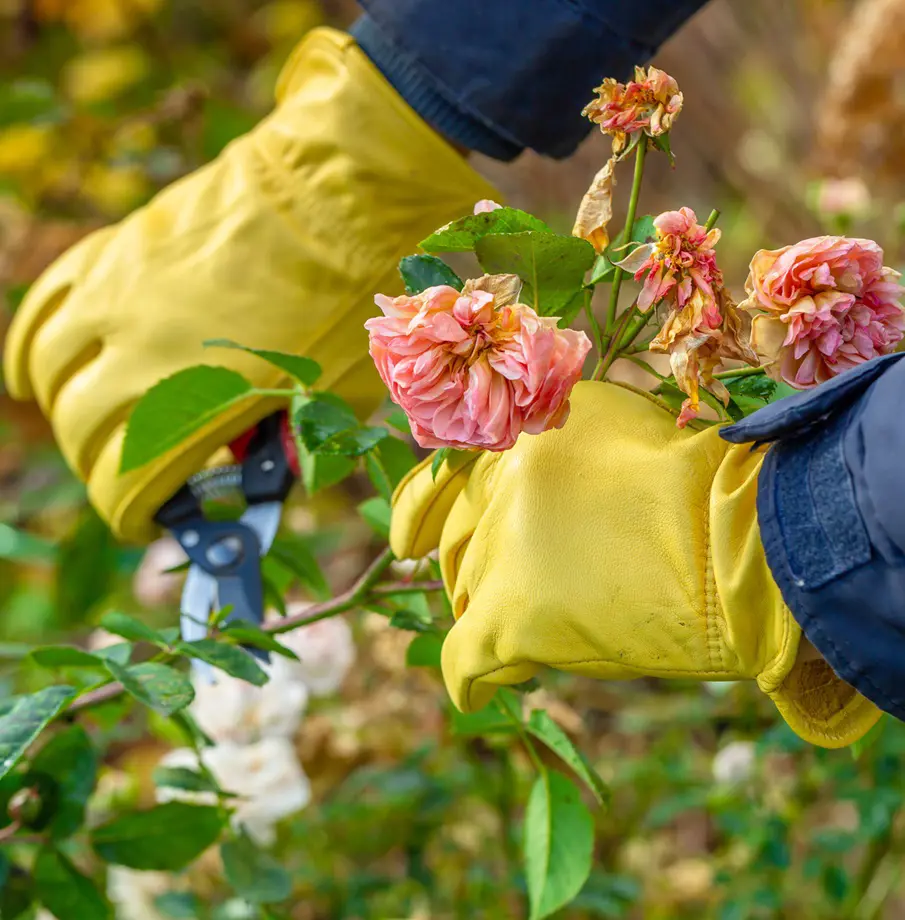
Trim away the feeble and spindly parts of your roses to pave the way for a garden full of vibrant blossoms. Identify those frail and thin stems that aren't likely to yield hearty flowers. Concentrate on nurturing the strongest, healthiest canes, as they are the key to a thriving rose bush.
Employ your pruning shears to gently remove these weak growths, creating room for robust branches that will bring forth an abundance of beautiful blooms. By focusing on the healthiest canes, you're ensuring that your roses will flourish when the blooming season arrives.
Step 5: Cut At a 45-Degree Angle
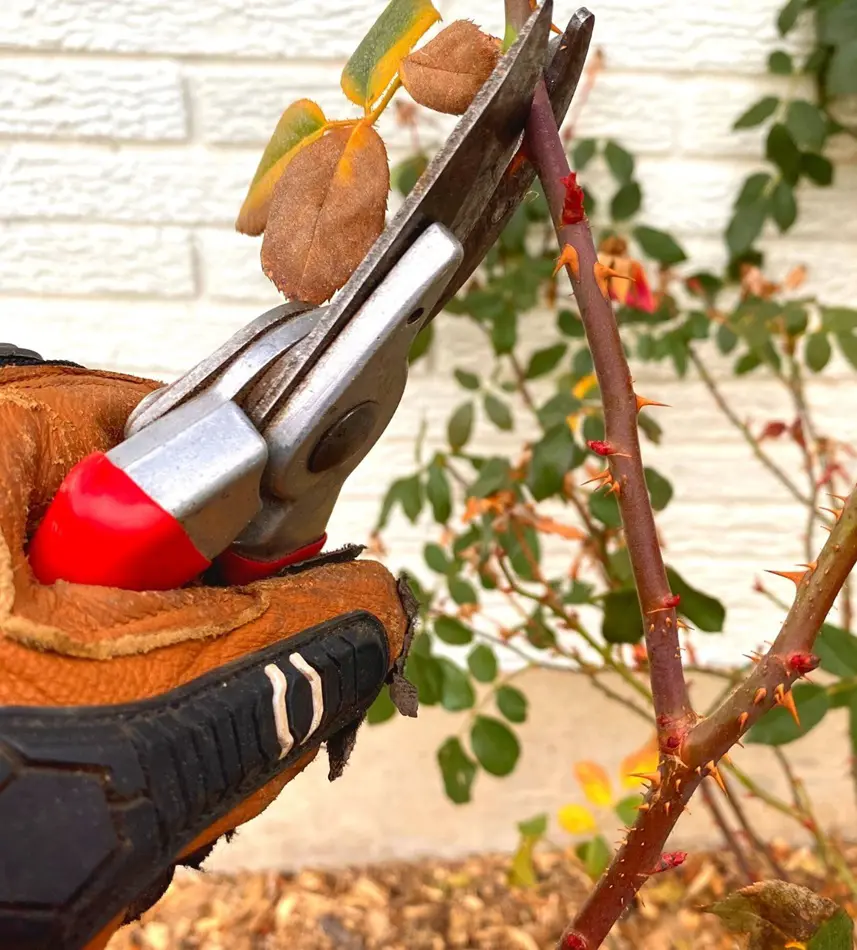
When wielding your pruning shears, aim for a 45-degree angle cut, positioned approximately 1/4 inch above an outward-facing bud or a leaf with five leaflets. This precise technique sparks growth in an outward direction, steering clear of a densely packed center.
By making these strategic cuts, you're orchestrating a symphony of healthy development, guiding the plant to flourish with grace. This thoughtful approach ensures that your roses embrace a balanced and open structure, allowing sunlight to penetrate and air to circulate freely.
Step 6: Reduce Height
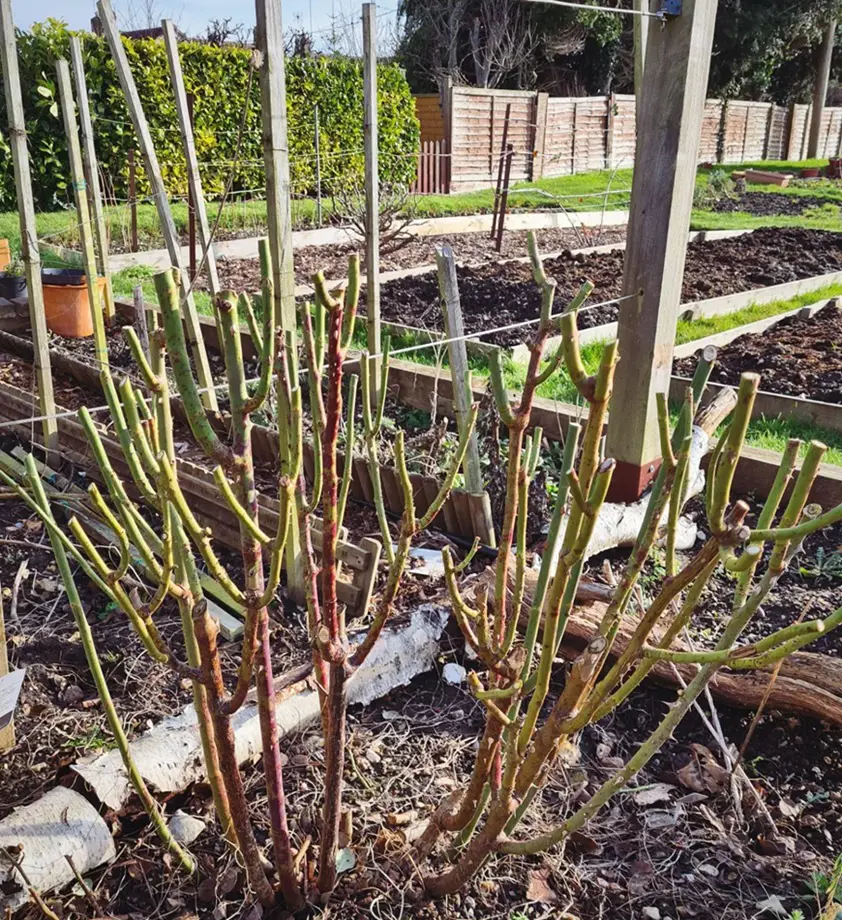
Height maintenance should also be considered with utmost importance while pruning roses. Shorten those tall and sprawling canes to promote a more compact and bushy look for your roses. The goal is to maintain a shape that lets sunlight reach all parts of the plant and allows air to circulate freely.
So, when you're pruning, focus on those long, leggy canes and give them a trim. Shorter ones can be left such. Doing this not only tidies up your rose bush but also ensures that it grows in a way that's both pleasing to the eye and beneficial to its overall health.
Step 7: Open Up The Center

Clear some space in the heart of your rose bush by snipping away some of the older canes. This step enhances air circulation, keeping diseases at bay and ensuring your roses grow evenly. Imagine it like giving your plant a breath of fresh air!
With your pruning shears, carefully remove those older canes from the center, creating a more open and inviting space for sunlight and healthy growth. By doing this, you're not just preventing potential illnesses but also encouraging your roses to flourish and bloom uniformly.
Step 8: Remove Spent Flowers (deadheading)
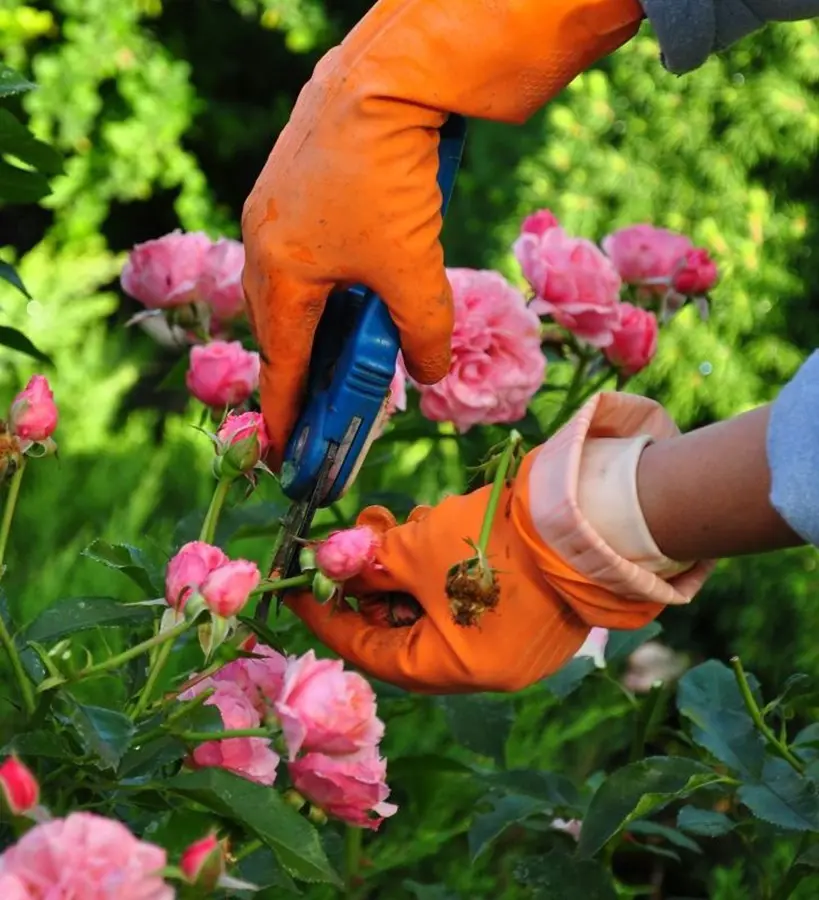
Keep your rose garden blooming beautifully by practicing the art of deadheading – the removal of spent flowers. Regularly trim away the faded blossoms throughout the growing season to promote a continuous burst of new blooms.
When deadheading, aim for precision by cutting just above a set of five leaves or an outward-facing bud. This strategic pruning technique keeps your rose bushes looking fresh and vibrant. Embrace the rhythm of deadheading, and watch your roses dazzle with a prolonged display of colorful and fragrant blossoms all season long.
Step 9: Seal Larger Cuts
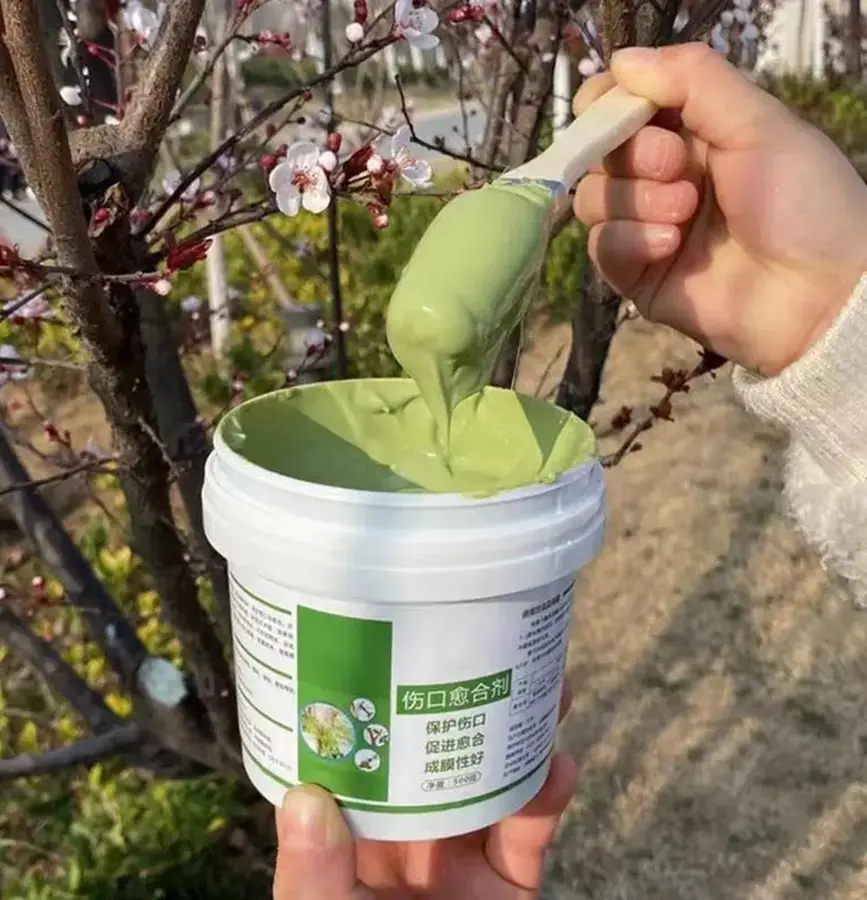
For those more substantial cuts in your rose pruning journey, take a moment to safeguard your plant's health. Consider applying a protective layer like pruning sealer or even white glue to seal the wounds. This extra step acts as a shield, preventing diseases from sneaking in through the larger cuts.
Think of it as giving your roses a little first-aid, a simple yet effective way to ensure their well-being. So, after making those more sizable trims, reach for the sealer or glue, and provide your roses with an added layer of defense against potential infections.
Step 10: Clean Your Tools
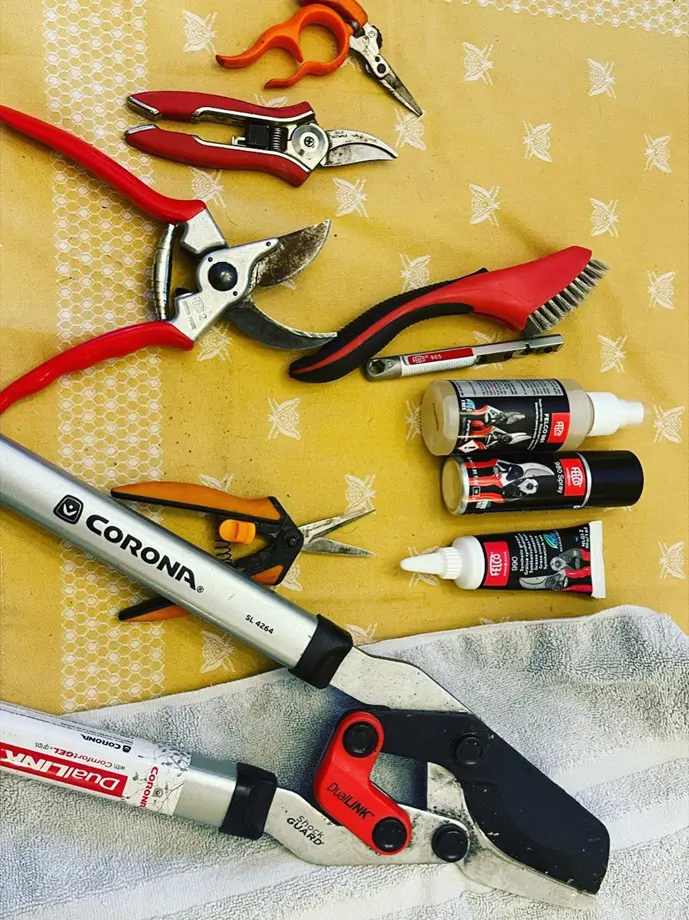
Keep your pruning tools spick and span for a happy, healthy rose garden. While you're snipping away, make sure to clean your tools with a disinfectant solution after each cut and when you finish pruning. It's like giving them a little bath to prevent any yucky diseases from spreading.
Just mix water with bleach or rubbing alcohol to make a simple cleaning solution. You can simply soak your tool in this solution or apply it with the help of a cloth or paper towel. This way, you're ensuring that your pruning tools stay germ-free, and your roses stay vibrant and disease-free.
Related: How To Propagate Roses In 12 Steps
Pruning Roses According To The Variety
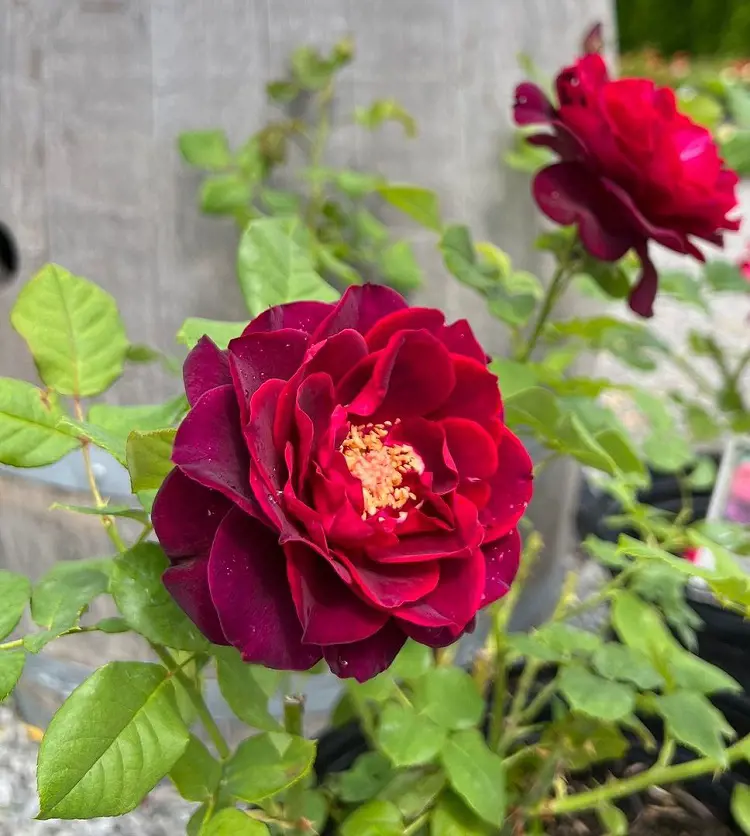
It is super important to know different types of roses have different pruning techniques. You see, each variety of roses has its ways of growing, and blooming, and need special care. Pruning based on the rose variety is like giving each rose its personalized treatment.
It helps keep them healthy, gives them the right shape, and ensures they bloom their best. So, by understanding what each type of rose likes, you're making sure your garden is filled with happy, thriving flowers that show off their unique beauty.
Here is the right way to prune roses according to their variety:
Hybrid Tea Roses

- Timing: For these rose varieties, the best time to prune is late winter or early spring.
- Deadheading: Keep your Hybrid Tea Roses blooming continuously by regularly removing spent flowers.
- Shape the Plant: To keep these roses looking neat and compact, trim back any long, leggy canes. This maintains a well-rounded and shapely appearance.
- Climate Consideration: In colder areas, it's a good idea to leave slightly longer canes. This provides extra protection for your Hybrid Tea Roses during the winter months.
Also read: How To Grow And Care For Miniature Roses
Floribunda Roses
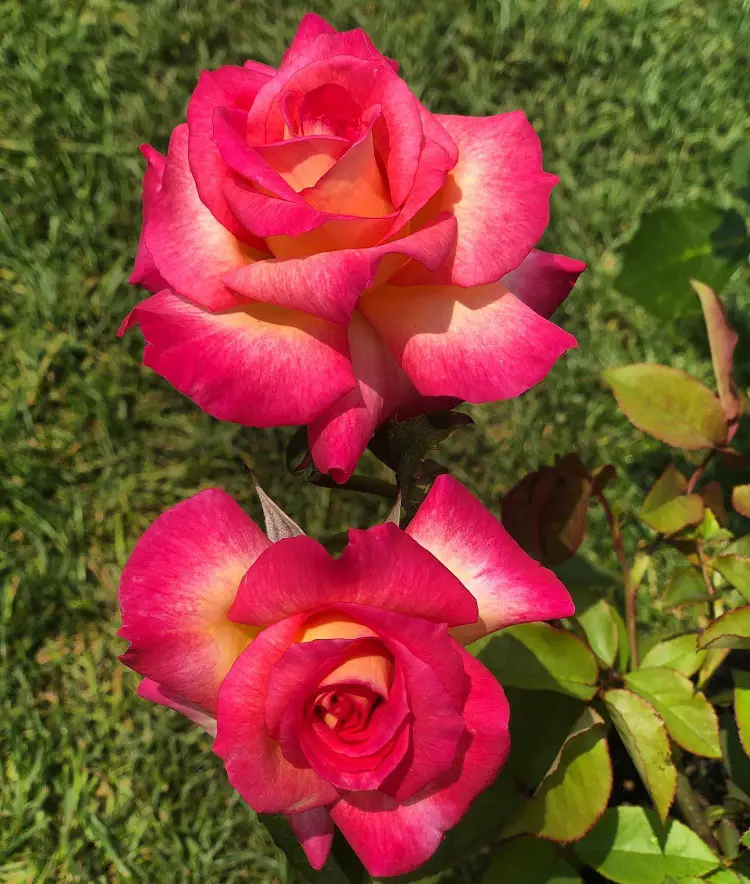
- Timing: Give your floribundas some love by pruning them in late winter or early spring.
- Deadheading: Make a habit of snipping away spent flowers regularly to keep the show going all season.
- Remove Weak Growth: Trim away any weak or spindly stems to make room for the strong ones, ensuring a healthy and robust rose bush.
- Climate Consideration: If you're in a warm area, keep an eye on your roses as they might grow all year. Give them a trim when needed to keep them in tip-top shape.
Climbing Roses
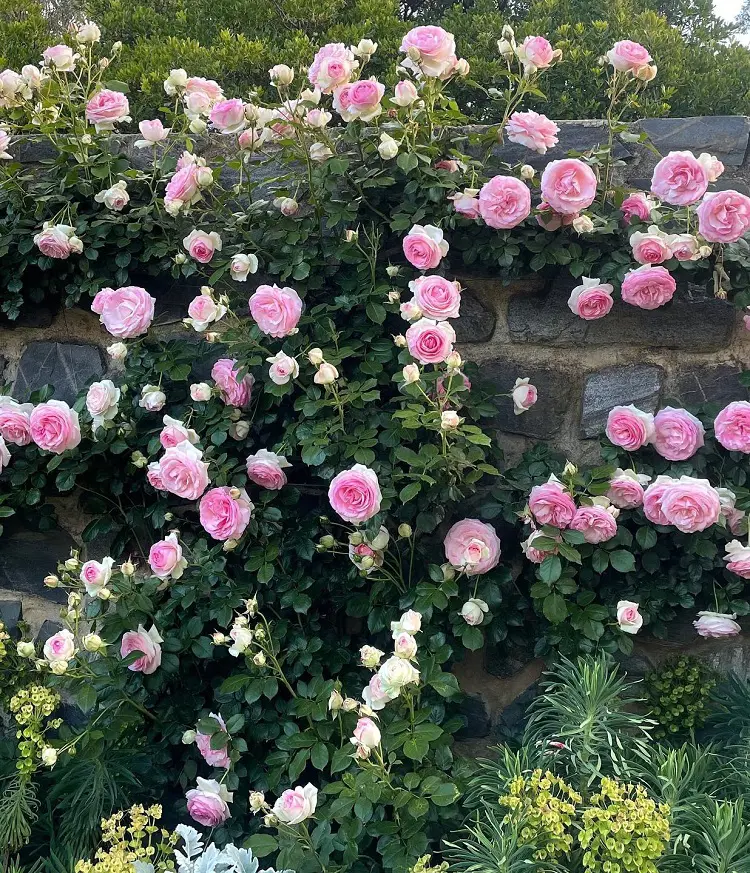
- Timing: Choose late winter or early spring for pruning your Climbing Roses.
- Train and Tie Canes: Train and tie the canes horizontally to ensure better flowering along their length.
- Remove Older Canes: This stimulates new growth and maintains the rose's health and vitality.
- Climate Consideration: In places with humid weather, focus on training and spacing. This helps improve air circulation around your Climbing Roses, reducing the risk of fungal issues and keeping them thriving.
Shrub Roses
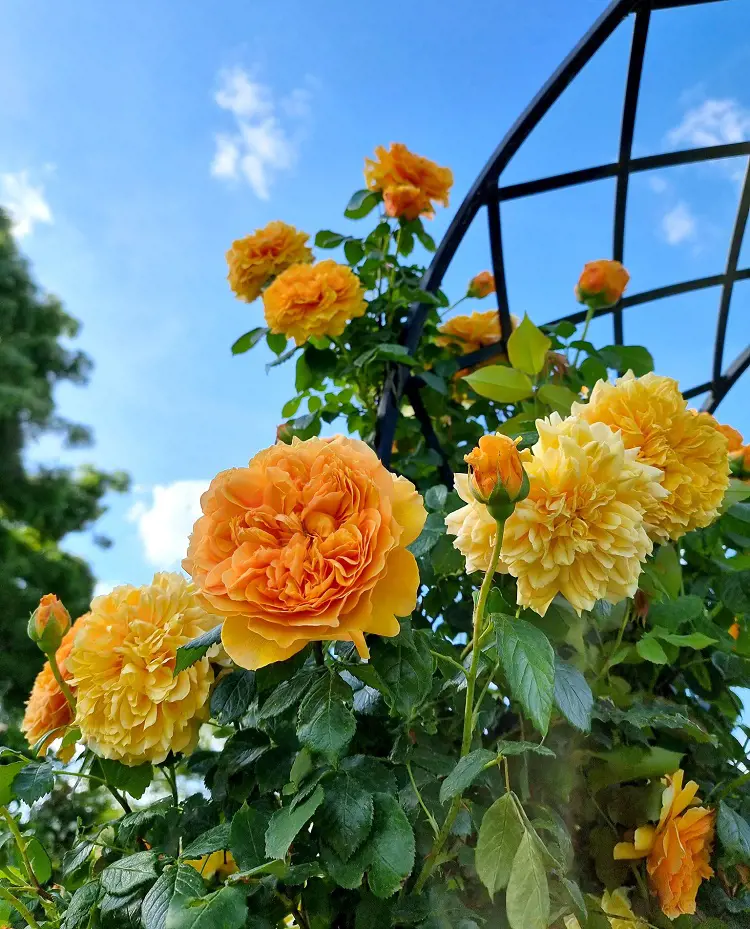
- Timing: The optimal pruning time for Shrub Roses is late winter or early spring.
- Shape the Plant: Maintain an informal shape, allowing them to grow in a way that suits their unique character.
- Encourage New Growth: Promote the vigor of your Shrub Roses by trimming back some of the canes.
- Climate Consideration: If you're in a coastal area, be mindful of salt. Opt for varieties that can handle a bit of salt, ensuring your Shrub Roses thrive in their seaside setting.
Pruning Roses According To The Climate
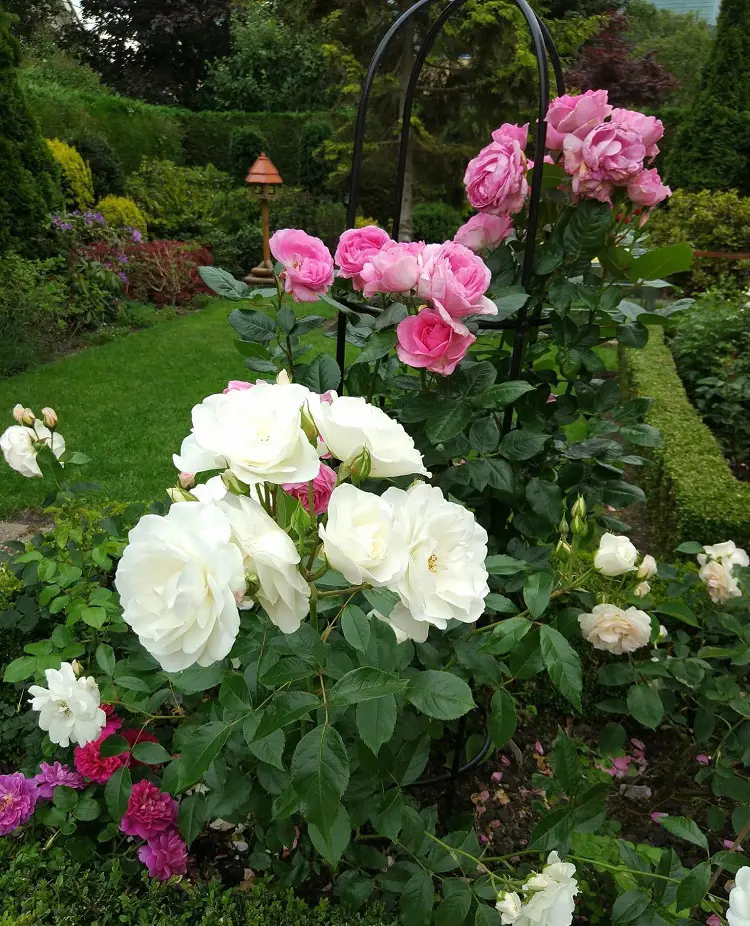
The climate in your region influences the growth patterns, disease susceptibility, and overall health of your roses. So, pruning roses must be maintained accordingly. Here are some ways to help you tailor pruning practices to the specific climate.
Cold Climates
- Prune in late winter for new growth in spring.
- Leave longer canes for winter protection.
Warm Climates
- Monitor for continuous growth and prune as needed.
- Avoid heavy pruning during hot periods.
Humid/Moist Climates:
- Improve air circulation by opening up the center.
- Increase spacing between canes to reduce humidity-related diseases.
When Is It Too Late To Prune Roses?
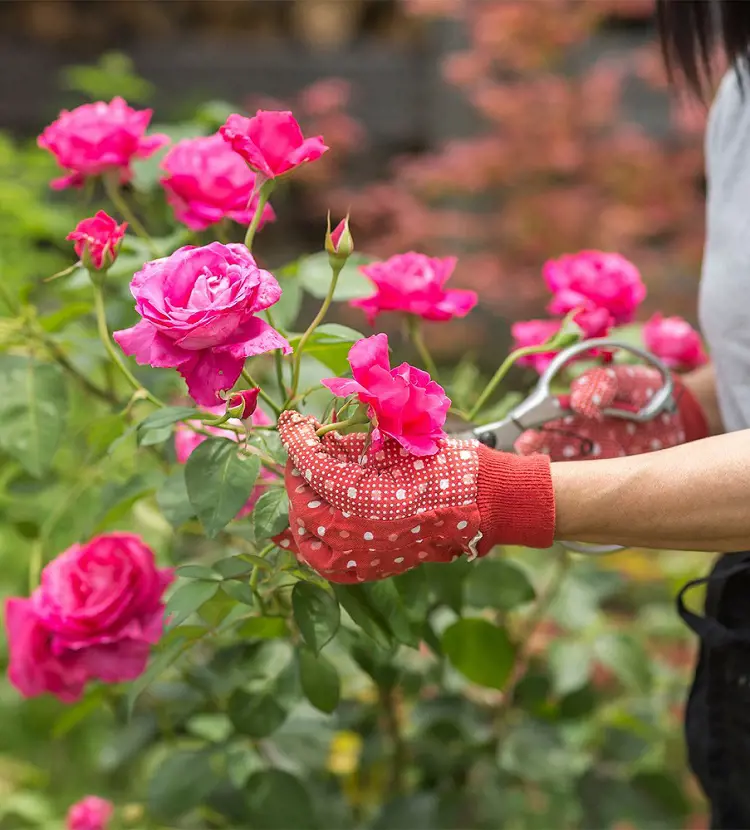
- Late Winter to Early Spring/ Before New Growth Appears: This is the ideal time for rose pruning, particularly before the beginning of new growth.
- Avoid Pruning in Late Summer or Fall: Refrain from heavy pruning in late summer or fall as it can stimulate new growth that may not have sufficient time to harden before winter.
- Exceptions for Repeat Bloomers: Some repeat-blooming roses may tolerate light pruning later into spring or early summer but avoid late pruning in general.
- Adapt to Local Climate: Consider local climate conditions, and adjust your pruning schedule accordingly, but generally aim for pre-spring pruning.
Recent posts
Gardening
Gardening
How To Grow Grass From Seed? Planting And Caring Guide
Growing grass seems like an easy task. But the ones who are already into it know how much work and patience is required for its maintenance, to transform the outdoor space into a lush, green oasis. For beginners who are starting from scratch or someo...
Gardening
How To Grow, Plant And Care Milkweed From Seed
Planting milkweed from seed is one of the most satisfactory practices. It not only adds value to your garden aesthetics but also contributes essential instinct pollinators, including monarch butterflies. Many milkweed seeds germinate best when expos...
Gardening
18 Rose Colors And Their Meanings
Roses are not only elegant flowers but they also represent something more profound. Every color of a rose has its special meaning, making it a powerful tool when it comes to conveying messages in personal relationships and occasions. Ranging fr...
Gardening
When To Plant Vegetables – A Month By Month Calendar
Understanding when to plant vegetables is essential to successful gardening as timing alone can greatly affect the productivity and health of vegetables. A month-by-month planting calendar is useful because not every month is ideal for a specific pro...
Gardening
How To Prune Hydrangeas So That It Stays Healthy
The name hydrangea conjures clusters of flowers packed densely. Hydrangeas can grow in both old and old wood, and depending on the varieties, pruning time may differ. Pruning hydrangeas is a fundamental practice for gardeners wanting to maintain thei...
Gardening
12 Effective Mosquito Repellent Plants to Keep Your Yard Bug-Free
Most of us are fond of insects, perhaps not all of them! Mosquitoes for instance are not considered even likable by many. Their buzzing sound is bothering and all of us wish them to stay away from our home and surroundings. To deter them, different f...

