How To Prune Hydrangeas So That It Stays Healthy

This post may contain affiliate links. If you make a purchase through links on our site, we may earn a commission.
The name hydrangea conjures clusters of flowers packed densely. Hydrangeas can grow in both old and old wood, and depending on the varieties, pruning time may differ.
Pruning hydrangeas is a fundamental practice for gardeners wanting to maintain their aesthetically pleasing shapes and abundant blooms in each growing season.
In this guide, we explore the basic principles of how to prune hydrangeas emphasizing the timing, methods, and considerations essential for cultivating thriving and beautiful hydrangea plants in your garden.
Pruning Hydrangeas
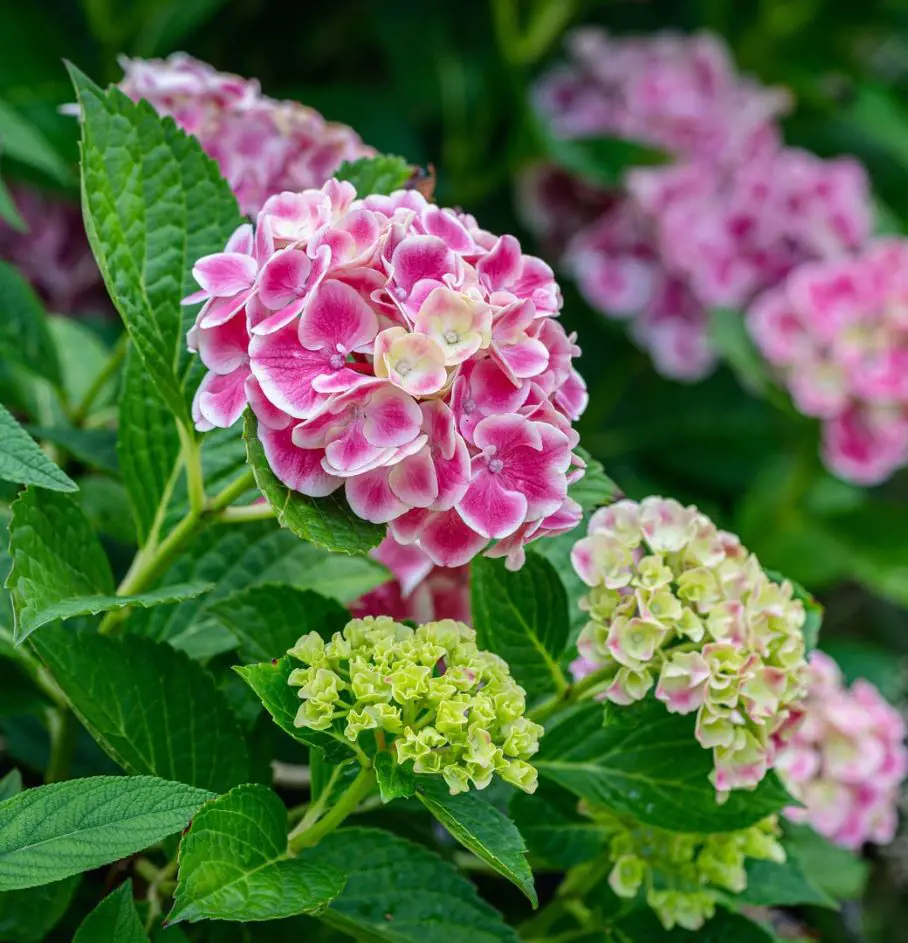
Pruning hydrangeas is the intentional removal of specific branches, stems, or foliage, especially from the old branches. The removal of the unwanted ones is generally done to shape, control size, and promote overall health and flowering.
But guess what, not all hydrangeas have the same pruning practices rather the pruning depends on the specific type of hydrangea. This is because different types have different growth habits and flowering patterns.
Key aspects of pruning hydrangeas include:
- Removal of dead or diseased wood
- Shaping and controlling the size
- Encouraging blooming
- Understanding bloom time and type
- Timing of pruning
- Selective pruning for specific varieties
- Pruning techniques
How To Prune Hydrangea Plant?
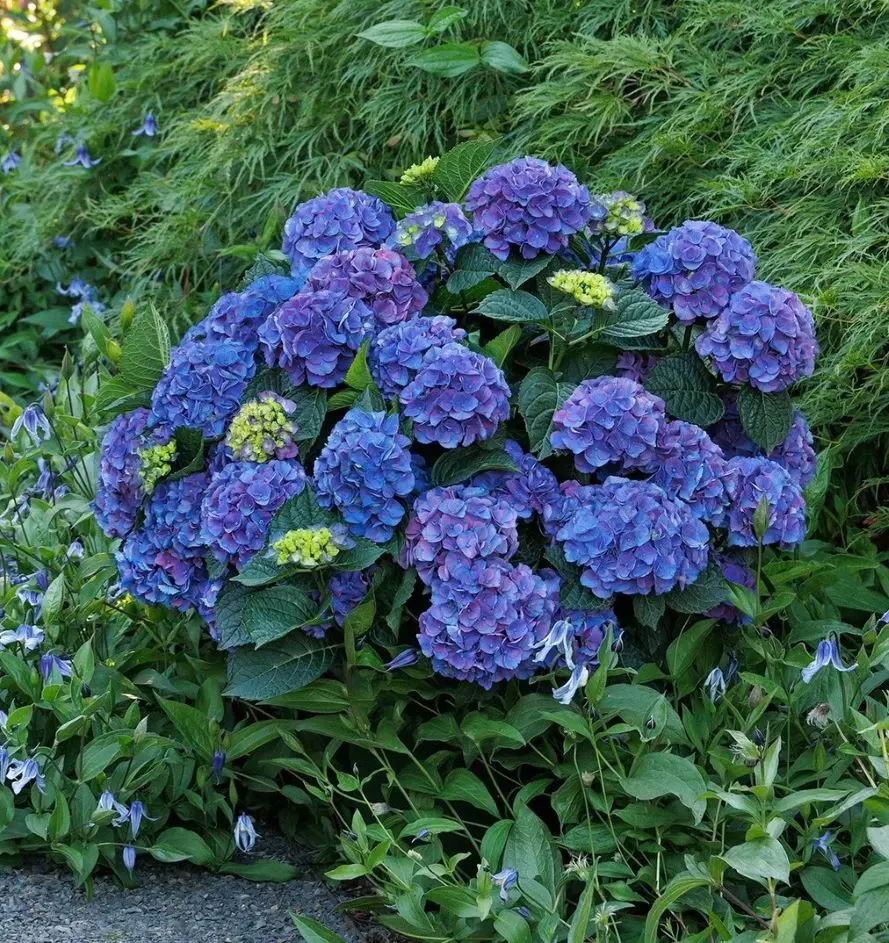
Below are general guidelines for pruning hydrangeas. Before jumping in, make sure that you identify the specific type of hydrangea in your garden as different varieties have different pruning requirements.
Deadheading
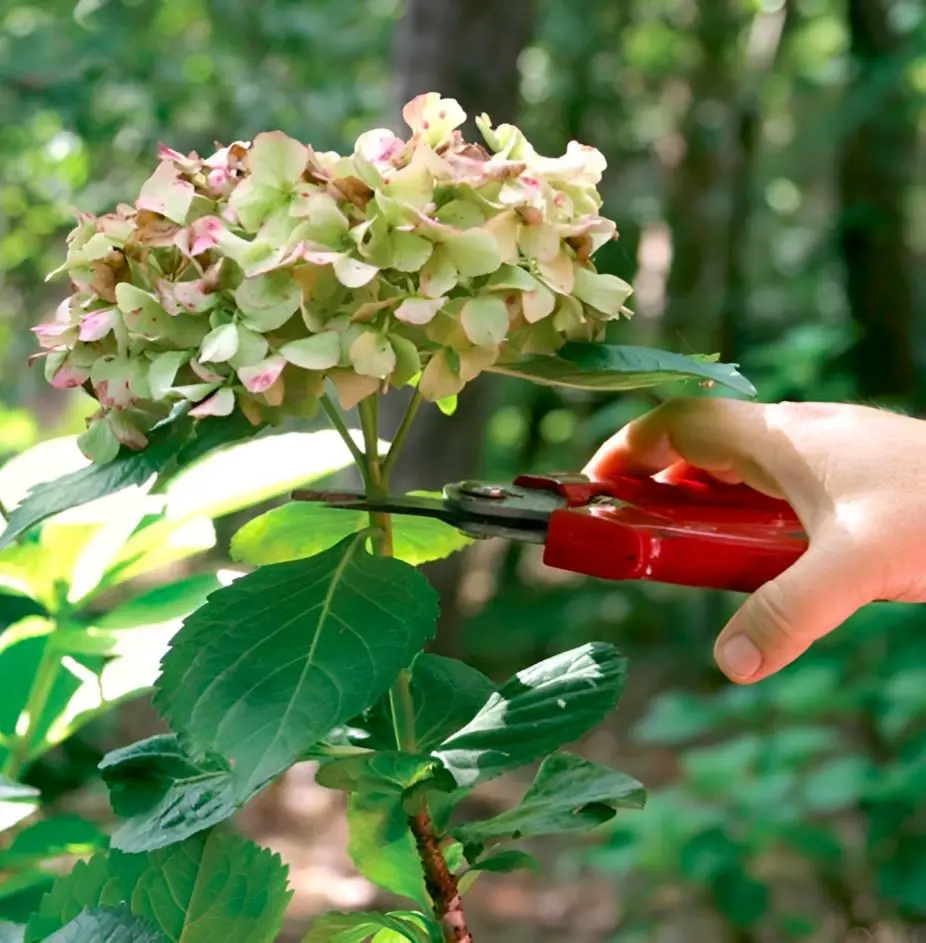
Deadheading is a common technique targeting spent blooms throughout the season. This technique is especially applicable for varieties like panicle and smooth hydrangeas, which can rebloom.
It's essential to use sharp, clean pruners for the process, or you may simply pinch off the faded flower heads just above a pair of healthy leaves. Deadheading encourages continuous blooming by removing the energy drain from spent blooms and redirecting it toward new flower production.
Remove Suckers
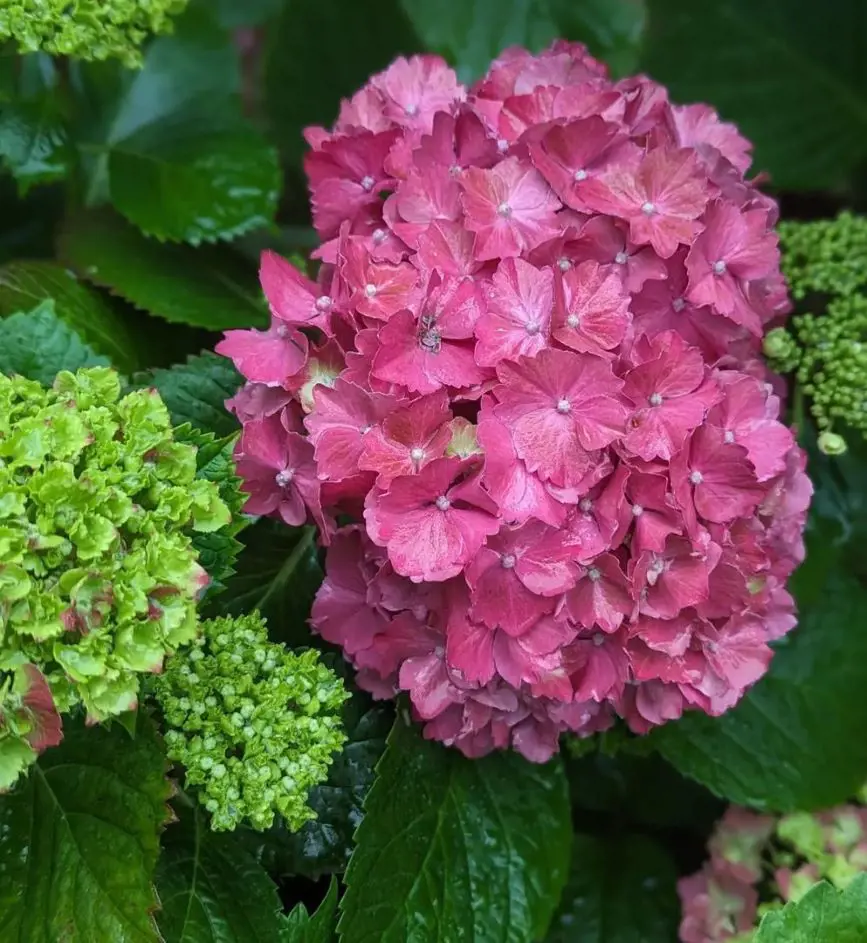
These unwanted shoots sprout from the base of the plant and compete for valuable resources with the main stems. Suckers grow from below the graft union on grafted hydrangeas or from the base on non-grafted varieties.
After identifying, carefully remove suckers at ground level using pruners or simply snap them off, making sure not to damage the main stem.
Selective Branch Removal

This technique aims to maintain proper shape and size while improving light penetration and air circulation. Here are some tips for specific types of hydrangeas:
Bigleaf and Oakleaf Hydrangeas: Thin out older branches, particularly those growing inward or crossing each other. Remove weak or diseased branches as well.
Smooth, Panicle, and Lacecap Hydrangeas: The branches of these varieties can grow very big if not maintained on time. The overgrown branches should be maintained regularly to control size and shape. Focus on removing branches that are rubbing against each other or are growing at awkward angles.
Topping (Optional)
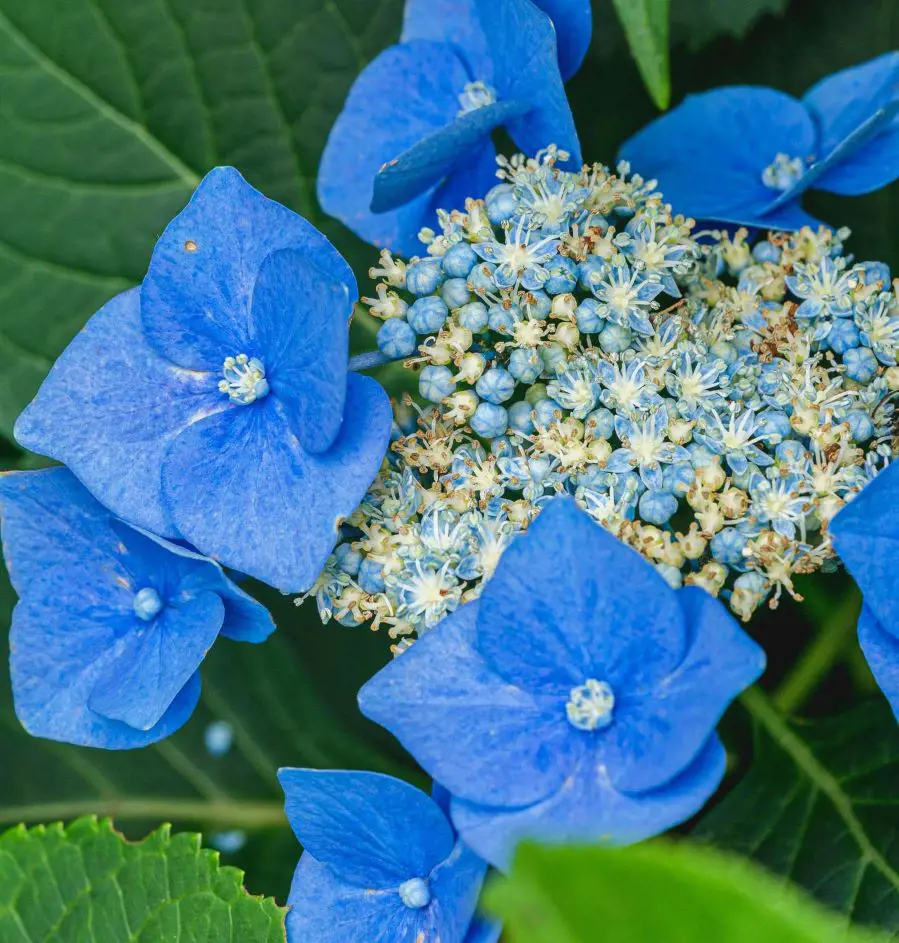
This technique is primarily used for very tall panicle or lace-cap hydrangeas to encourage bushier growth. Carefully cut back the main stem(s) just above a healthy bud or node in late winter or early spring. Make sure you understand the desired growth pattern and height before attempting topping, as it can significantly alter the plant's shape.
Tips:
Always use sharp, clean pruning tools to prevent disease transmission.
Make clean cuts at an angle just above a bud or node.
After pruning, appropriately mulch around the base of the plants to form a protective layer.
Related: How To Prune Roses With These 10 Steps
Additional Tips for Healthy Hydrangeas
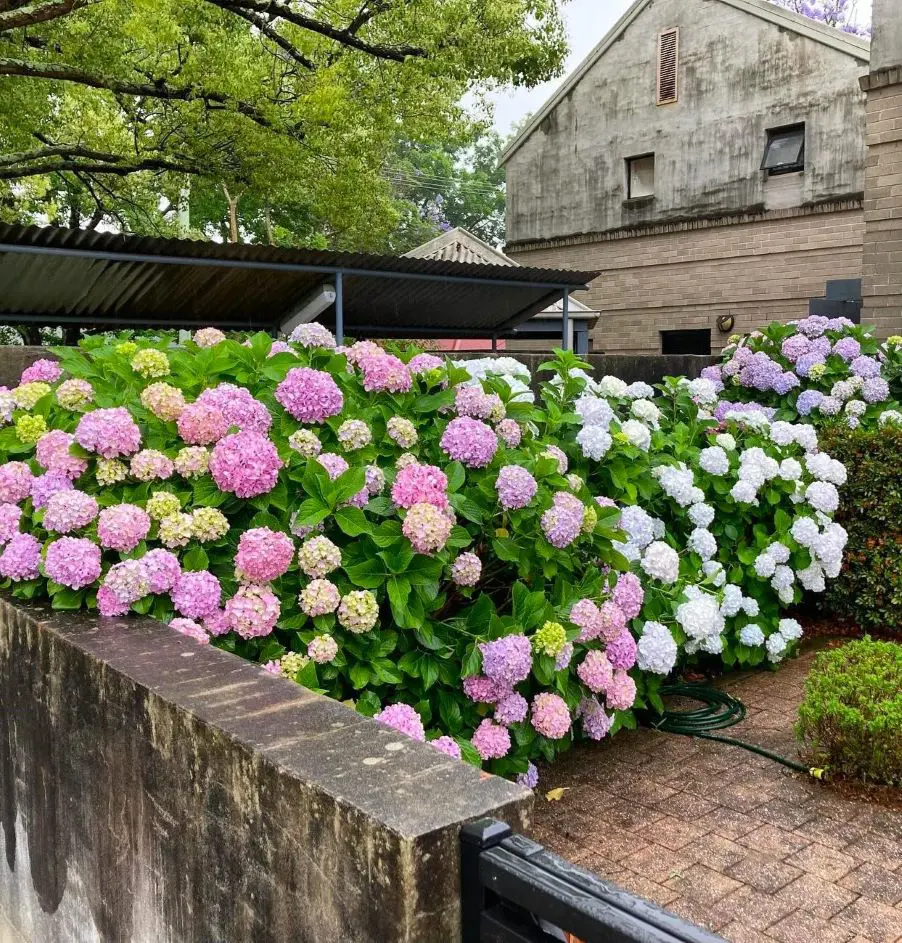
While pruning unlocks the beauty and health potential of hydrangeas, you should also know how to care for them. Caring for hydrangeas is key to cultivating truly magnificent blooms and robust foliage. Here are some additional tips to nurture your hydrangea haven:
Soil, Drainage and Sun

A fertile, well-draining soil is what most flowering plants crave, including hydrangeas! In cases your garden soil has heavy clay soil, we recommend you amend it with sand or any sort of organic matter. Doing this can significantly improve drainage and aeration.
If you haven't planted hydrangea yet (and are planning to soon), choose a planting location that gets proper sunlight. However, afternoon shade in hot regions is ideal. Proper drainage is crucial. Avoid low-lying areas where water can collect and damage the roots.
Watering Wisely
Are you aware of the fact that you might be watering your hydrangeas wrong? Hydrangeas love consistent moisture, but they dislike soggy feet. For hot and dry periods, the desired water level can be met by watering deeply and regularly. Always remember that the necessity is of moist soil and not waterlogged one.
Mulching can help a lot to conserve the moisture of the plant. Overhead watering is not proper as it promotes fungal diseases.
Nutrient Boost
The time when the hydrangeas crave nutrients most is during their blooming season. Once you have pruned, make sure you supply fertilizers in suffice when the next growing season arrives. Without fertilizers, the blooms are not guaranteed.
Excessive use of fertilizers however should be avoided as it only leads to excessive foliage growth, at the expense of blooms.
Soil pH level also has a role to play in blooming. Bigleaf hydrangeas, for example, prefer acidic soil for optimal blue flower color. The acidic condition can be maintained by making organic amendments with sulfur or aluminum sulfate.
Pest and Disease Patrol
Hydrangeas go vulnerable to pests and diseases once pruned. Common damaging culprits include aphids, Japanese beetles, and different fungal diseases. If the plant is infected or infested, opting for organic methods is the best way to keep your plants secure. Insecticidal soap or neem oil are some such remedies.
If your garden soil has previously reported fungal dissemination, it is important for you to consider fungicides or cultural practices like improving air circulation and avoiding overhead watering throughout the growing season.
Winter Care
Colder climates are not suitable for hydrangeas. So if your region has one, consider mulching heavily around the base as a winter protection strategy. For snowy regions, wrap the stems with burlap or fabric to protect them from frost.
Pruning any dead or diseased branches in such regions is recommended in late winter or early spring before new growth emerges.
When to Prune Hydrangeas?
All hydrangeas have equally graceful flowering patterns but their pruning times are not similar. Timing is key for pruning hydrangeas; as it affects both the beauty and health of your precious plants. Here's a closer look at the ideal pruning windows for different types of hydrangeas:
Bigleaf and Oakleaf Hydrangeas (Blooming on Old Wood)
Prune immediately after flowering: These early bloomers lay down next year's flower buds on the stems that grew the previous season. Pruning too late, after bud formation, would be like cutting off your future fireworks.
Avoid late pruning: Late pruning can remove the developing buds, leaving you with bare branches and no blooms the following year.
Consider early pruning: If you must prune before flowering, do it in late winter or early spring, but be cautious not to remove any fat buds that have already formed.
Smooth, Panicle, and Lacecap Hydrangeas (Blooming on New Wood)
Late winter or early spring: This is the sweet spot for pruning these late bloomers. By this time, the harsh winter leaves and there is no hint of new growth. This condition gives you a clear window to shape the plant without impacting the upcoming blooms.
Avoid late pruning: While these hydrangeas can tolerate some late pruning, it can lead to fewer blooms, as you might be removing some flower buds that have already formed on the new growth.
Early pruning is okay: If you're eager, you can lightly prune in late fall or early winter, but be gentle and avoid removing too much foliage.
Additional Considerations

Local climate: In areas with mild winters, you can potentially prune late bloomers a bit later, while in colder regions, it's best to stick to the early spring window.
Plant health: If your hydrangea is weak or diseased, you might need to prune outside the ideal window to address the issue, but prioritize the plant's health over blooms in such cases.
Late frosts: If your area experiences late frosts after pruning, consider delaying the process until the risk of frost has passed to avoid damaging new growth.
Common Hydrangeas Pruning Mistakes to Avoid
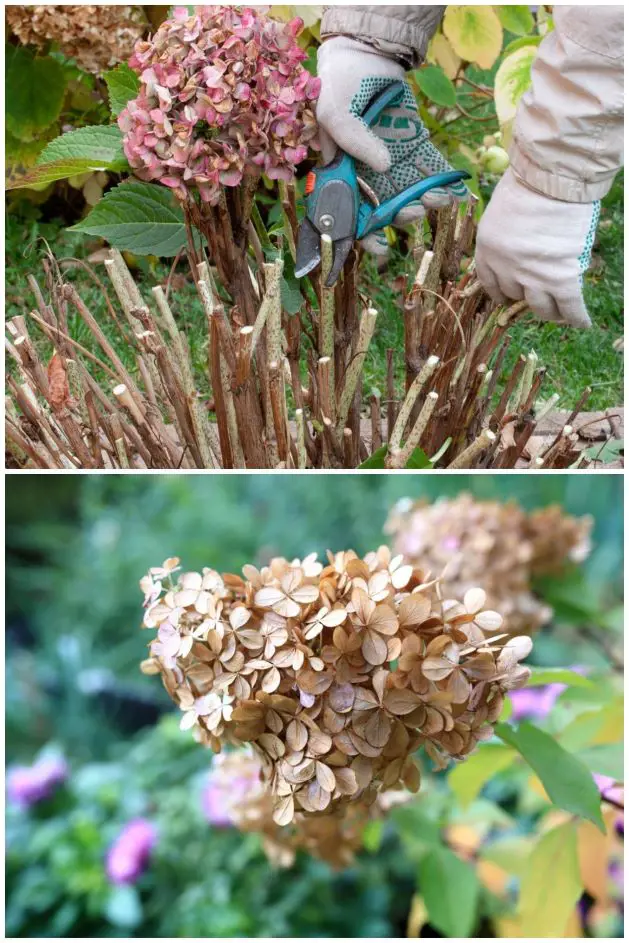
The presence of hydrangeas is enough to grace any garden. But even the most enthusiastic gardener can stumble on when to prune these captivating plants. To help you navigate the path towards healthy and beautiful hydrangeas, let's delve into some common pruning mistakes to avoid:
Cutting at the Wrong Time
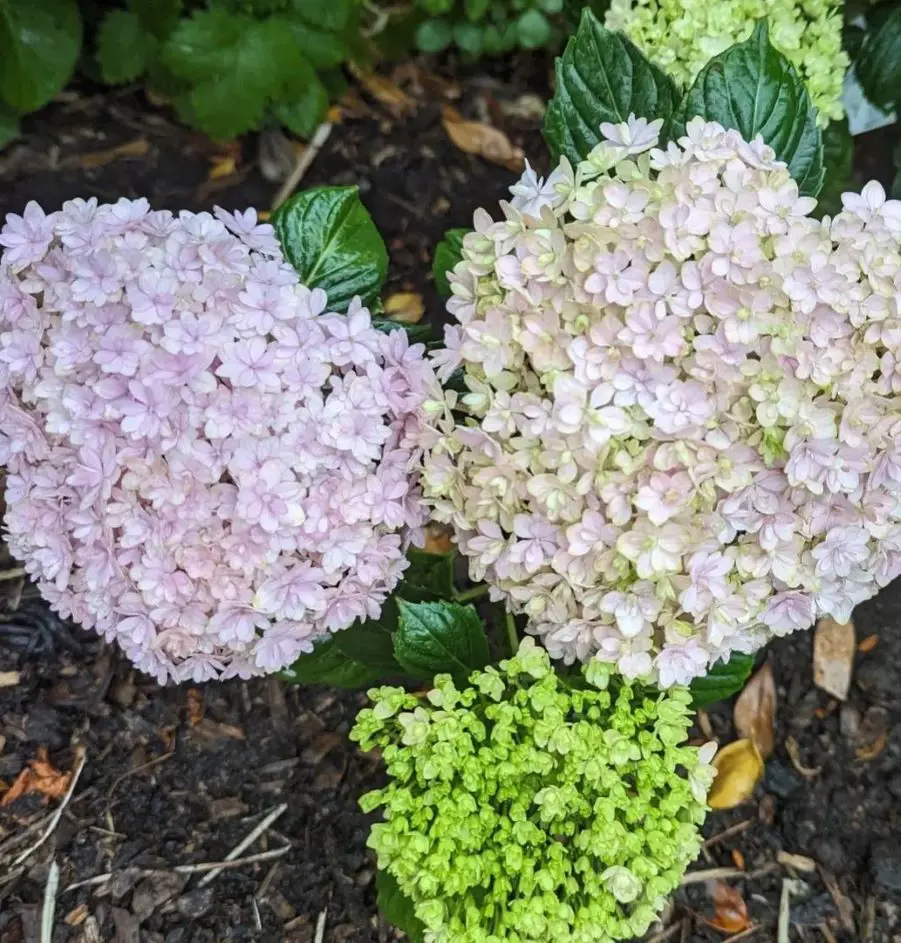
Bigleaf and oakleaf hydrangeas: These early bloomers form next year's buds on old wood. So, pruning too late will sacrifice future blossoms. Waiting until after flowering, usually in late winter or early spring can be a wise decision.
Panicle and Lacecap Hydrangeas: These late bloomers produce flowers with new growth. This makes late winter or early spring the ideal pruning window, best done before the development of new leaves.
Pruning All Types the Same
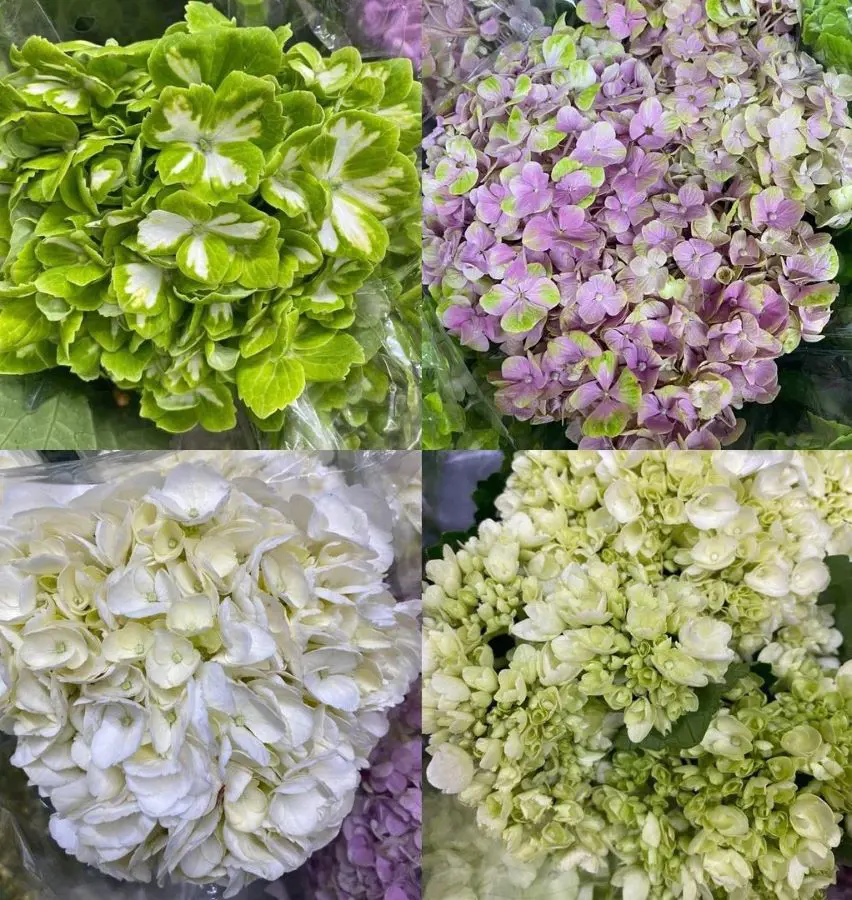
One size doesn't fit all! Treat your hydrangea varieties differently based on their bloom timing. Bigleaf and Oakleaf need a gentle touch focused on removing old wood after flowering, while Panicle and Lacecap can handle bolder pruning before spring growth.
Excessive Pruning

Less is often more! A disruption in the balance of foliage and blooms does no good to the plant. Moreover, excessive pruning can stress the plant, reducing flower production and leaving it vulnerable to disease. Focus on selective branch removal and deadheading rather than drastic cuts.
Neglecting Deadheading

Don't let spent blooms linger! Deadheading panicles and smooth hydrangeas throughout the season encourage reblooming. Pinch off faded flowers just above healthy leaves to redirect energy towards new blooms and maintain a tidy appearance.
Forgetting About Suckers
Are those unwanted shoots sprouting from the base? They're suckers, stealing valuable resources from your hydrangea. Identify and remove them promptly to promote healthy growth and direct energy towards the main stems.
Ignoring Diseased or Yellowing Leaves
Leaving diseased or yellowing leaves can cause further problems. Regularly remove these to prevent disease spread and improve overall plant health. Deadheading spent blooms can also help prevent fungal issues.
Pruning for Size, Not Health
Don't prioritize aesthetics over well-being! While shaping your hydrangea is fine, avoid drastic cuts solely for size control. Focus on maintaining a healthy balance between foliage and potential bloom production.
Using Dull or Dirty Tools
Blunt or dirty tools are a recipe for disaster. They can tear and damage stems which makes them vulnerable to attacks by pathogens. Always use sharp, clean pruners and sterilize them between cuts to prevent disease spread.
How to Cut Hydrangeas?
Cutting hydrangeas when done correctly can be rewarding. Proper maintenance via pruning is a way to ensure their vitality and promote beautiful blooms.
We may ignore the safety and responsible practices while pruning, but it holds the utmost importance. Here's a guide to help you cut your hydrangeas safely and effectively:
- Sharp tools: Using clean, sharp pruners or shears means exact cutting thus less injury to the plant. This helps to prevent any kind of disease transmission to hydrangea.
- Gloves: The sharp tools can create accidental cuts. So, wearing gardening gloves is recommended. Gloves also protect from the damage caused by the branches.
- Eye protection: Consider wearing safety glasses if your hydrangea branches are particularly spiky.
- Stable footing: Make sure you're standing on solid ground and avoid cutting from an unstable ladder.
Recent posts
Gardening
Gardening
How To Grow Grass From Seed? Planting And Caring Guide
Growing grass seems like an easy task. But the ones who are already into it know how much work and patience is required for its maintenance, to transform the outdoor space into a lush, green oasis. For beginners who are starting from scratch or someo...
Gardening
How To Grow, Plant And Care Milkweed From Seed
Planting milkweed from seed is one of the most satisfactory practices. It not only adds value to your garden aesthetics but also contributes essential instinct pollinators, including monarch butterflies. Many milkweed seeds germinate best when expos...
Gardening
18 Rose Colors And Their Meanings
Roses are not only elegant flowers but they also represent something more profound. Every color of a rose has its special meaning, making it a powerful tool when it comes to conveying messages in personal relationships and occasions. Ranging fr...
Gardening
When To Plant Vegetables – A Month By Month Calendar
Understanding when to plant vegetables is essential to successful gardening as timing alone can greatly affect the productivity and health of vegetables. A month-by-month planting calendar is useful because not every month is ideal for a specific pro...
Gardening
How To Prune Roses With These 10 Steps
Pruning these thorn-filled plants might seem scary, but it's crucial for having abundant rose blooms. Cutting back old growth encourages new, vibrant growth, removes dead parts, and shapes the plant. This practice also reduces the risk of fungal dise...
Gardening
12 Effective Mosquito Repellent Plants to Keep Your Yard Bug-Free
Most of us are fond of insects, perhaps not all of them! Mosquitoes for instance are not considered even likable by many. Their buzzing sound is bothering and all of us wish them to stay away from our home and surroundings. To deter them, different f...

