How To Plant, Grow And Care Celery In Your Garden
By Mlbrun Team
On Jul 22, 2024

This post may contain affiliate links. If you make a purchase through links on our site, we may earn a commission.
Embarking on the journey of growing celery in your garden can be a fulfilling and flavorful experience. Celery, known for its crisp texture and distinctive taste, enhances the culinary palette and also brings a host of health benefits to the table.
In this brief guide, we will explore the essential steps to successfully cultivate celery, from selecting the right varieties to enjoying the fruits of your labor with a homegrown harvest.
Brief Understanding of Celery
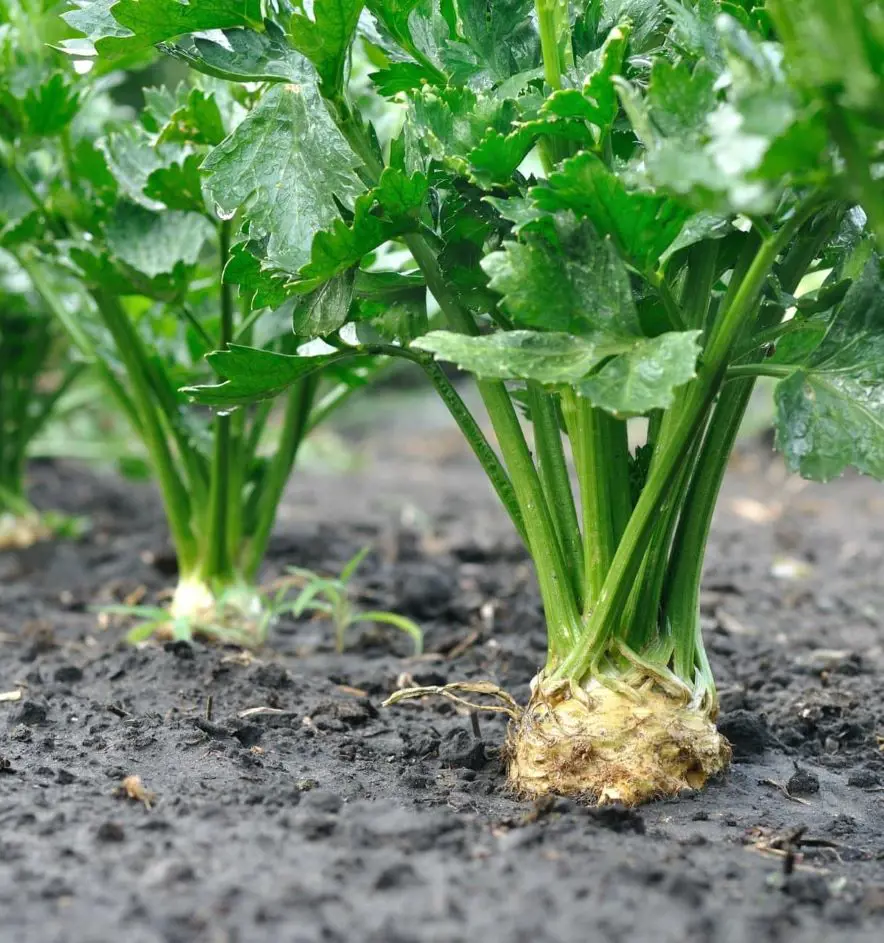
Celery, scientifically known as Apium graveolens, is a versatile and crisp vegetable renowned for its distinct flavor and crunchy texture. Belonging to the Apiaceae family, this biennial plant is cultivated primarily for its succulent stalks, which are a common ingredient in salads, soups, and various culinary dishes.
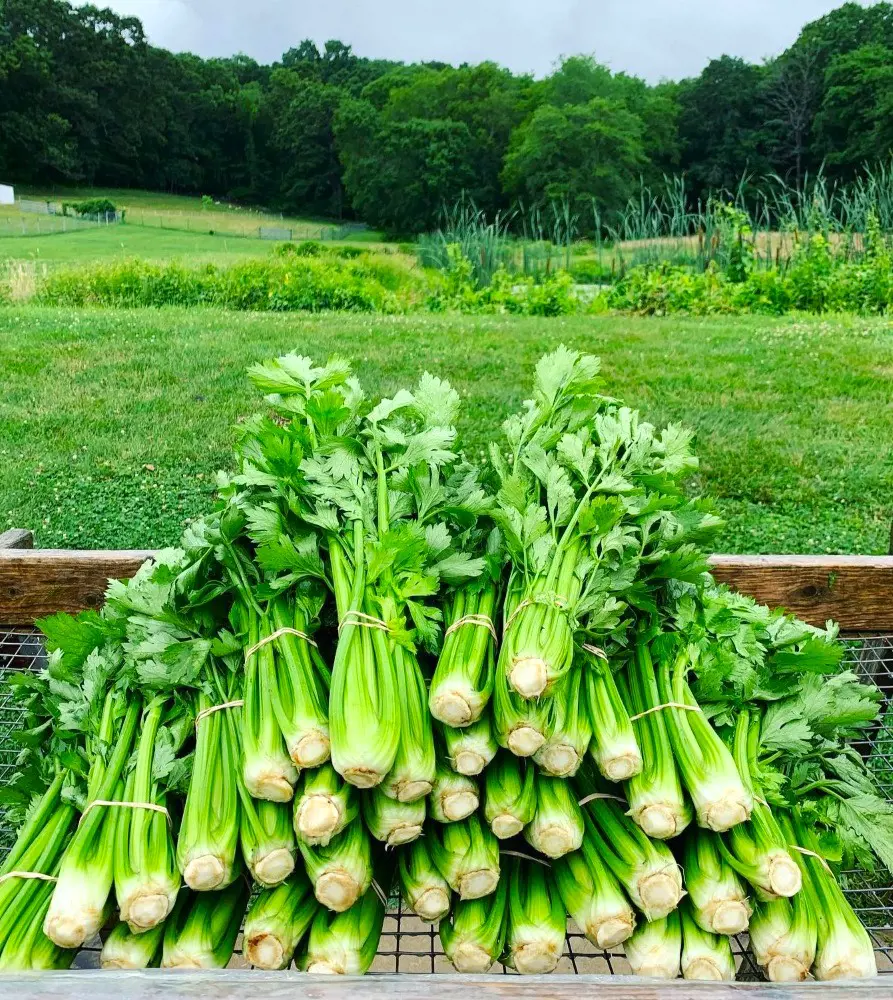
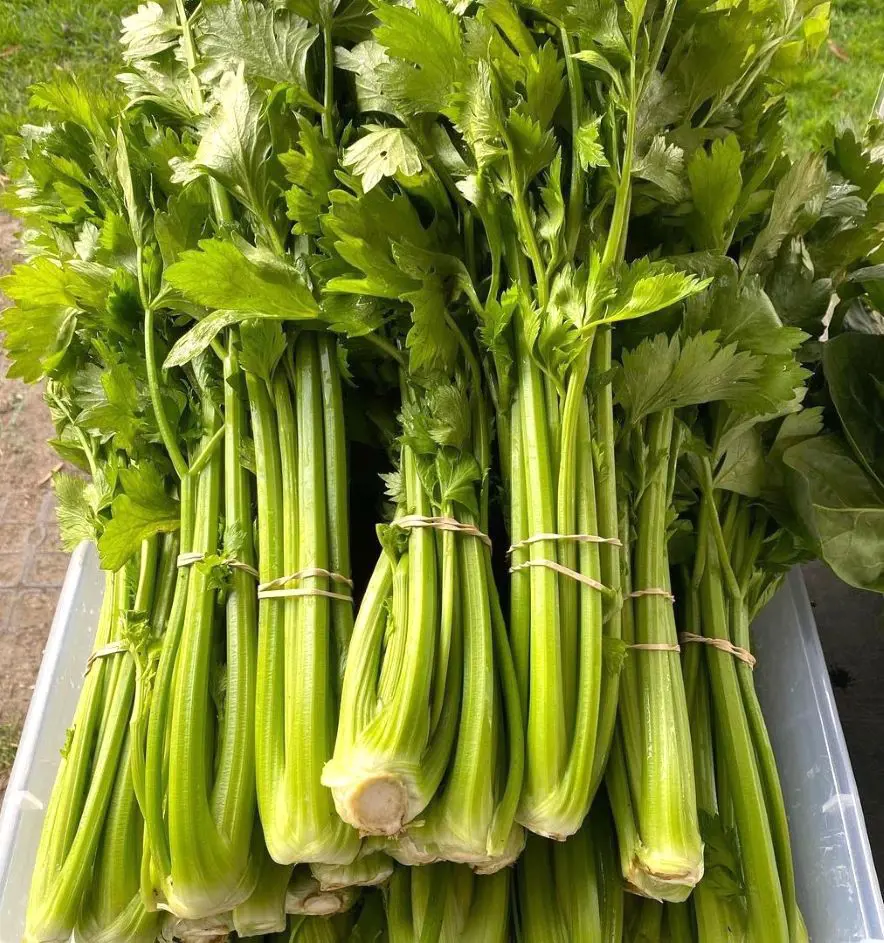
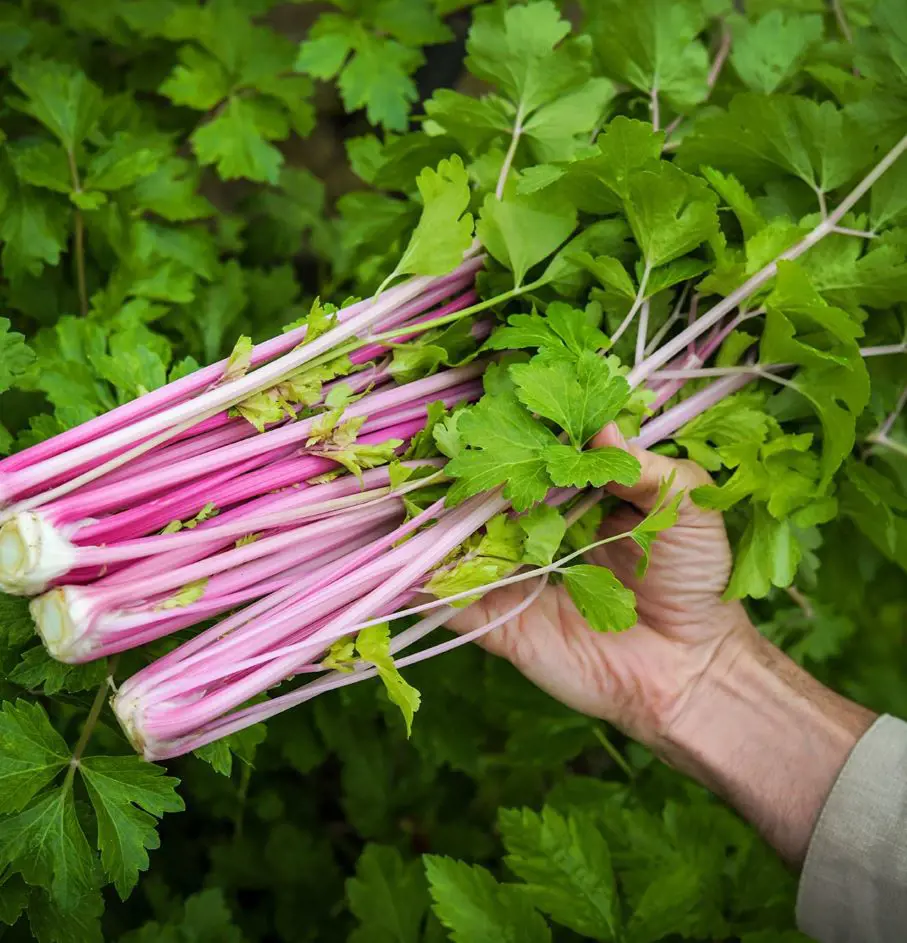
Celery is composed of thin, fibrous stalks that form a cluster, known as a head or bunch, with leaves at the top. There are different varieties of celery, including green or Pascal celery, red or pink celery, and self-blanching celery. Some of its requirements are:
- Soil: Well-drained (pH 6.0–7.0)
- Water: Consistent moisture
- Light: Partial to full sunlight
- Hardiness Zone: Typically grows well in cool climates
- Color: Green (Pascal variety), Red or Pink (some varieties)
- Native: Originated in the Mediterranean region, widely cultivated globally
Several Varieties of Celery
Celery comes in several varieties, each with its unique characteristics. The main types of celery are:
1. Self-blanching Celery:
- Ideal for beginners due to ease of cultivation.
- It requires less effort to achieve the characteristic light color and mild flavor.
- Tends to be more compact and has a shorter growing period.
2. Green or Pascal Celery:
- The most common type is found in grocery stores.
- It requires blanching to reduce bitterness, which involves covering the stalks to prevent exposure to sunlight.
- Known for its bold flavor and vibrant green color.
3. Red or pink celery:
- Features a distinct red or pink hue, providing a visually appealing addition to dishes.
- Similar in taste and texture to green celery, it adds a colorful touch to salads and other culinary creations.
- May require blanching to achieve a milder flavor.
Understanding the differences between these celery varieties allows gardeners to choose the type that best suits their preferences and growing conditions, ensuring a successful and flavorful harvest.
Different Ways of Growing Celery

Growing celery can be approached in various ways, depending on your preferences, available space, and climate. Here are different methods for cultivating this versatile vegetable:
1. Direct Seeding in the Garden:
- Sow celery seeds directly into well-prepared garden soil.
- Plant seeds in rows, keeping them at the recommended spacing.
- Ideal for regions with a long growing season and a mild climate.
2. Indoor Seed Starting:
- Begin planting celery seeds indoors 10–12 weeks before the last expected frost in your area.
- Use seed trays or pots with a high-quality seed-starting mix.
- Transplant seedlings outdoors after hardening them off.
3. Hydroponic Celery Cultivation:
- Grow celery hydroponically using nutrient-rich water instead of soil.
- This method provides precise control over nutrient levels and environmental conditions.
- Well-suited for those with limited garden space or unfavorable soil conditions.
4. Companion Planting:
- Plant celery alongside compatible companion plants to enhance growth and deter pests.
- Carrots, tomatoes, and onions are examples of plants that complement celery when grown together.
- This method promotes a balanced and mutually beneficial garden ecosystem.
Selecting the method that suits your gardening style, space constraints, and local climate will contribute to a successful celery-growing experience. Here is a step-by-step, simple guide on how to plant celery in your garden:
Starting Seeds
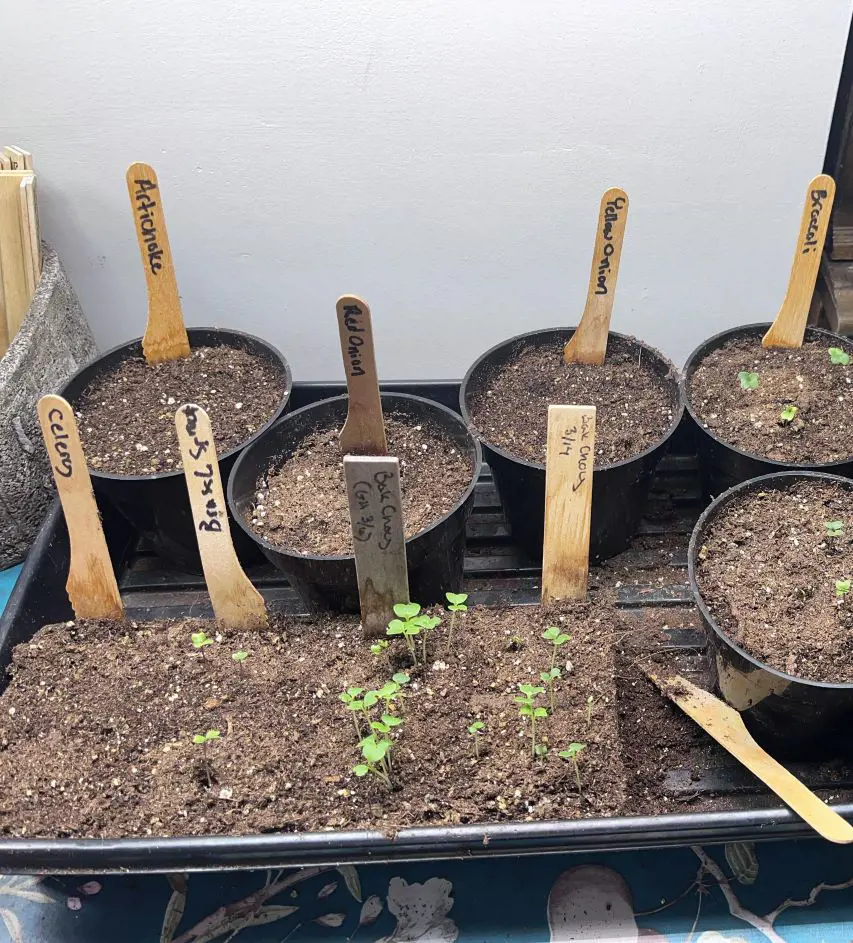
The Starting Seeds step lays the foundation for your celery success. It's all about giving those tiny seeds the perfect environment to germinate and sprout sturdy seedlings.
We start indoors early to give them a head start before spring chills arrive, ensuring they're strong and ready for transplanting. Good-quality potting mix, warm temperatures, and consistent moisture become their nursery, nurturing them into healthy baby plants primed for outdoor life. Consider the following factors while starting seeds:
1. Timing
Celery thrives in cool weather, with optimal growth temperatures ranging from 60 to 70 degrees Fahrenheit, making it an excellent vegetable to plant during the fall season.
Starting seeds indoors early gives seedlings a head start before the harsh spring weather arrives. This allows them to mature faster and become stronger for transplanting. Calculate the last frost date in your area and subtract 6–8 weeks to determine the ideal seed-starting time.
2. Containers
The container refers to the vessel that will hold the potting mix and germinating seeds until they are ready to be transplanted outdoors. A good-quality potting mix is crucial for providing loose, well-aerated drainage and nutrients for germination.
Use seed trays, pots, or even egg cartons with drainage holes. Fill them with moist potting mix, leaving about ½ inch at the top. Things to consider:
- Ensure containers have drainage holes to prevent waterlogging and protect seedlings.
- Use a sufficiently large container to allow proper root growth, avoiding overcrowding and resource competition.
- Opt for durable materials like plastic, terracotta, or biodegradable options that can withstand handling and moisture.
3. Sowing

Sowing refers to the act of carefully placing the seeds in the potting mix in your containers. Tiny seeds need light to germinate, so covering them with soil can hinder the process.
Gently sprinkle the seeds on the moist soil surface and press them down lightly. Don't bury them. Label the containers with the variety and date. Steps on how to sow these cabbage companion plants correctly:
- Fill containers with well-draining potting mix, leaving a half-inch space at the top.
- Moisturize the mix with a spray bottle or bottom-watering.
- Sprinkle seeds evenly over the soil, considering the recommended spacing.
- Press seeds lightly into the soil surface; avoid burying them.
- Label containers with the plant variety and sowing date.
- Ensure consistent moisture, warmth, and light for germination.
4. Germination

Germination is the exciting process where they take in water and warmth, sprout their very first roots and leaves, and transform into miniature plantlings ready to grow big and strong. Warmth and consistent moisture are key for successful germination.
Place the containers in a sunny location with a temperature around 70–75°F (21–24°C). Keep the soil moist by misting or using a bottom-watering method.
5. Thinning
Overcrowding can lead to weak seedlings competing for resources. Thinning creates space for stronger plants to thrive.
Once seedlings have 2–3 true leaves, use scissors to gently remove the weaker ones, leaving about 2 inches between the remaining seedlings.
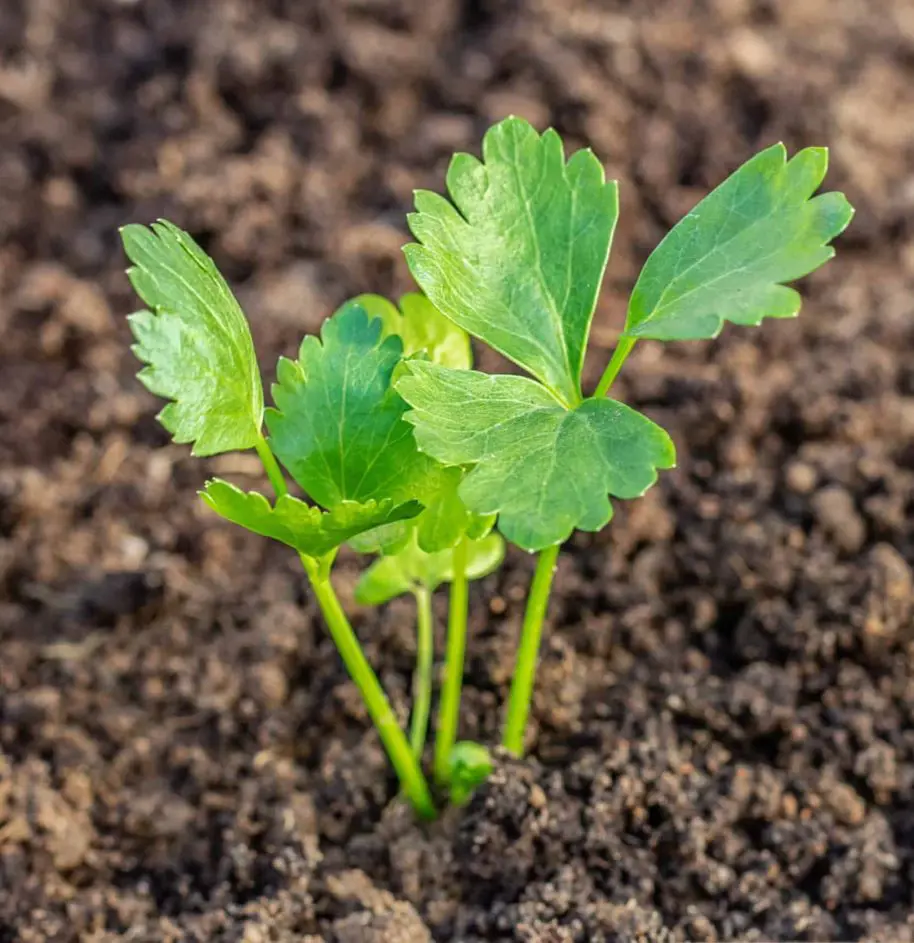
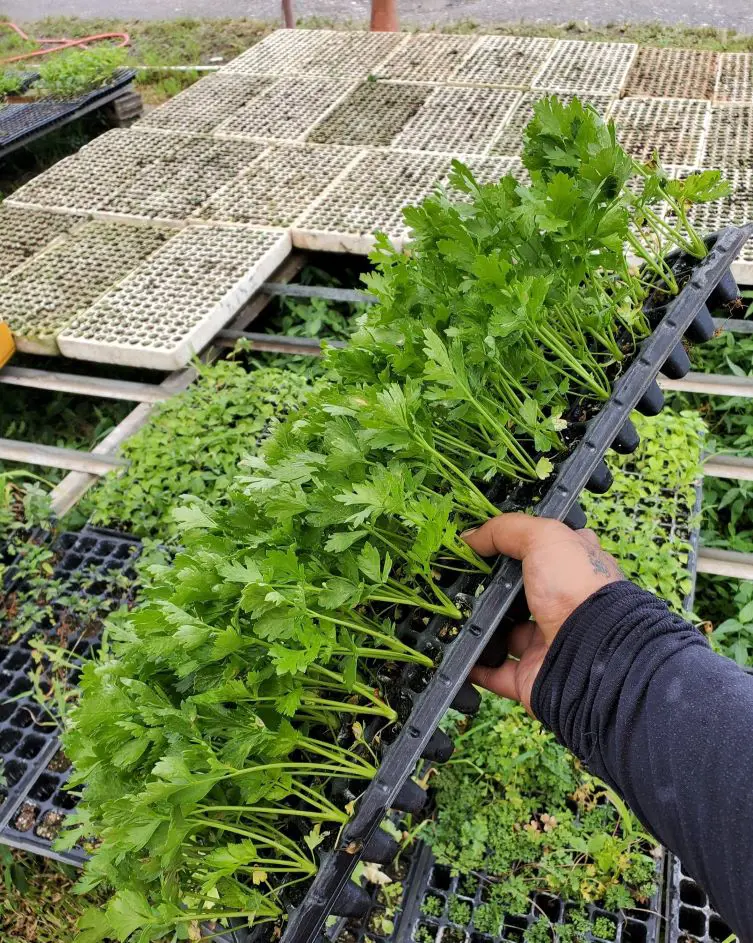
Transplanting
![]()
Transplanting your celery seedlings is a crucial step for healthy growth and a bountiful harvest. This involves gently moving them from their cozy indoor containers to their permanent outdoor home in the garden.
Done right, transplanting sets the stage for your celery to thrive and reward you with crisp, flavorful stalks. Here are some steps to consider for a successful transplantation:
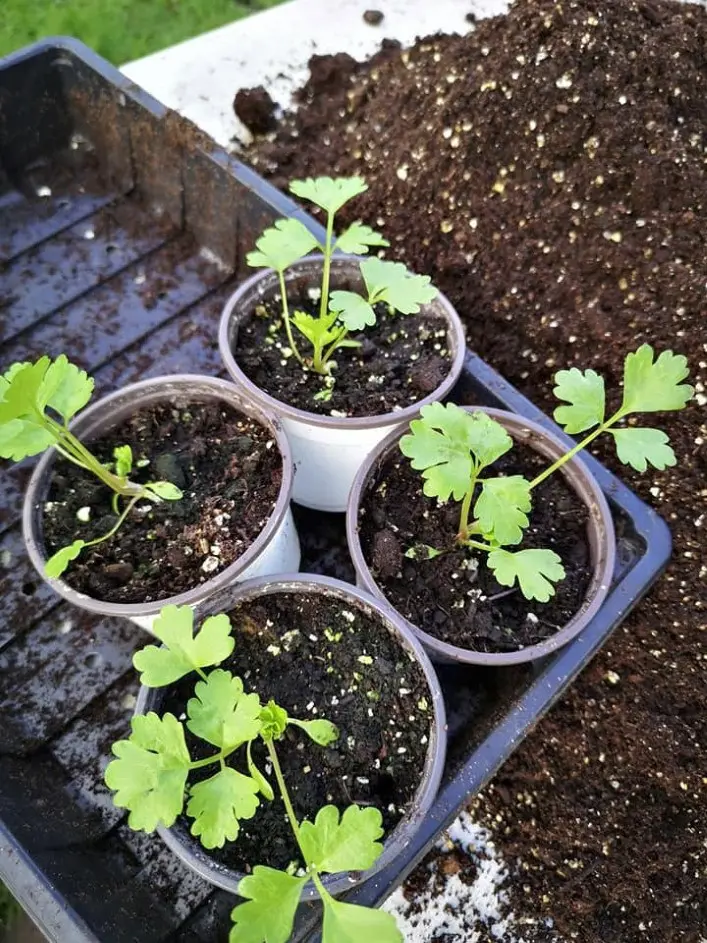
1. Timing
![]()
Timing plays a crucial role in transplanting your celery seedlings. You want to wait until they're 4-6 inches tall and boast strong roots to handle the stress of relocation.
Conversely, avoid waiting too long after they reach this stage, as overcrowded and rootbound seedlings can also be set back. Choose a day with mild weather and, ideally, no intense sun or heavy rain for the big move.
2. Digging
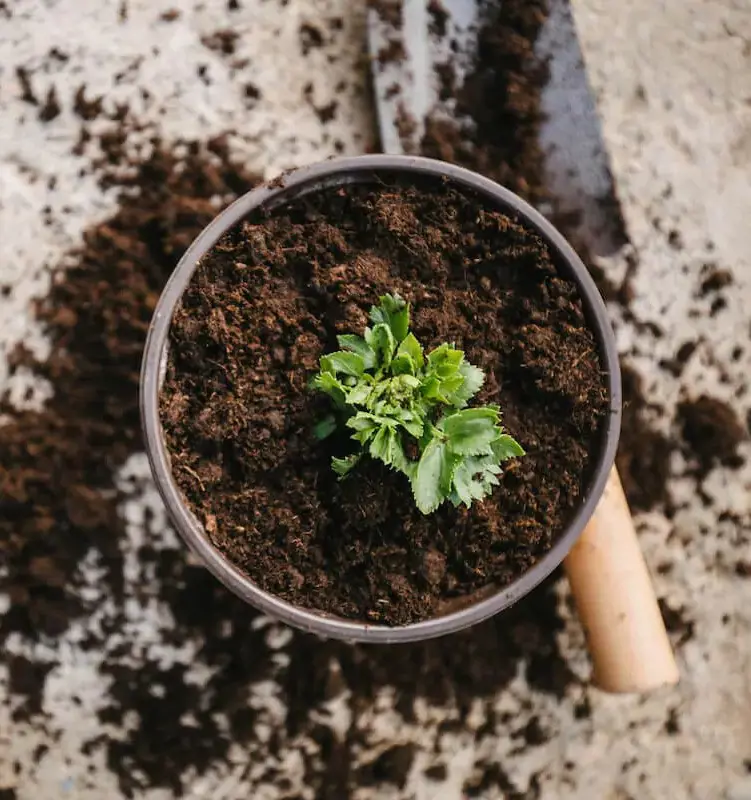
Before planting, dig individual holes slightly larger and deeper than the root balls of your seedlings. This provides ample space for the roots to spread and minimizes potential damage during the transfer.
Gently place the seedlings in these welcoming holes, fill them with soil, and give them a gentle hug (watering) to settle them in for a happy life in your garden.
3. Planting
When your celery seedlings are ready, choose a sunny spot with well-drained soil that you've enriched with compost or manure. Gently remove them from their containers, taking care not to disturb their roots.
Dig holes slightly larger than the root balls, and carefully place each seedling in its hole. Fill the holes with soil, press gently around the base to secure them, and give them a good drink to settle in.
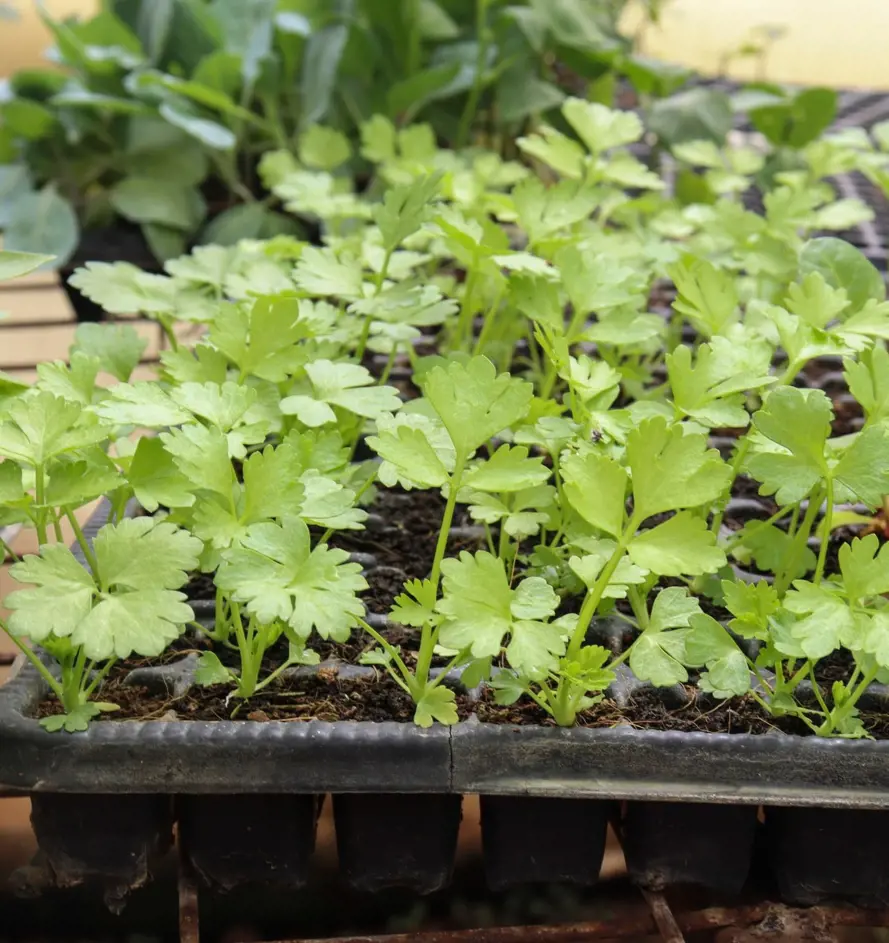
4. Spacing

Give each plant ample room to spread its leaves and reach for the sunshine. Aim for 6 inches apart in rows 18–24 inches wide, or if you're going for a block formation, 8 inches between each plant all around.
This spacing allows for good air circulation, prevents overcrowding, and ensures the stalks of celery, have enough space to grow thick and juicy.
Care

The care steps in celery growing are crucial for ensuring healthy, delicious stalks. Regular watering, consistent feeding, and proper blanching are key.
Watering keeps these plants plump and prevents bitterness, while fertilizing provides essential nutrients for robust growth. Blanching blocks sunlight, making the stalks pale and tender, adding to their culinary appeal. Steps to consider for effective care are:
1. Watering
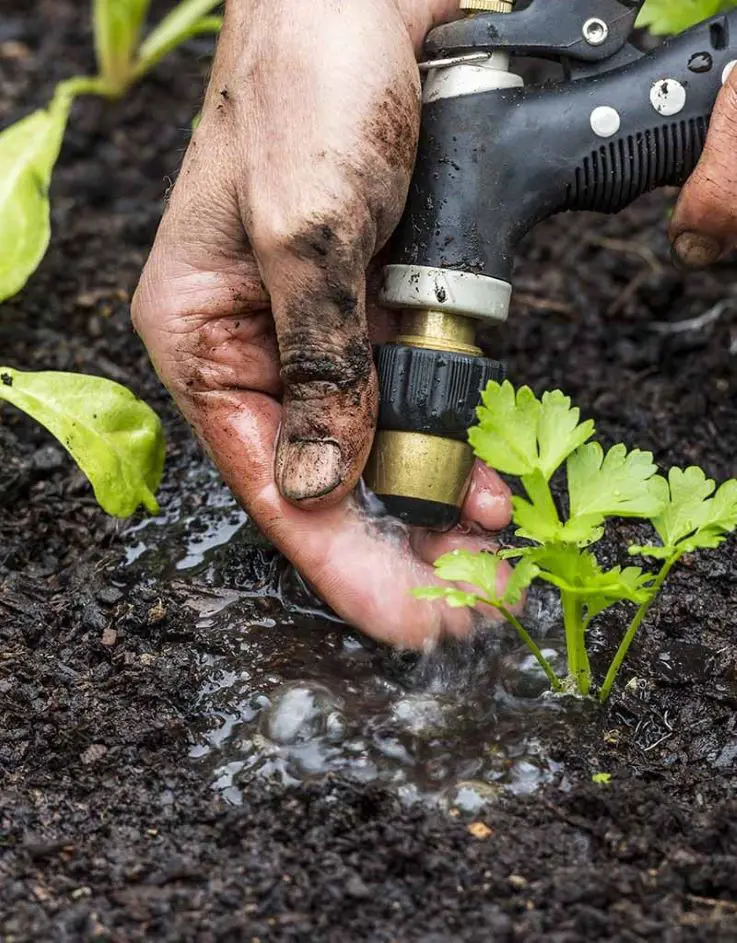
Celery, a winter vegetable, requires consistent moisture and regular watering, as it's a water-loving plant. Irregular watering can cause bitterness and stunted growth.
Aim for about 1 inch of water per week, keeping the soil moist but not soggy. Water deeply at the base to encourage root growth.
2. Fertilizing
Fertilizing your celery plants regularly provides them with the nutrients they need for healthy growth and plump stalks. Use a balanced fertilizer like 10-10-10 every 4-6 weeks throughout the growing season.
Apply it evenly around the base of the plants, following the manufacturer's instructions for dosage. Avoid overfertilizing, which can lead to leggy growth and bitterness.
3. Blanching

Blanching is all about keeping that sunlight away from your celery stalks. This simple process makes them paler, sweeter, and less bitter. You have two options:
- Earthing Up: As your stalks grow tall, gradually pile soil around their base, reaching higher each week until it hides the bottom growth. This blocks sunlight and triggers blanching naturally.
- Row Covers: After your stalks reach about 6 inches, drape lightweight fabric or breathable row covers over your celery plants. This creates a cool, shaded environment that mimics their blanching needs.
Remember, both methods aim to block sunlight, so choose the one that suits your space and preference.
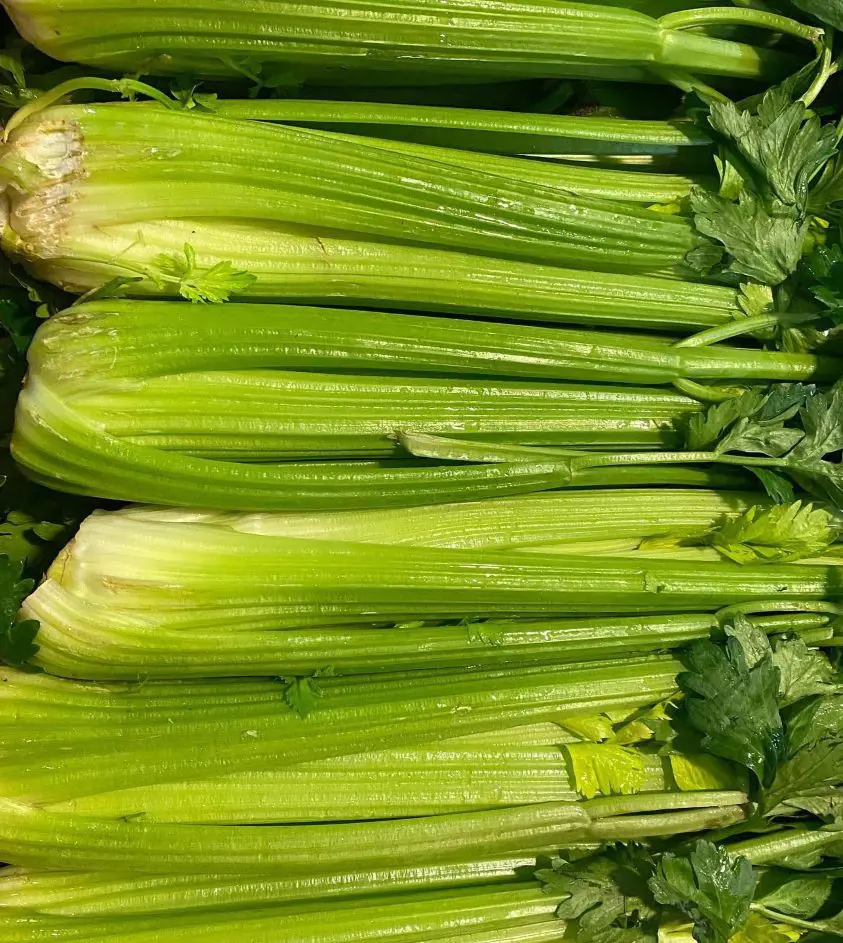
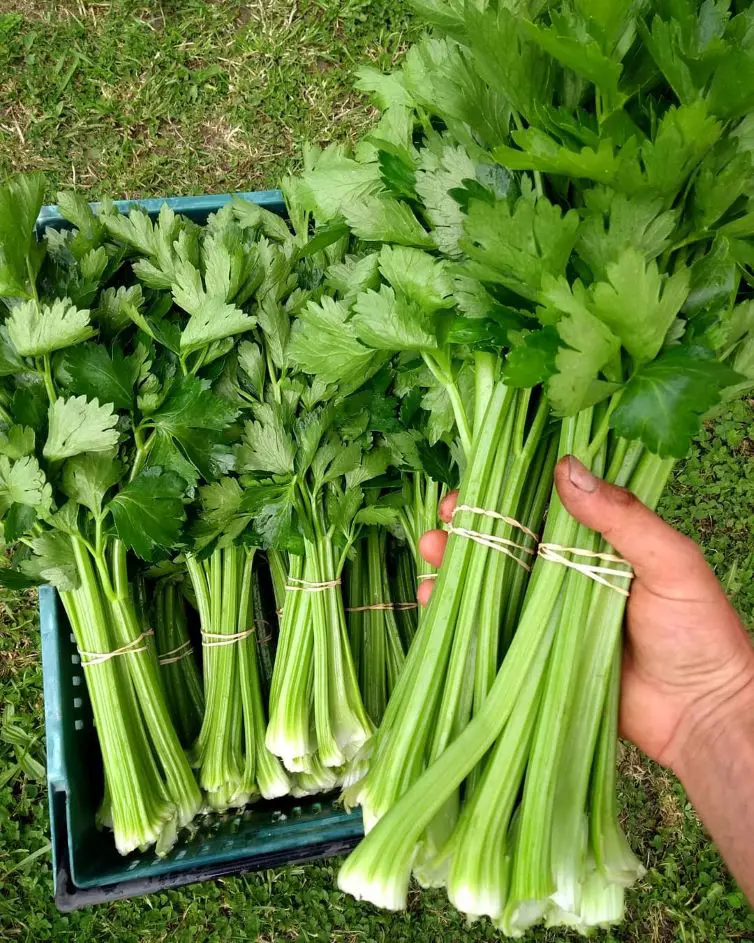
4. Harvesting

Celery harvesting is all about timing and flexibility. You can choose to enjoy individual stalks throughout the growing season, snapping them off at the base when they reach the desired size and remain firm and crisp.
Alternatively, for a larger harvest, you can cut the entire plant at the base when the stalks are generally thick and mature, aiming to harvest before the plant starts to bolt (flower).
Additional Tips
These extra insights offer a deeper understanding of the nuanced care required for nurturing robust celery plants and maximizing their yield. From meticulous watering techniques to fostering a symbiotic garden ecosystem through companion planting, these supplementary tips aim to refine your celery-growing expertise.
1. Variety Selection

Choose a celery variety based on your climate, available space, and personal preferences. Options include self-blanching, green or Pascal celery, and red or pink celery.
If you live in a hot climate, you may want to choose a heat-resistant celery variety, such as 'Utah' or 'Golden Self-Blanching'.
2. Pest and Disease Management

Celery can be susceptible to pests such as slugs, snails, and aphids. Be sure to check your plants regularly and treat any pests as needed.
They can also be affected by diseases such as early blight and late blight. Rotate your crops and use disease-resistant varieties to help prevent these problems.
3. Winter Care (if applicable)
As temperatures drop, protect the celery plants by covering them with row covers, cloths, or straw. This acts as insulation, shielding the plants from freezing temperatures.
Additionally, consider applying a thick layer of mulch around the base of the celery to help retain soil warmth. In extreme cold conditions, especially if frost is predicted, bringing potted celery indoors or to a sheltered area can prevent potential damage.
4. Saving Seeds (if desired)

Allow some celery plants to bolt and produce flowers, and harvest the seeds once they've matured. Keep in mind that celery is a biennial, so the plants will flower and set seeds in their second year.
Store harvested celery in the refrigerator to maintain freshness. Enjoy celery raw as a snack, in salads, soups, or as a crunchy addition to various dishes.
Recent posts
How To Grow
How To Grow
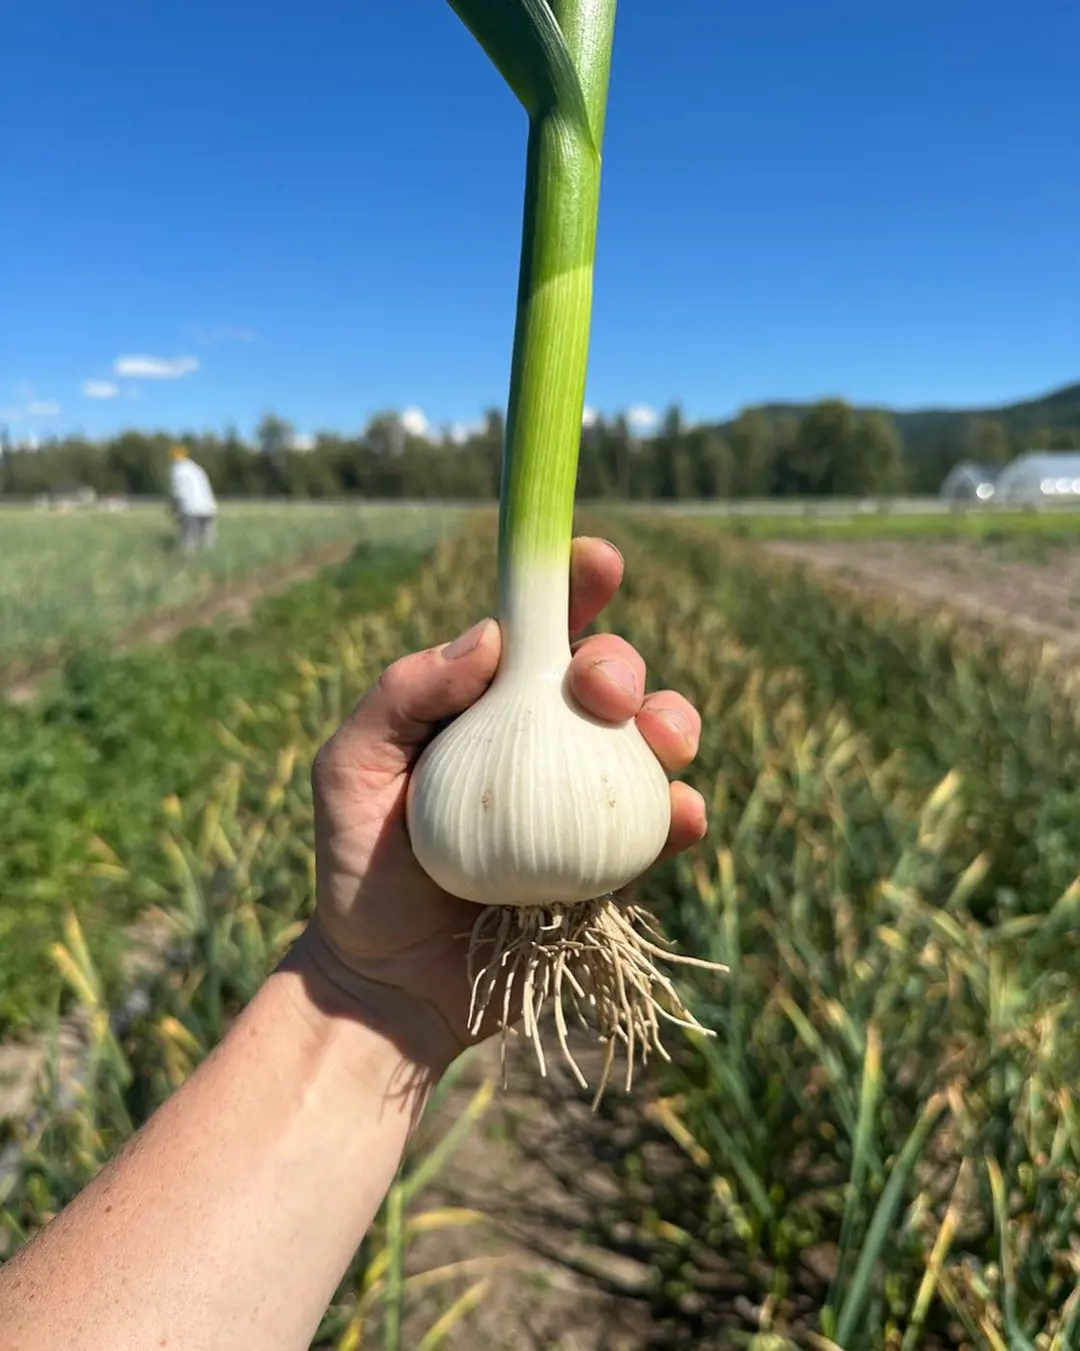
How To Grow Garlic
A bulbous member of the onion family, garlic is prized for both its potent flavor and a variety of therapeutic applications. Due to its relative ease of cultivation, it is a favorite among home gardeners and a pioneer in kitchens worldwide. Garlic ma...

How To Grow
How To Plant and Grow Orchids
Orchids are one of the prettiest and most interesting flowers out there, with over 30,000 types and 200,000 hybrids. They are one of the biggest families of plants and can grow indoors or outdoors. However, growing and taking care of orchids is not e...
How To Grow
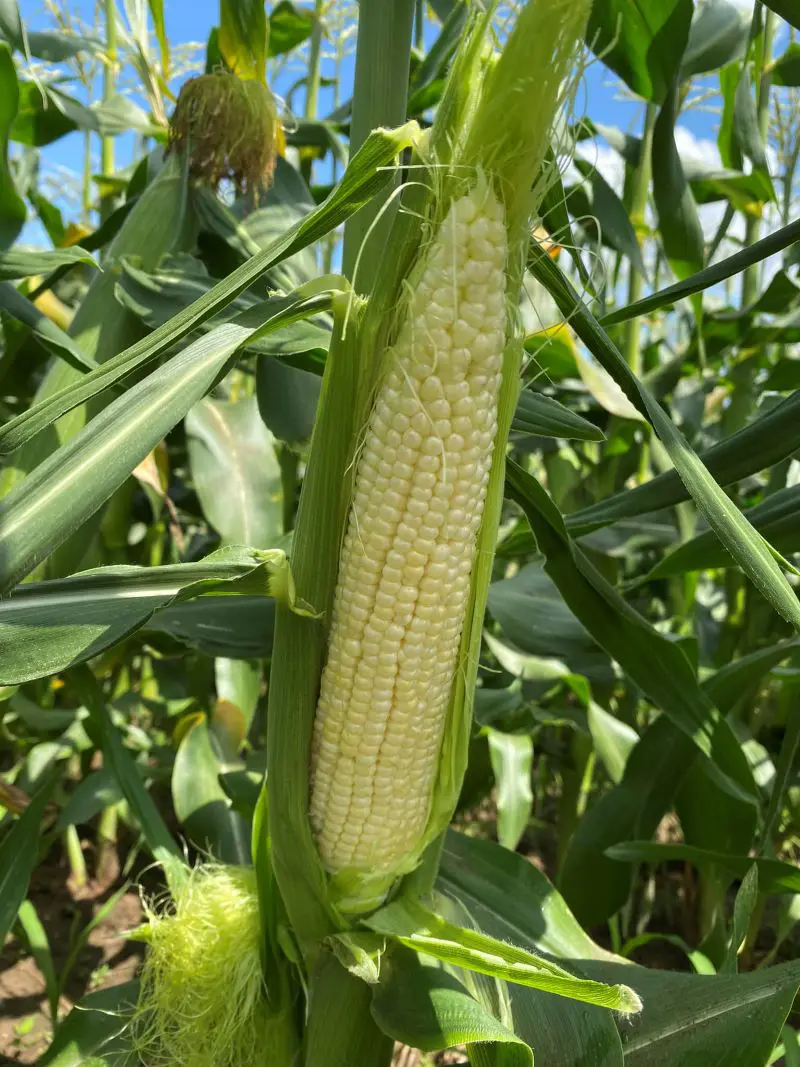
How To Plant, Grow And Harvest Corn All By Yourself
Growing your popcorn or sweet corn at home garden can seem like an interesting idea. However, it requires a large amount of space to grow as it is a tall plant that needs plenty of room to spread out. But, if you want to enjoy freshly popped po...
How To Grow
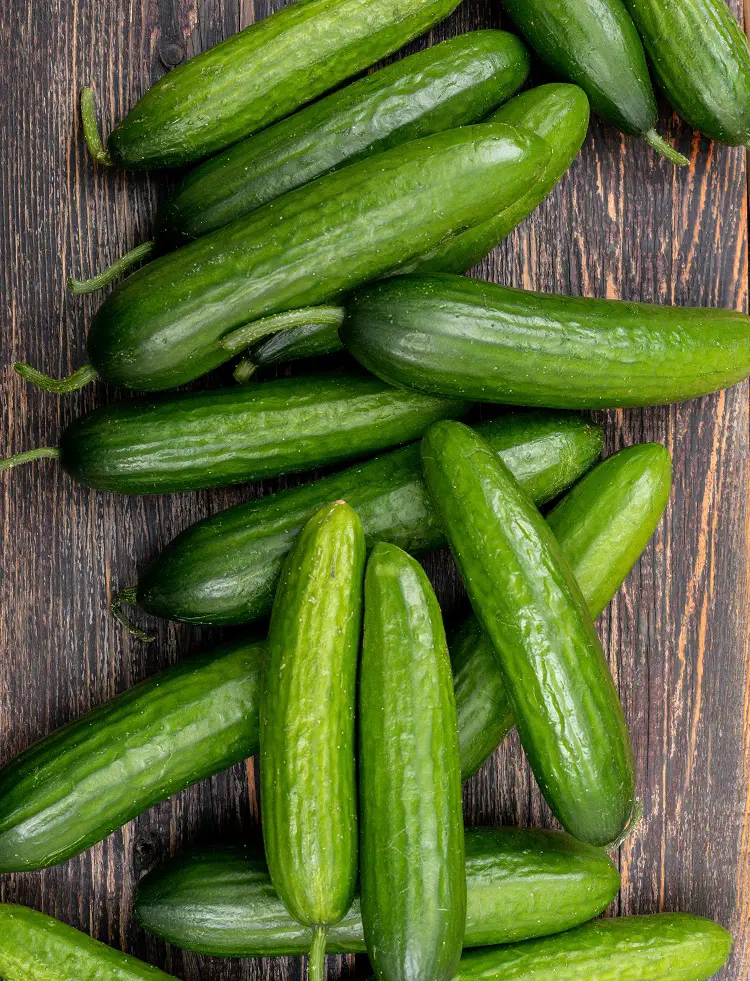
How To Plant, Grow And Care Cucumbers
Growing cucumbers is like going on a fun journey where you get to plant and pick your very own crunchy veggies. It's not just about having tasty cucumbers, it's also about the joy of seeing your plants grow. Whether you have a big garden or a small b...
How To Grow
How To Plant, Grow And Care Radishes In Your Garden
Growing radishes in your garden is a fantastic way to enjoy crisp and peppery veggies that you've nurtured from seed to plate. It's a straightforward process that anyone can try, even if you're new to gardening. In the following 12 steps, we'll guide...
How To Grow
How to Plant, Grow And Care For Spinach?
Growing leafy greens in your backyard garden is both healthy and fun. Spinach can be the best leafy green to start with as it is relatively easy to grow from scratch and can be harvested in about a month from planting. It thrives in spring or fall in...