Methods To Propagate Hydrangea Like A Pro
By MlbrunTeam | On May 15, 2024
This post may contain affiliate links. If you make a purchase through links on our site, we may earn a commission.
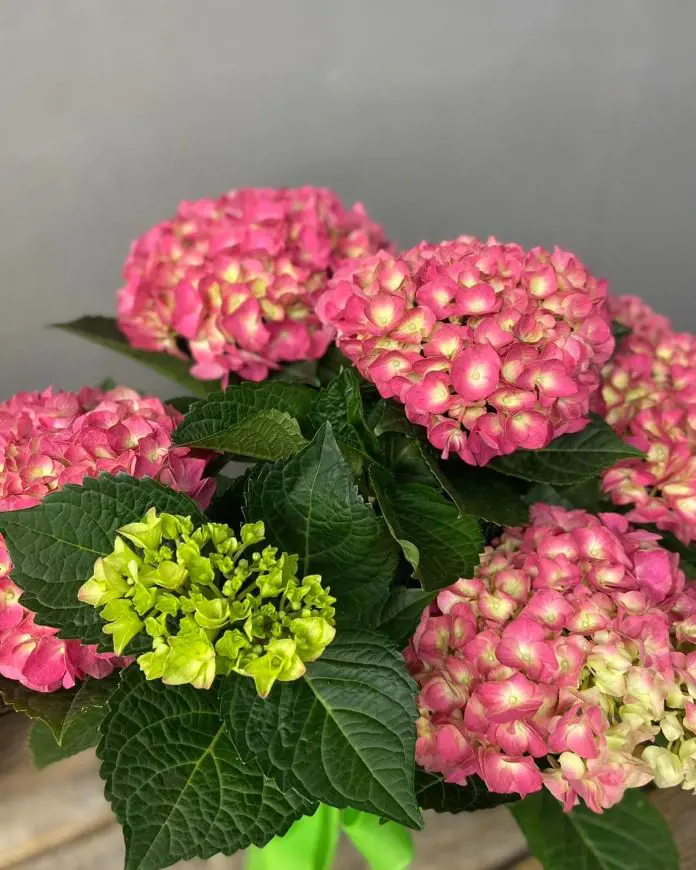
Let's talk about hydrangeas, those beautiful flowers you often see in gardens. They come in lots of colors and have big, lovely blooms.
Propagating hydrangea is not complicated; it just involves simple steps such as cutting and layering.
Methods For Propagating Hydrangea
Hydrangeas, known for their pretty flowers, come in various varieties. Each variety blooms with large flowers in shades of pink, blue, or white. Different varieties may thrive in specific climates, with some preferring particular weather conditions.
Moreover, propagating hydrangea is not as complicated as it may seem, and there are several methods to do so. You can easily grow new plants by using four simple methods. These methods include taking cuttings, planting seeds, layering, and water propagation. Here we have explained each of these methods.
Gather Your Essential Tools
When you are ready for propagation time, gather everything you need to work quickly and efficiently. These tools not only make the process easier but also increase the chances of your hydrangeas thriving. So, make sure you have these items ready to use.
- Sharp pruners or knife
- Rooting hormone (optional)
- Potting mix suitable for acidic plants
- Small pots or containers
- Clear plastic bags to make little houses around your plant cuttings (optional)
- Watering can with a little bit of warm water to keep your plant cuttings from getting dry.
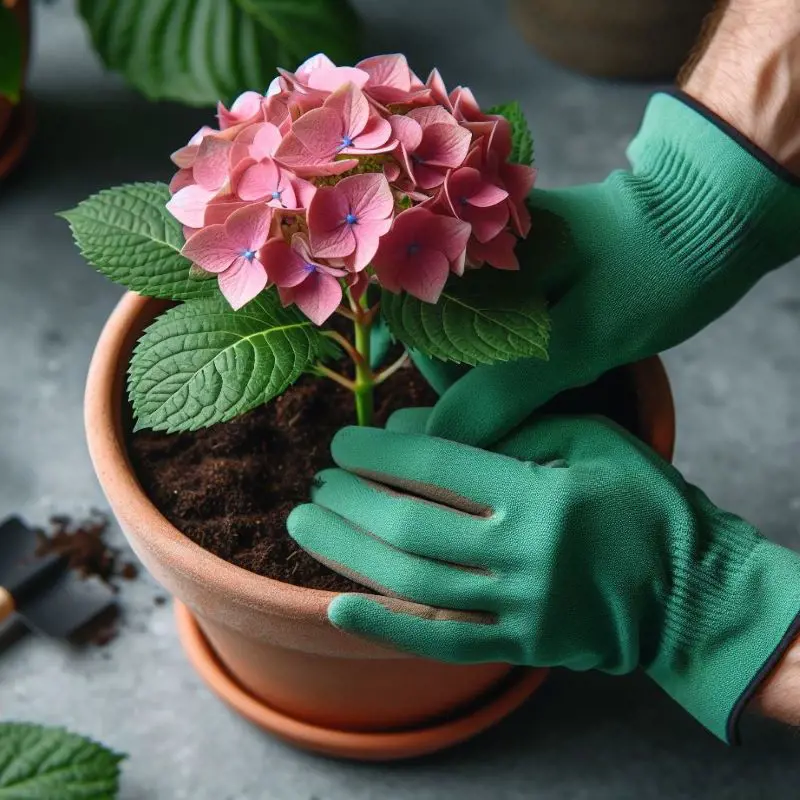
1. Stem Cuttings Method
Stem cutting is one of the easy and effective methods for growing hydrangea plants in a garden. Simply take a healthy stem from your existing hydrangea, plant it in the soil, and soon you will have a new plant.
However, it's important to keep in mind that not all stem cuttings may grow, so it's a good idea to take a few to increase your chances of success. Here we have explained each step to propagate this beautiful plant from stem cuttings.
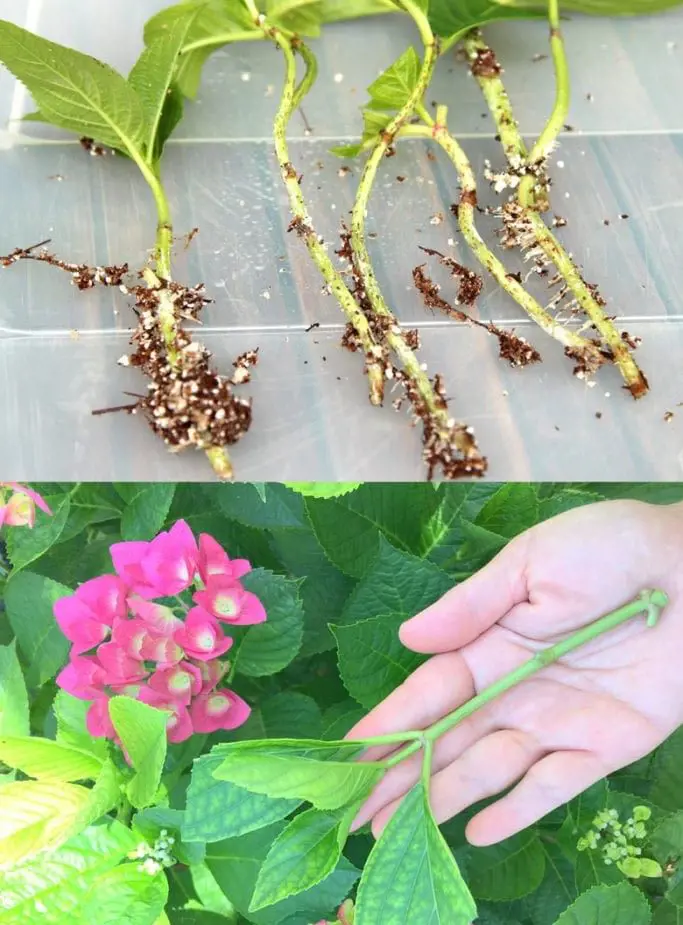
Take Cuttings
The best time to take cuttings is either in late spring or early summer, right after the first batch of flowers has faded. During this period, the new growth is more mature and has a higher chance of successful rooting.
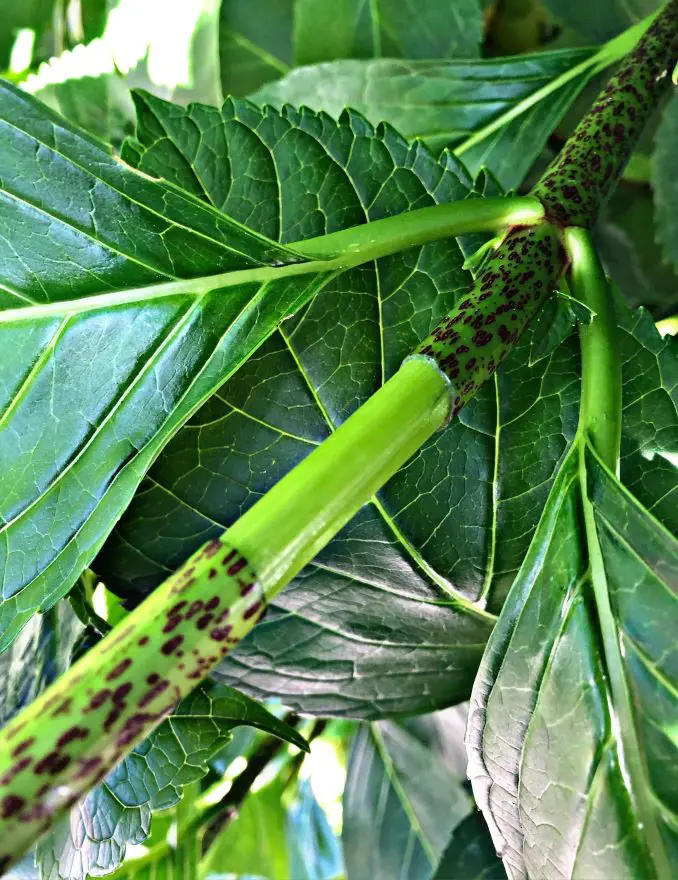
To cut it rightly, select a healthy, non-flowering stem that is about 6 to 8 inches long and pencil-thick. Make a clean cut at a 45-degree angle just below a leaf node, and then remove the bottom two sets of leaves to expose the stem.
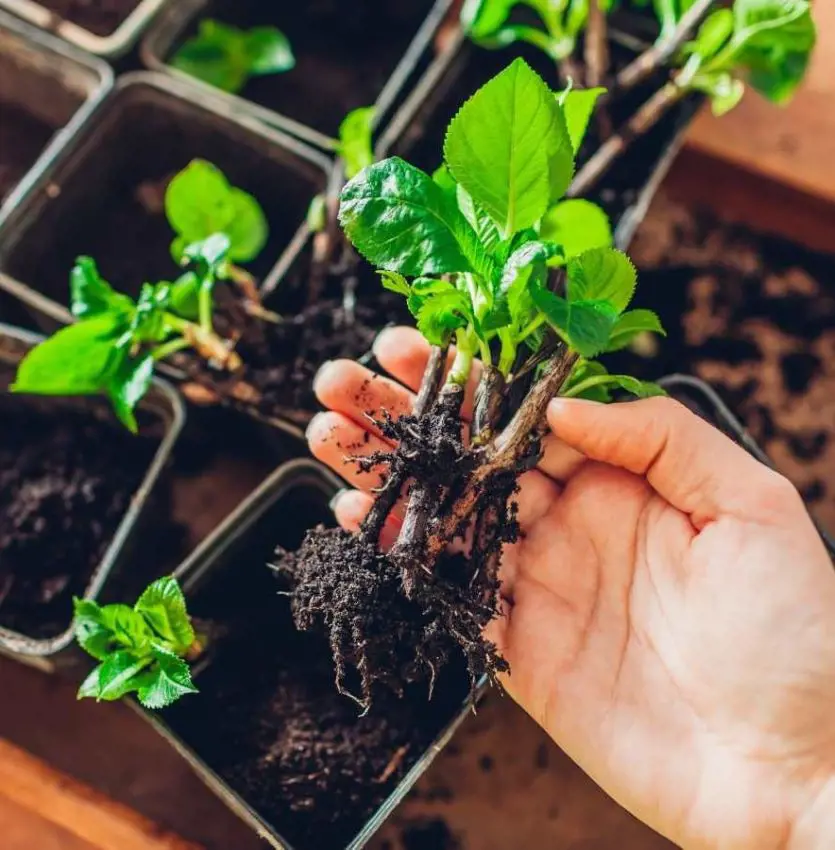
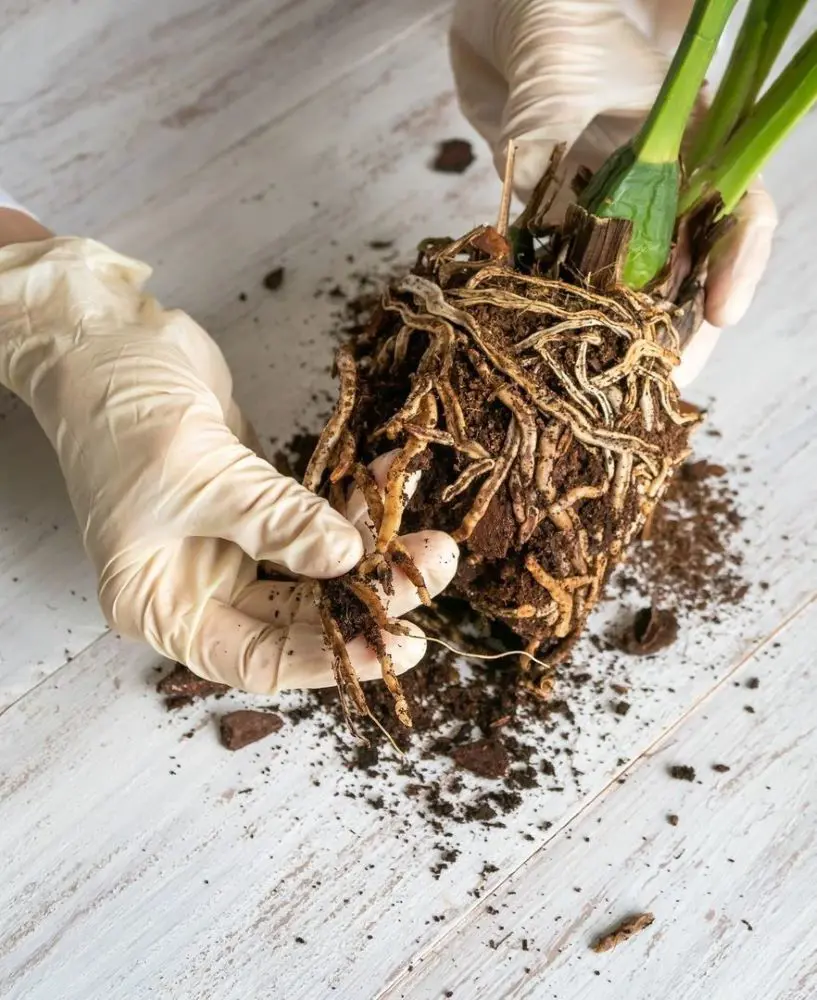
Rooting The Cuttings
![]()
After cutting, you can choose to dip the end of the stem into rooting hormone; however, it's optional if you prefer not to use it. Take a pot and fill it with well-draining soil, ensuring that the soil is slightly moist.
Then, make a hole in the soil and stick the stem in. Don't bury the bottom leaves, let them stick out. Press the soil around the stem a little, so it stays put. Then, give the plant a gentle watering. This helps the new plant grow and feel happy in its new home.
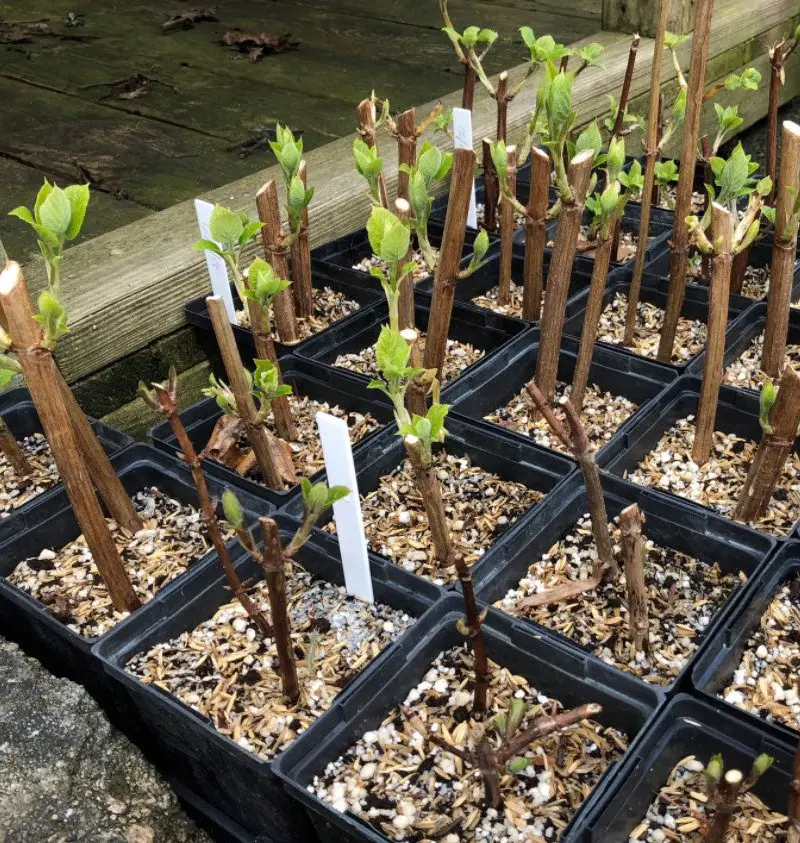
Caring
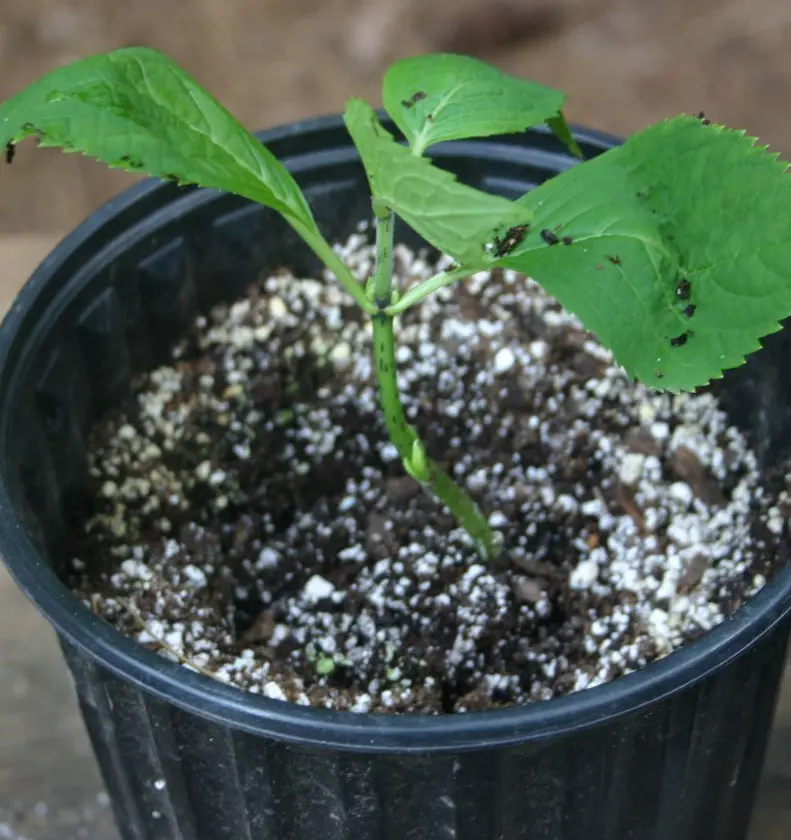
After transferring the cutting into the soil, it is essential to place the pot in a location with bright, indirect light. Keep the soil consistently moist, but avoid waterlogging, as soggy soil can lead to root rot and other fungal diseases, compromising the health of the plant.
Hydrangeas thrive in a humid environment, so consider covering the pot with a clear plastic bag to retain moisture. Additionally, misting the leaves regularly can help prevent them from drying out.
Transplanting
After allowing the cuttings to root for 4 to 6 weeks, observe the emergence of new growth. Begin the process of adjusting the cuttings to outdoor conditions by gradually removing the plastic bag for increasing periods each day.
Once the threat of frost has subsided, proceed to transplant the rooted cuttings into their permanent garden location. This careful transition ensures a seamless integration into their new environment and promotes healthy growth.
2. Layering Method
You can grow more hydrangeas in your garden without cutting a stem through a method called layering. This process involves encouraging a branch to root while still attached to the parent plant.
For this, simply bend a branch down, bury a portion in the ground, and let it develop roots on its own. Once the roots are strong, cut the branch, and you will have a new hydrangea ready to bloom. For detailed steps, they are discussed below.
Layering Process
The process of layering is best in spring and summer when the plant is actively growing. During these seasons, the stems are flexible, making it easier to bend and encourage root formation. The warmer weather further enhances the success rate of this propagation method.
The steps for this method include:
- Choose a low branch on the plant and make a 2-3 inch shallow cut on its underside.
- Pin the cut open with a toothpick or stone, exposing the inner layers.
- Cover the exposed section with moist potting mix.
- Bury the layered part in the soil, keeping the branch tip above ground.
- This promotes root growth, allowing a new plant to develop.
Caring
Make sure to water the branch regularly and keep the soil adequately damp. After a few months, you will see roots growing at the cut. Once those roots are strong and secure, it's time to carefully cut the branch from the main plant.
Then, transplant it to its new, permanent spot. This helps the new plant become strong and independent, growing on its own. Just like giving it a new home where it can flourish and thrive all by itself.
3. Seed Propagation Method
Hydrangea plants can be easily propagated from seeds during late winter or early spring. These seeds are formed inside the flowers, and by collecting them, you can start the process of cultivating more of these plants.
While this method is not as common as others, it adds a sense of wonder to gardening. Just keep in mind that growing hydrangeas from seeds requires endurance, as the seeds take time to sprout. Below, we have explained each step of this process.
Seeding
Plant hydrangea seeds by placing them on the surface of well-draining potting mix. Gently cover them with a thin layer of sand or perlite, ensuring the soil remains consistently damp but not overly wet.
Next, position the pot in a warm, bright location, and if possible, provide bottom warmth to facilitate seed germination. Patience is essential in this process, as hydrangea seeds may take some time to sprout.
Germination And Care
Growing plants from seeds can take a few weeks to several months. Once the little plants pop up, make sure they have space to grow by removing some. When they are big enough to handle, move them to their own pots or into the garden.
This practice ensures each plant has ample room to flourish and develop strength. Therefore, exercise patience as they sprout, provide them with the necessary space, and when they are sufficiently mature, relocate them to their new home for optimal growth.
4. Water Propagation Method
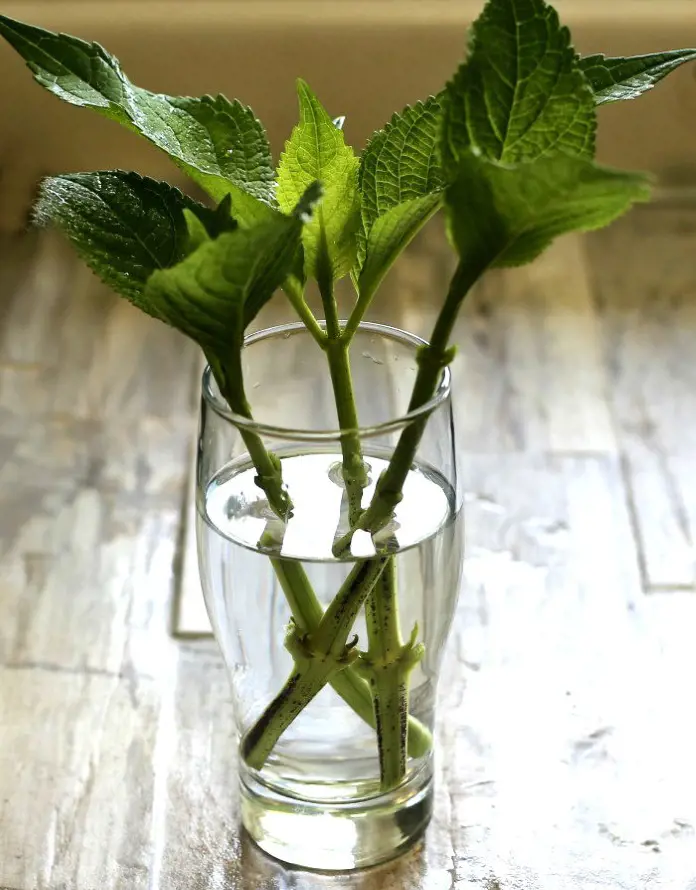
Propagating hydrangeas in water is a popular method for gardeners, especially beginners, as it requires minimal effort and can be done indoors. The process involves taking a small stem cutting, arranging it in a glass of water, and monitoring the progress of the root. Here are the steps to propagate hydrangeas in water:
Take cuttings:
Select healthy, non-flowering stems that are approximately 4-6 inches long. Make a clean cut just above a leaf node, ensuring a neat and precise cut. Remove any leaves that will be submerged in water.
Prepare the container:
Use a clean, clear vase or jar, and fill it with lukewarm, filtered water. The use of lukewarm water helps encourage the absorption of water by the cutting compared to cold water.
Place the cutting:
Place the cutting in the water, ensuring that only the stem is submerged while keeping the leaves above the water level.
Care for the cutting:
Change the water every 3 to 5 days to maintain freshness. Position the vase in bright, indirect sunlight. Be patient, rooting can take several weeks.
Transfer to soil:
Once you observe substantial root growth, typically around 1-2 inches in length, proceed to transfer the cutting to a pot filled with well-draining potting mix. Maintain the soil's moisture, ensuring it stays damp but not waterlogged. Introduce the plant gradually to increased sunlight.
Extra Tips:
- Water propagation may not be the best option for all hydrangeas or situations. Consider the potential limitations and weigh them against the pros before making a decision.
- If you are unsure, it's always a good idea to consult a gardening expert or try both water and soil propagation methods for comparison.
Recent posts
Gardening
Gardening
Root Rot: How to Prevent, Identify And Fix It?
Root rot poses a significant threat to the health and vitality of plants. This insidious disease, caused by various fungal pathogens, compromises the integrity of plant roots. While no plant is immune to root rot, certain species are particularly sus...
Gardening
How To Prune Roses With These 10 Steps
Pruning roses might seem scary, but it's crucial for a healthy plant. Cutting back old growth encourages new, vibrant growth, removes dead parts, and shapes the plant. This practice also reduces the risk of fungal diseases by allowing better airflow....