How To Plant, Grow And Care For Chives
By Mlbrun Team
On May 15, 2024

This post may contain affiliate links. If you make a purchase through links on our site, we may earn a commission.
Chives are slender, grass-like herbs with a mild onion flavor; they are not only flavorful but also possess several health benefits. The plant contain allicin which can reduce LDL levels and promote heart health.
Moreover, chives are often used as a garnish or seasoning in various dishes, ranging from salads to soups. They require minimal maintenance and can thrive in small spaces, making them ideal for urban gardens or indoor pots.
Chives Overview
| Botanical Name | Allium schoenoprasum |
| Common Name | Chives, common chives |
| Type | Herbaceous, perennial |
| Size | 10-15 in. tall, similar spread |
| Sunlight Requirement | Full sun, light shade |
| Soil Type/pH | Loamy, sandy/ Slightly acidic to neutral |
| USDA Growing Zone | Zones 3-9 |
| Native Area | Europe, Asia, North America |
| Toxicity | Toxic to dogs, cats |
What Is Chives?
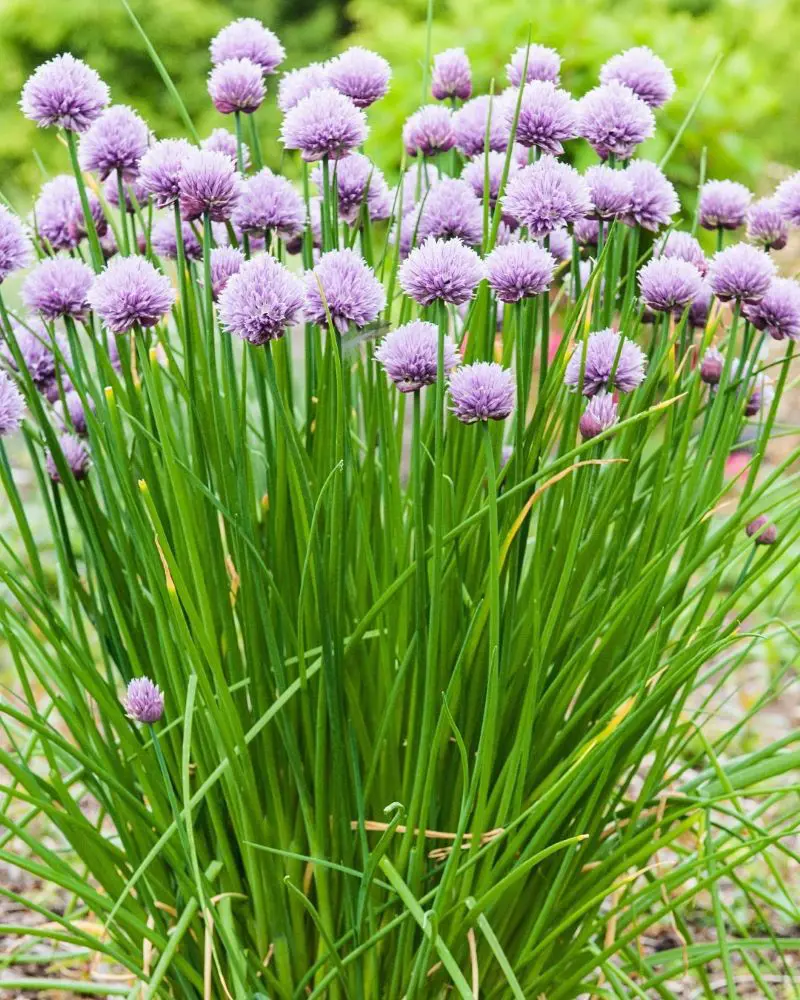
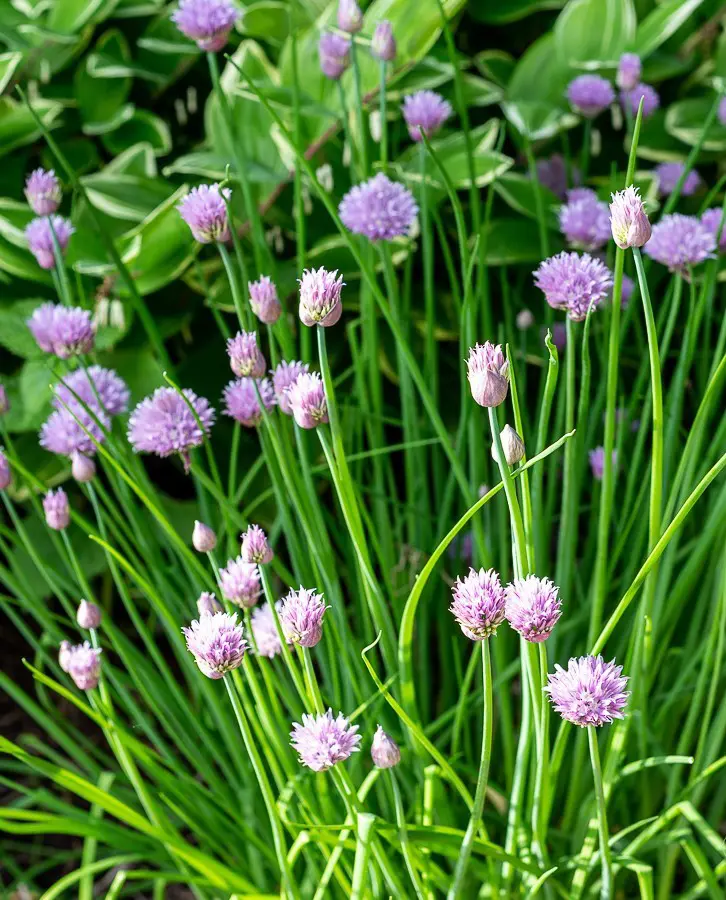
A chive is a small, bulbous herb that belongs to the same family as onions, garlic, and leeks. It's known for its long, thin, hollow leaves that resemble grass blades. Chives are commonly grown for their flavorful leaves, which have a mild onion taste.
Chives are mostly grown in temperate regions around the world. They are relatively easy to cultivate and can thrive in a variety of soil types and climates. They're often found in home gardens as well as commercial herb farms.
Planting Chives
Chives are incredibly versatile and easy-to-grow herbs, adding a mild oniony flavor to dishes. To plant chives, choose a sunny or partially shaded location with well-draining soil. They prefer well-draining soil with a pH of 6.0 to 7.0. Amend heavy or compacted soil with organic matter to improve drainage and fertility. Here's a step-by-step guide to planting them:
When To Plant
The ideal time to plant chives depends on your climate and whether you're using seeds or transplants.
Spring:
- Seeds: In temperate climates, sow seeds outdoors directly in the garden 4-6 weeks before the last frost. This gives them enough time to establish themselves before the summer heat arrives.
- Transplants: Plant seedlings outdoors after the danger of frost has passed, typically in late spring or early summer.
Fall:
- Seeds: In warmer climates, consider sowing seeds in the fall, 6–8 weeks before the first frost. This allows for a fall harvest and winter protection.
- Transplants: Generally not recommended for fall planting as they need time to establish before winter.
If you live in a colder climate, or want an earlier harvest, you can start seeds indoors 6–8 weeks before the last frost and transplant them outdoors later. Early spring is generally the safest and most successful time to plant chives in most climates.
Where To Plant
Chives are known for their adaptability and can grow in a wide range of climates, thriving in USDA zones 3–9. This means they can be grown throughout most of the United States, from the cold winters of Maine to the warm summers of Texas. Plant them in an area that receives full sun for at least 6–8 hours. They can tolerate light shade, but their growth and flowering will be reduced.
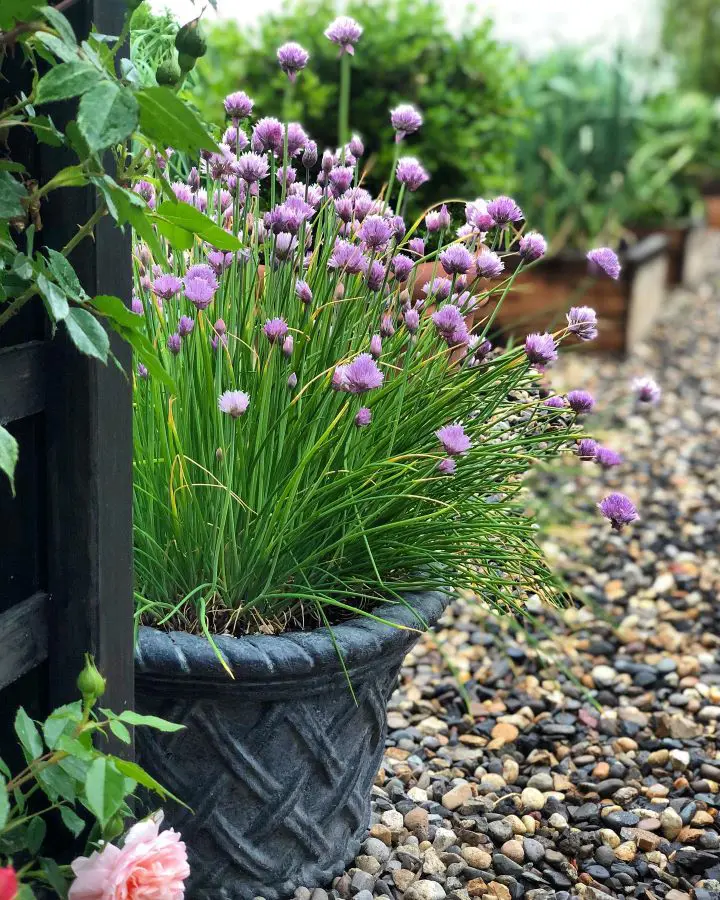
Raised beds are a good option if you have poor soil or want to improve drainage. They also allow you to control the soil quality more easily. These herbs are also well-suited to container gardening and can be grown on patios, balconies, or even indoors in a sunny window. Choose a
How To Plant
There are two main ways to plant chives: sowing seeds directly outdoors or planting seedlings you've started indoors or bought from a nursery. Here's the breakdown for sowing seeds:
The best time to sow seeds outdoors directly in the garden is 4-6 weeks before the last frost in temperate climates. In warmer climates, consider sowing seeds in the fall, 6–8 weeks before the first frost.
Process:
- Choose a sunny location with well-draining soil. Amend the soil with compost or organic matter if necessary.
- Sow seeds about 2 inches apart and no more than ¼ inch deep.
- Cover seeds lightly with soil.
- Water gently and keep the soil moist until seedlings emerge, which can take 1-2 weeks.
- Once seedlings reach 2-3 inches tall, thin them to 4-6 inches apart.
How To Grow Chives From Seedling
Growing chives from seedlings is straightforward and generally offers a faster harvest than sowing seeds directly outdoors. You can buy seedlings from your local nursery or garden center. Choose healthy-looking plants with strong stems and green leaves. Wait until the danger of frost has passed before planting outdoors. This usually falls in late spring or early summer.
Before planting, choose a spot that receives at least 6 hours of direct sunlight daily. They prefer well-draining, fertile soil. Amend your existing soil with compost or organic matter if needed. You can also use a good-quality potting mix if planted in a container.
Chives Care
Caring for chives is generally not difficult, as they are low-maintenance plants. Whether grown from seeds or transplants, here are the key ways to care for them.
Sunlight
Provide chives with full sunlight or partial shade. Aim for at least 6 hours of sunlight per day for optimal growth. If grown indoors, place them near a sunny window where they can receive adequate light.
Soil
Plant chives in well-draining soil with a pH of 6.0 to 7.0. Loamy or sandy soil enriched with organic matter is ideal. Ensure good drainage to prevent waterlogging, which can lead to root rot.
Watering
Chives prefer moist soil, especially during hot weather and when actively growing. Water them deeply when the top inch of soil feels dry, but avoid overwatering, as this can lead to root rot. Container plants may dry out faster, needing more frequent watering. During rainy periods, reduce watering to prevent waterlogging.
Fertilization
Chive plants don't require heavy feeding. A balanced fertilizer applied once a month during the growing season (spring and summer) is sufficient. Alternatively, you can use compost tea or diluted fish emulsion as natural alternatives.
Mulching
Apply a layer of organic mulch, such as straw or shredded leaves, around chive plants to retain moisture, suppress weeds, and regulate soil temperature. Keep the mulch a few inches away from the base of the plants to prevent rotting.
Dividing
Every 3–4 years, you can divide established clumps of chives to rejuvenate them and create new plants. Simply dig up the clump, carefully separate smaller sections with roots, and replant them in suitable locations.
Winter Care
In colder climates, chive plants may die back in winter and regrow in spring. Mulching around the base of the plants can help protect them from freezing temperatures. Alternatively, chives can be grown indoors in pots year-round.
Pruning
Pruning your chives, both outdoors and indoors, isn't strictly necessary. But it can encourage healthier, bushier plants and improve your harvest. Here's how to prune chive:
When to prune
- After flowering: If you let your chives flower, consider pruning after the blooms fade. This prevents seed formation and encourages more leaf production.
- For bushier growth: Regular light pruning throughout the season can lead to denser, bushier plants.
- Anytime during the growing season: You can prune chives whenever you see fit, but it's best to avoid the hottest part of the day.
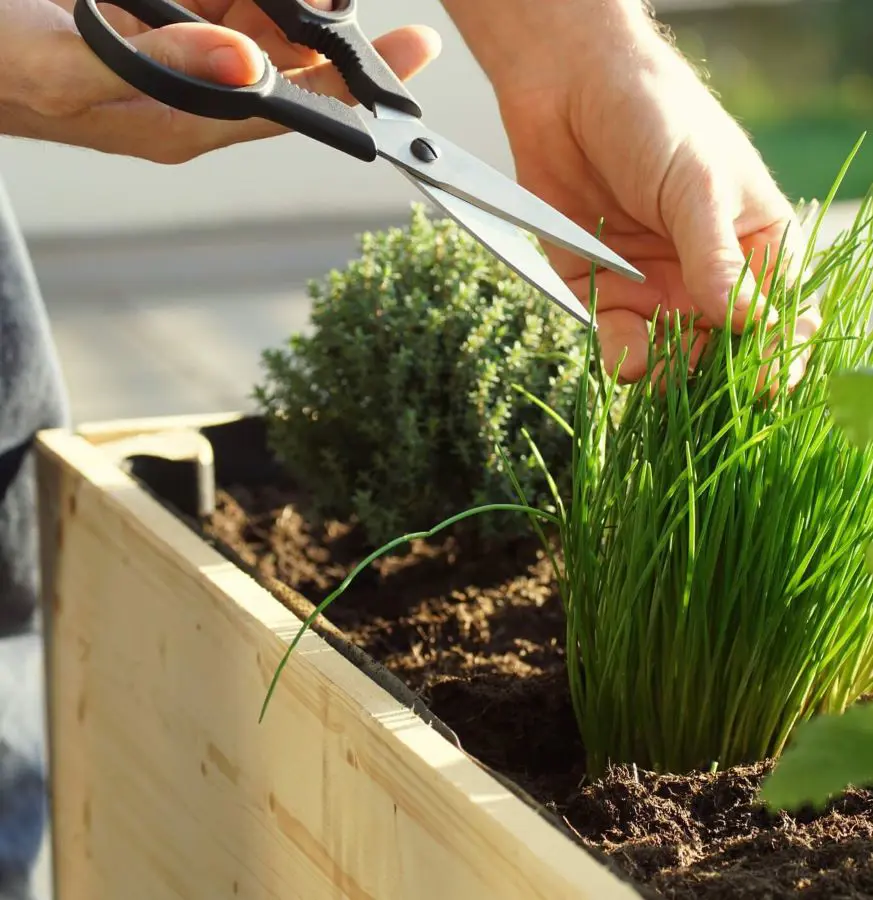
Pruning Techniques
- Cutting: Use sharp scissors or a knife to cut chives at the base of the stem. Avoid taking more than half the plant at a time.
- Pinching: For smaller harvests, simply pinch off individual leaves or small groups of leaves.
- Deadheading: If you have flowers, remove them by pinching off the individual flower buds or cutting the entire flower stalk.
- Thinning: If your chive plant is overcrowded, you can thin it out by carefully digging up and removing smaller clumps, leaving space for the remaining plants to thrive.
Propogating Chives
Chives can be easily propagated through division, which is the most common and reliable method. The best time to propagate chives through division is in early spring, just as new growth begins, or in the fall before the first frost.
These times coincide with periods of active growth, giving the divided plants the best chance to establish themselves.
Choose a healthy, mature chive plant with several well-established clumps of foliage. After that
- Dig up the entire plant from the ground or remove it from its container if it's grown in one.
- Use a clean knife or trowel to gently separate the clump into smaller sections, each with healthy roots and shoots.
- Replant the divided sections in prepared holes, ensuring the crowns are at the same soil level as before.
- Water thoroughly and keep the soil moist until it is established.
How To Harvest Chives
Harvesting chives is a simple yet rewarding process that allows you to enjoy their delicious oniony flavor throughout the season. The best time to do so is when the leaves are mature but still tender, typically in the spring and summer months.
Harvesting Process
- Tools: Use sharp scissors or a knife for clean cuts.
- Method: There are two main approaches:
- Individual leaves: Choose specific leaves you need, cutting them at the base of the stem.
- Whole plant: For larger harvests or rejuvenation, cut the entire plant back to about 2-3 inches above the ground.
How To Store Chives
Storing chives, a kale companion plant properly is essential to maintaining their freshness and flavor for as long as possible. Here are some of the ways to store chives:
Fresh Chives
If you've harvested fresh chives from your garden or purchased them from the store, start by rinsing them gently under cold water to remove any dirt or debris. Pat them dry with a clean kitchen towel or paper towel to remove excess moisture.
Refrigeration
Place the fresh chives in a plastic bag or wrap them loosely in a slightly damp paper towel. This helps to retain moisture without causing the chives to become soggy. Alternatively, you can store them in a perforated plastic bag to allow for airflow.
Drying Chives
Another option for preserving chives is to dry them. Hang bundles of chives upside down in a well-ventilated area away from direct sunlight. Once completely dry, remove the leaves from the stems and store them in an airtight container in a cool, dark place.
Chive Plant Types
There are two primary types of chives called Common Chive and Garlic Chives. Both varieties are suitable to grow as houseplants.
Common chive (Allium schoenoprasum)
This is the most widely available and recognized type of change. It has thin, hollow, grass-like leaves that grow to about 12–18 inches tall and form attractive purple flower heads in late spring and summer.
The leaves have a mild oniony flavor and are used fresh or dried in various culinary applications.
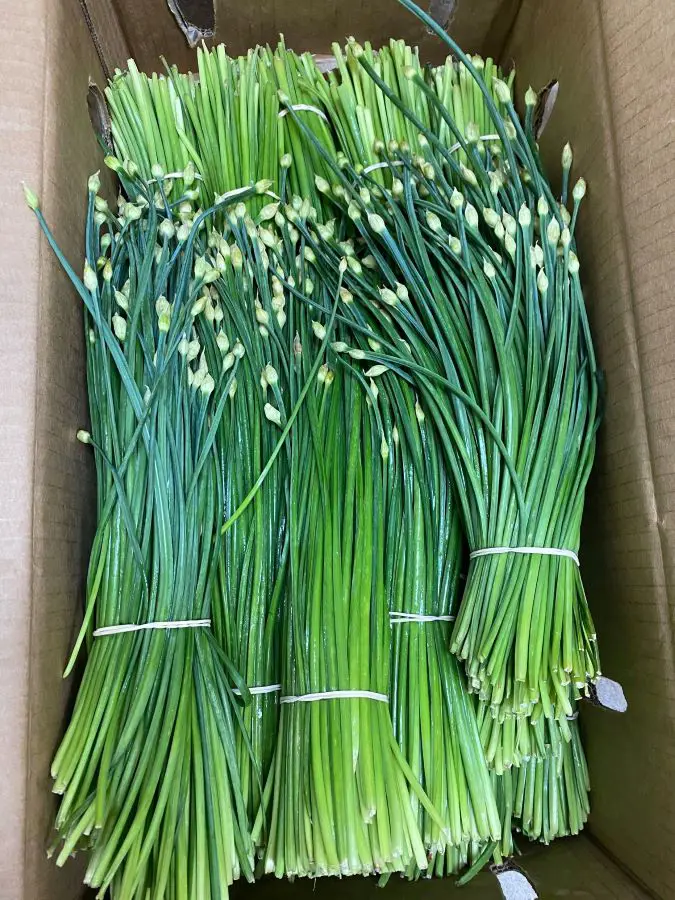
Garlic chives (Allium tuberosum)
Also known as Chinese chives, this variety has broader, flat leaves with a stronger, garlicky flavor compared to common chives. The leaves grow to about 10–15 inches tall and produce white flowers in clusters in late spring. The flower buds and edible tubers (hence the name "tuberosum") can also be used in cooking.
Besides these two popular types, here are some other less common, but interesting, chives you might consider growing:
- Giant Siberian chives (Allium giganteum)
- Garlic chives, 'Fireworks' (Allium tuberosum)
- Chives 'Walker's Low' (Allium schoenoprasum)
Common Pests and Diseases
Chives are relatively resistant to pests and diseases, but they can occasionally encounter issues. Here are some common pests and diseases that may affect chives, along with prevention methods:
Pests
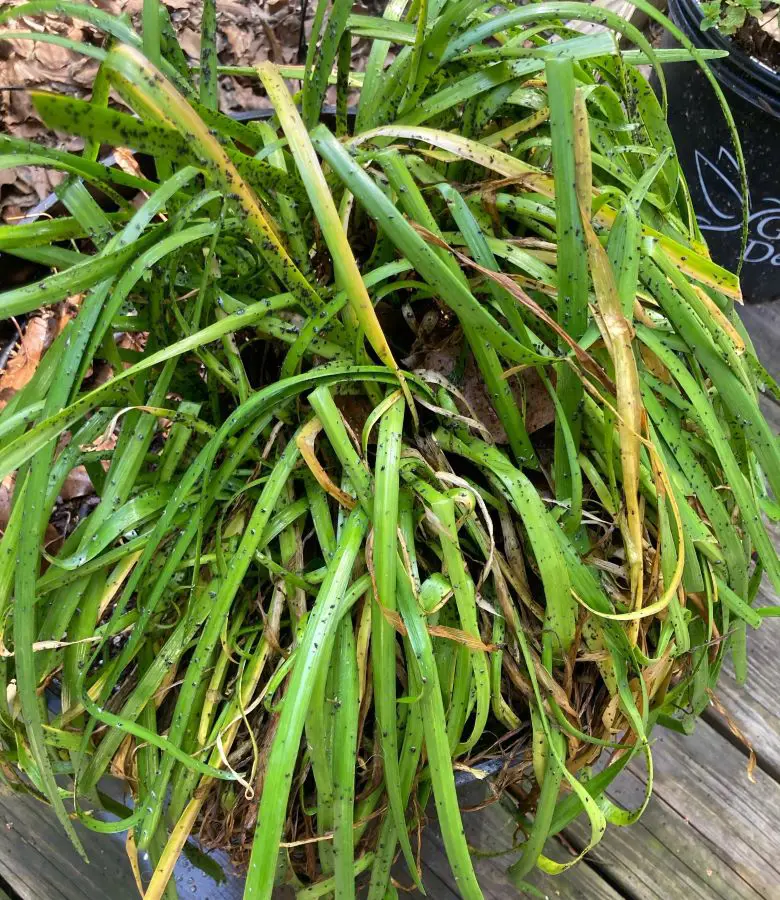
Common pests that affect chive plants include aphids, thrips, and onion maggots.
-
Aphids
- These small, soft-bodied insects feed on the sap of chive plants, causing the leaves to wilt and deform. To prevent aphids, encourage natural predators like ladybugs and lacewings, and use insecticidal soap or neem oil if infestations occur.
-
Thrips
- Thrips are tiny, slender insects that feed on chive foliage, causing leaves to become distorted and discolored. Regularly inspect plants for signs of thrips and use insecticidal soap or neem oil to control infestations.
-
Onion Maggots
- The larvae of onion maggots feed on the roots of chive plants, leading to wilting and stunted growth. Prevent onion maggot infestations by rotating crops, using row covers, and practicing good garden hygiene.
Diseases
Common diseases encountered by chive plants are:
-
Downy Mildew
- Downy mildew is a fungal disease that causes the yellowing and wilting of chive foliage, often accompanied by grayish mold on the undersides of leaves. Improve air circulation around plants, avoid overhead watering, and apply copper fungicides preventatively.
-
Powdery Mildew
- Powdery mildew appears as a white, powdery coating on chive leaves, leading to stunted growth and reduced vigor. To prevent powdery mildew, ensure good air circulation, avoid overcrowding of plants, and apply sulfur-based fungicides as needed.
-
Leaf Spot
- Leaf spot disease causes dark spots to develop in chive foliage, eventually leading to leaf yellowing and defoliation. Remove and destroy infected plant debris, practice crop rotation, and apply fungicides preventatively if necessary.
Recent posts
Plant Care

Plant Care
How To Take Care Of An Orchid Plant? 11 Tips And Tricks
If you love gorgeous orchids but are worried they're too high-maintenance, don't worry. This guide is like a cheat sheet for orchid newbies. Forget fancy words and confusing schedules — we're talking about how to take care of an orchid pla...

Plant Care
How To Grow and Care For Peace Lily Plant
The Peace Lily is an indoor plant that is most valued for its beautiful and shiny green leaves as well as the white blooms. Hard and tolerant, it’s naturally a low-maintenance addition to your plant collection. If you are confused, let us tell ...
Plant Care
Pothos Plant Care And Growing Guide
Adding a Pothos plant (Devil’s Ivy) to your home benefits the environment and aesthetic of your personal space. It's easy to maintain and is loved for it's ability to enhance indoor air quality by removing toxins like formaldehyde, benzene, and...
Plant Care
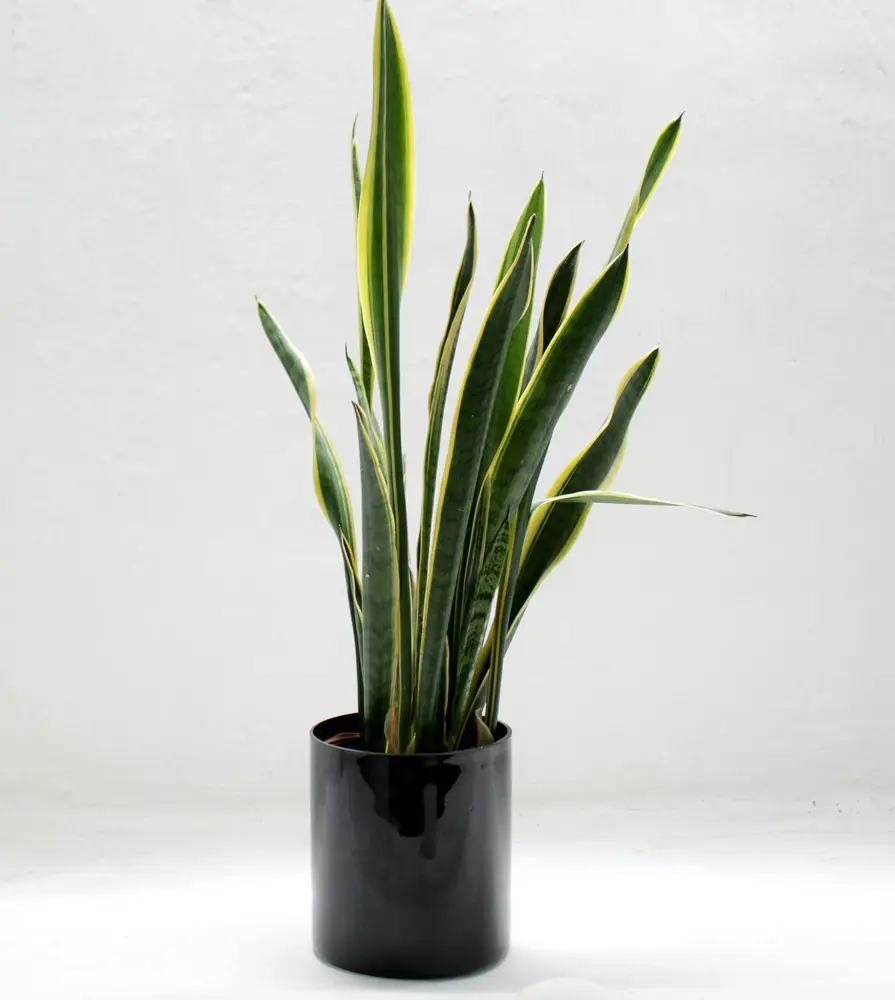
Snake Plant Care and Growing Guide
Snake plants require low maintenance, and low light and are almost impossible to kill, making them a perfect plant for beginners and seasoned gardeners. In this guide, we will explore essential care tips and optimal growing conditions for snake plant...

Plant Care
How To Plant, Grow and Care Majesty Palm
The majestic palm, scientifically known as Ravenea rivularis, makes for a stunning indoor tree with its lush and grand fronds. Originating from Madagascar's river banks, this resilient houseplant is cherished not only for its beauty but also for its ...
Plant Care
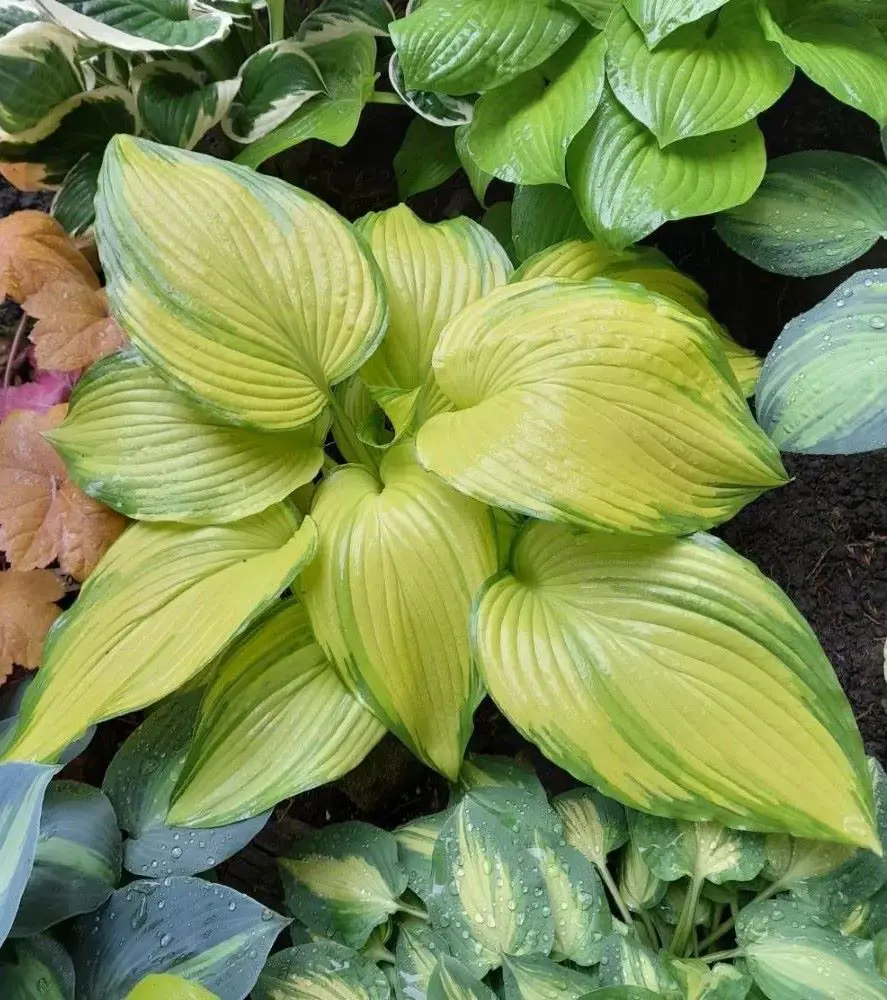
How To Grow And Care For A Hosta Plant
Hosta plants are widespread perennials, often grown for their beautiful and diverse foliage. They are extremely easy to care for and can thrive in various conditions, particularly shade or semi-shade. These hardy plants can last for many years and re...